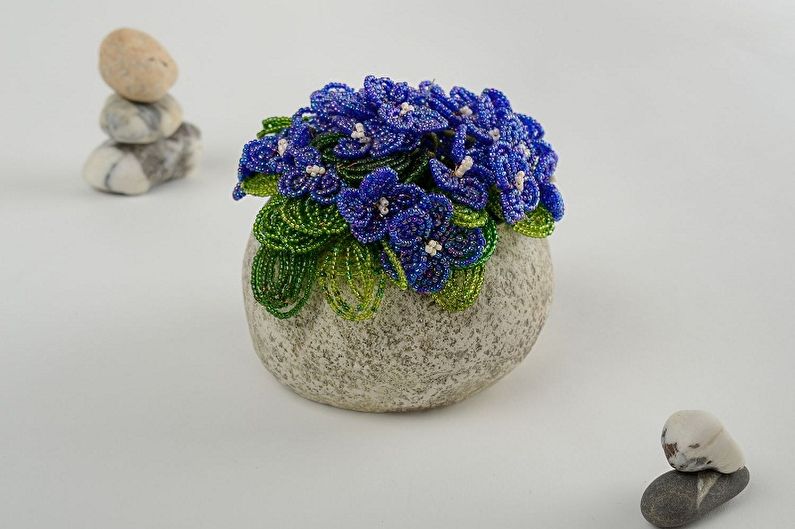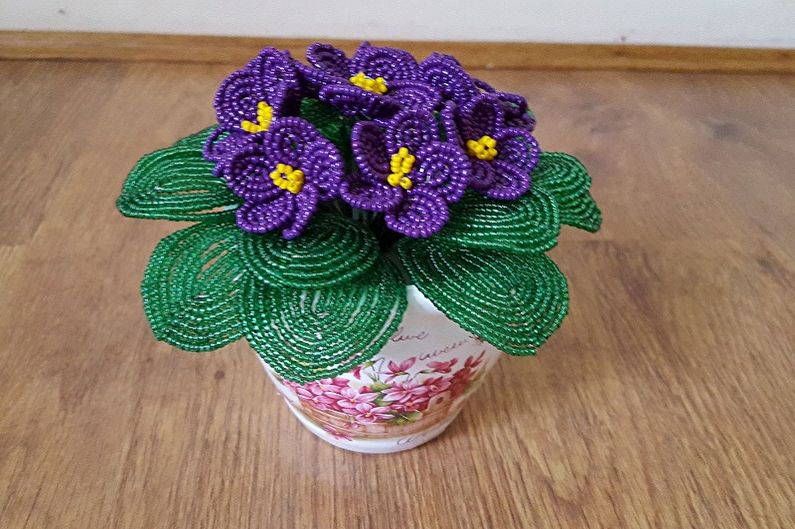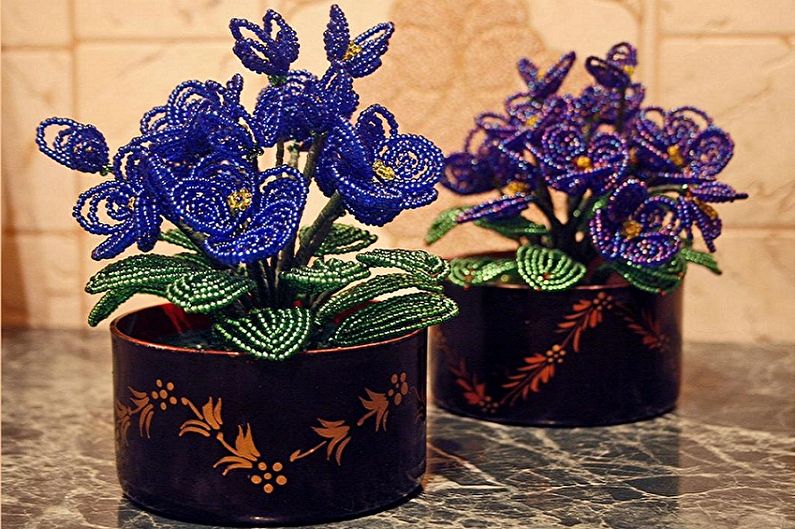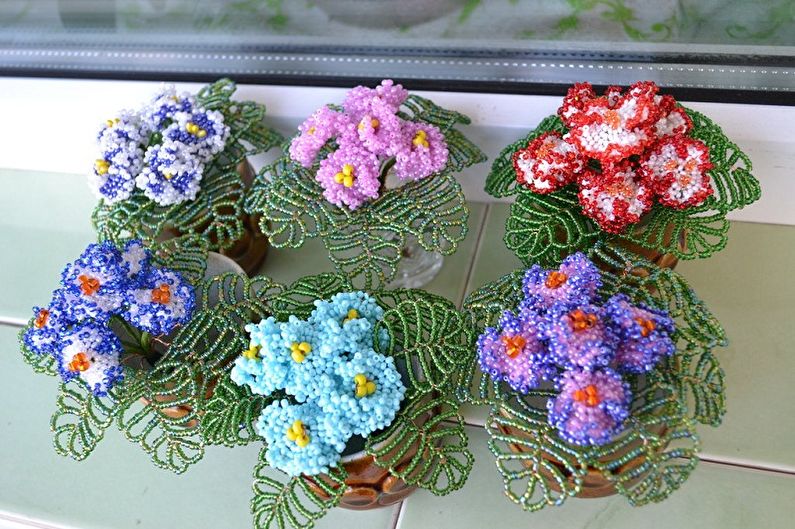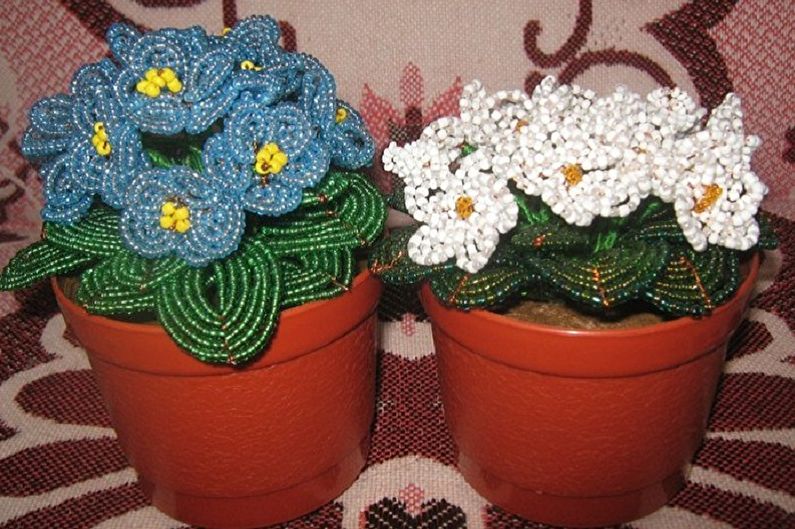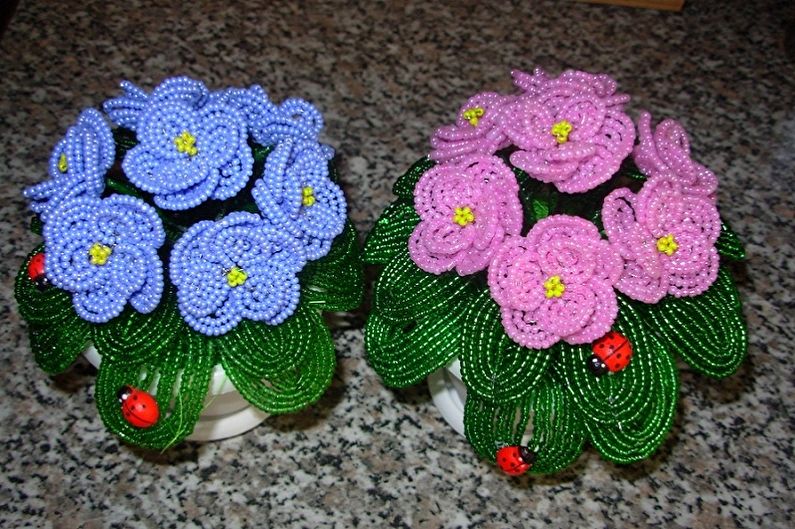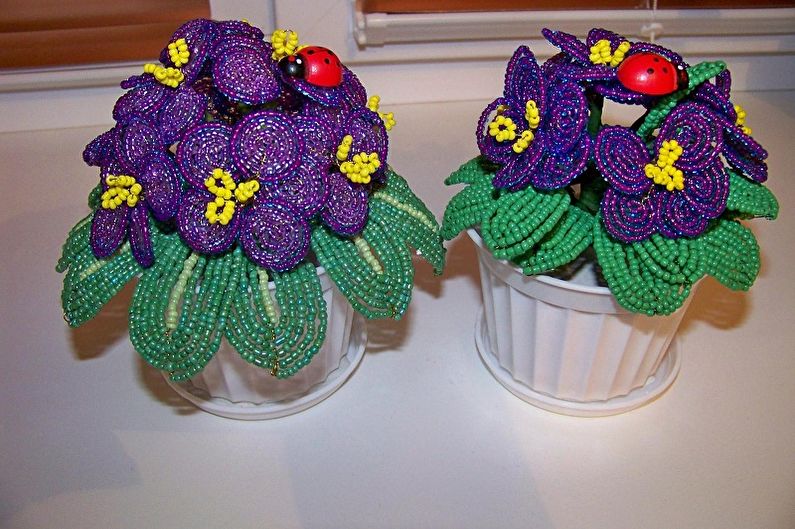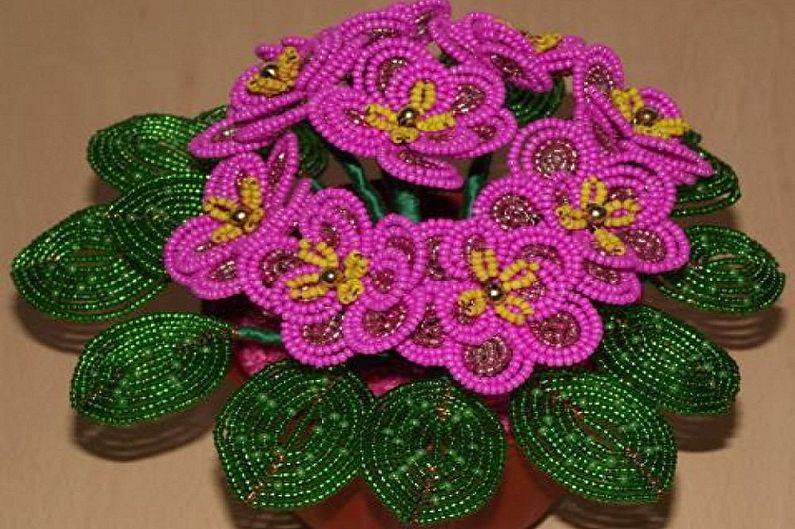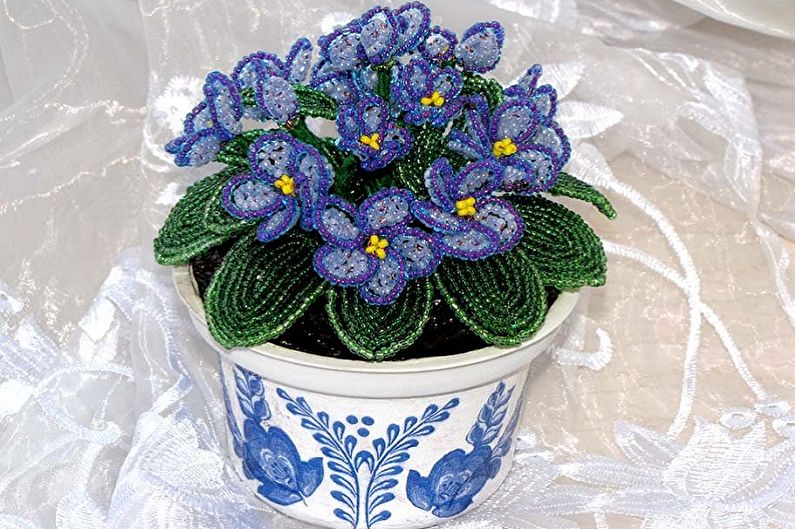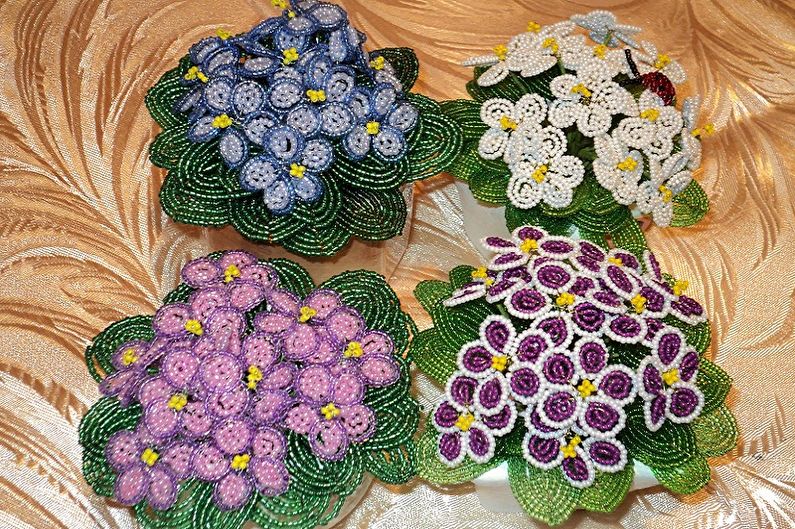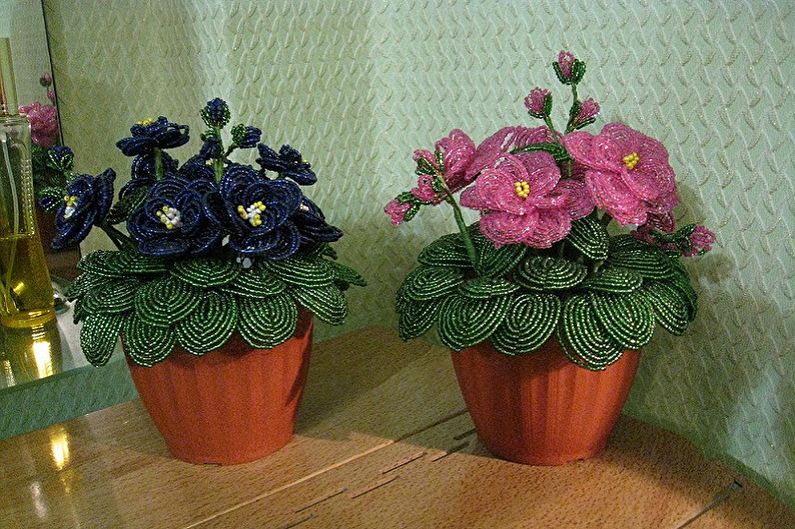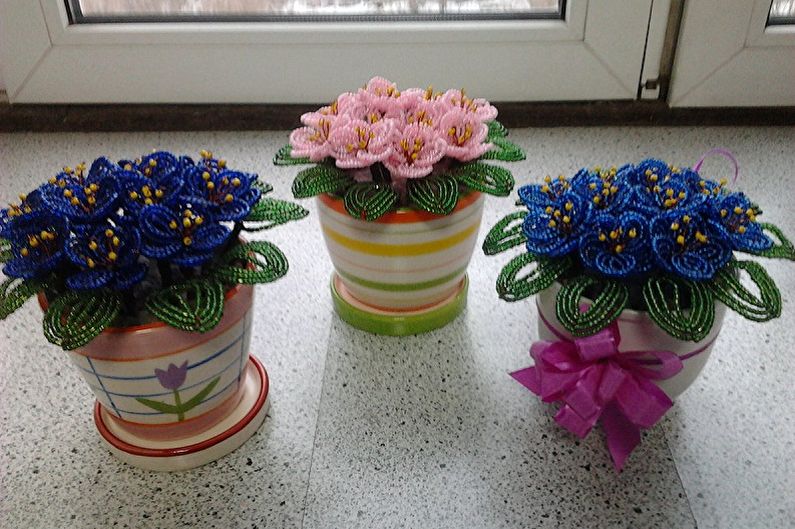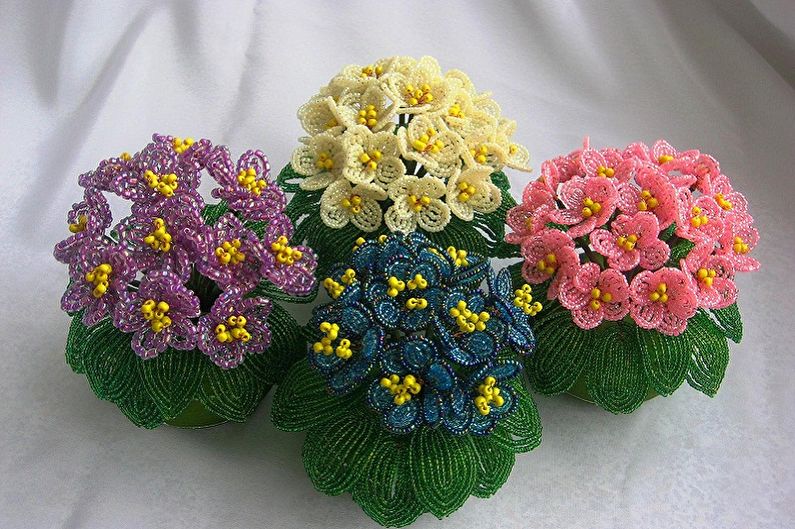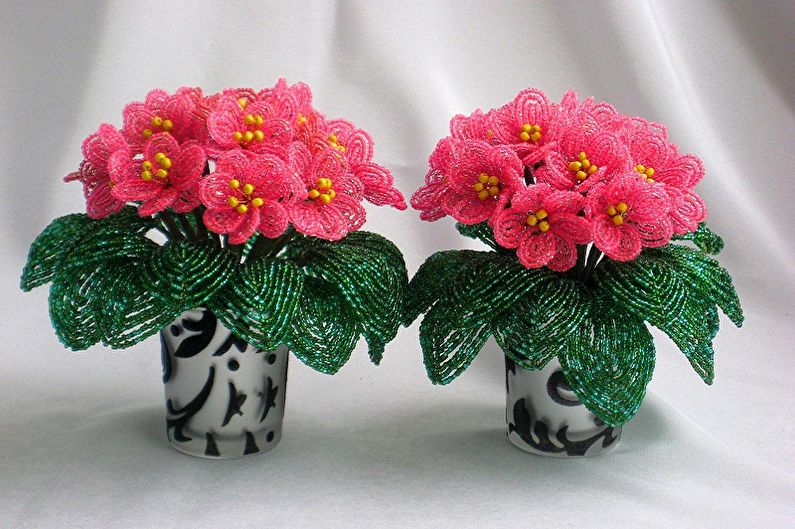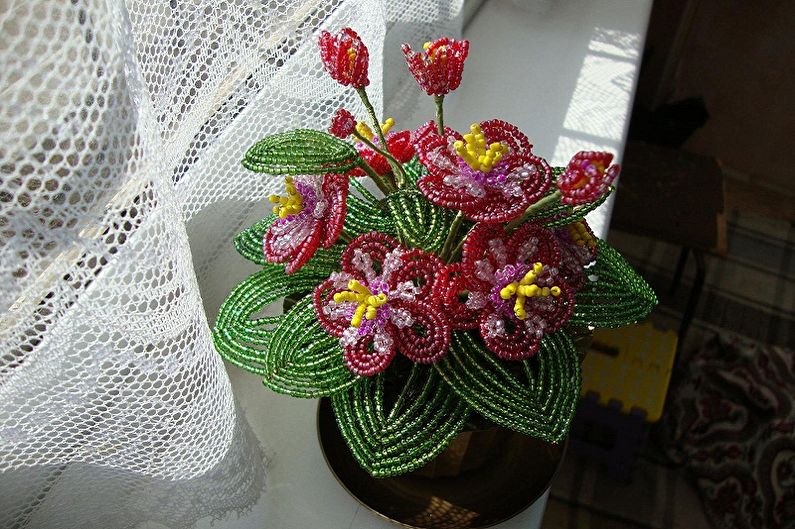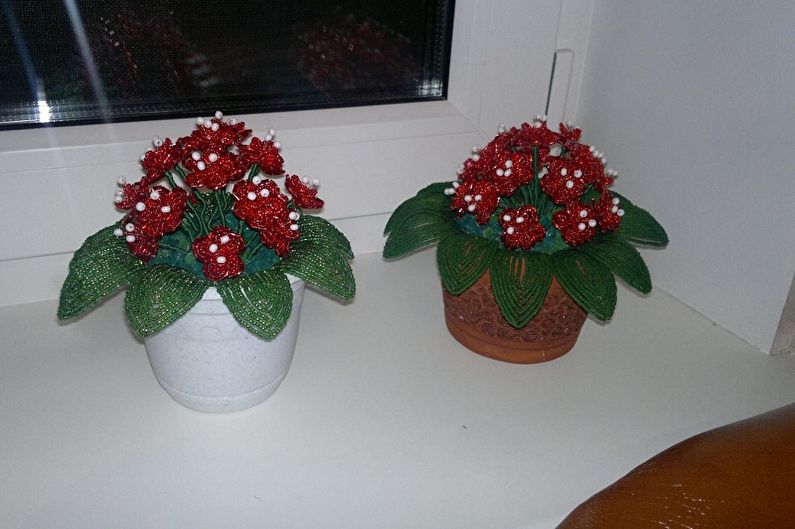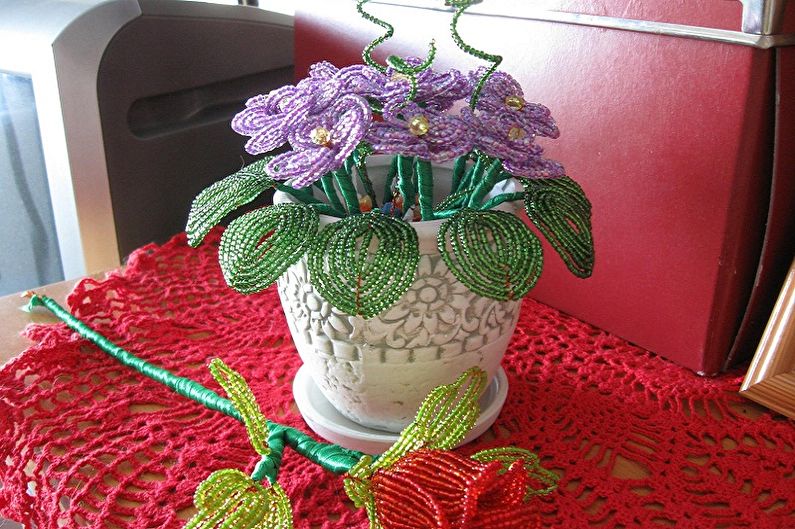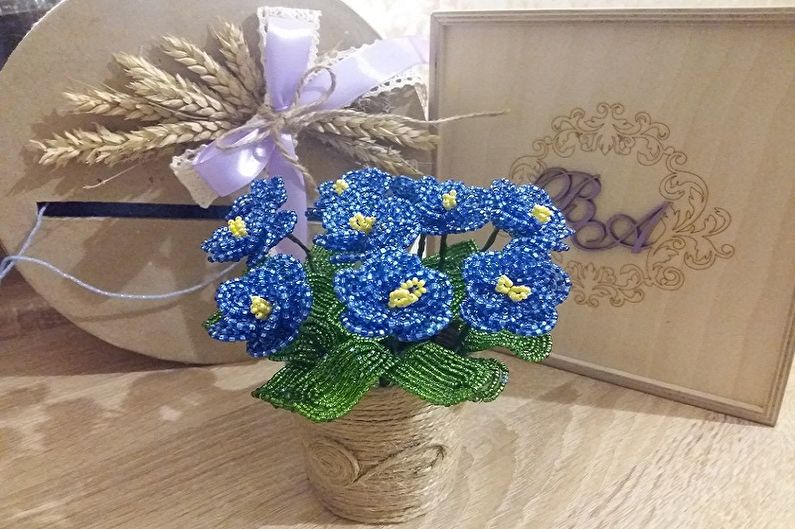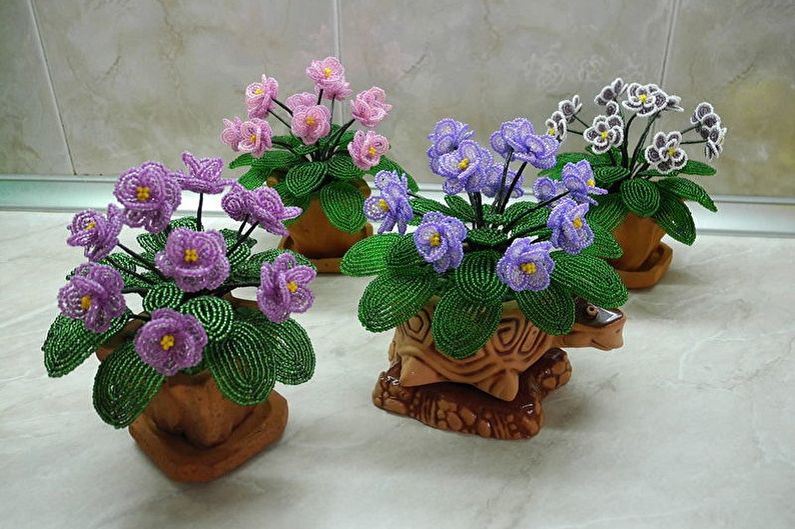
Beadwork is a fascinating activity that allows you to make yourself a wide variety of decor items, jewelry, souvenirs. Each hostess wants to create a cozy, comfortable atmosphere in her house, and often flowerpots with flowers become the main decoration. But in everyday hustle and bustle there is not always enough time to care for living plants, and flowers made from beads will not require special attention, perfectly decorating the rooms. In our article, we will consider simple options for how to make a bunch of violets from beads with your own hands, and step-by-step photos will demonstrate each process in detail.
What will be needed for work
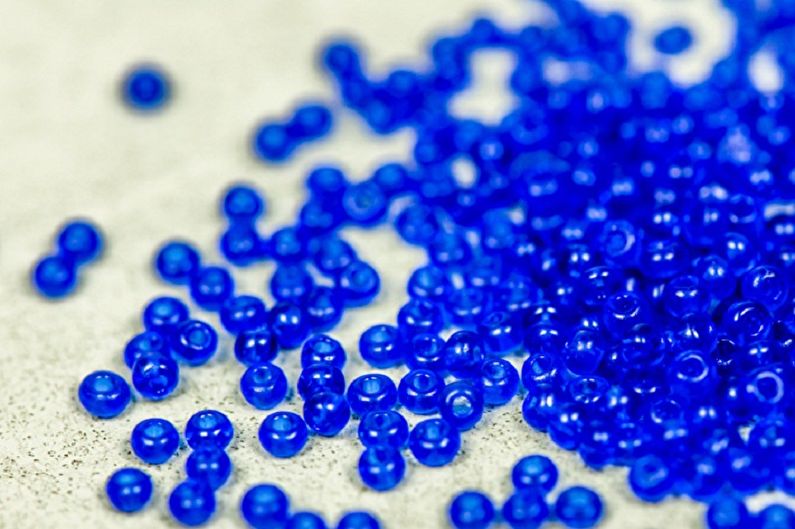
Getting started, first of all, we will prepare all the necessary materials and tools. First of all, you need to determine the color of future violets, leaflets and choose the appropriate beads. It is advisable for beginners to purchase larger beads that are easier to work with. The size of the beads is usually indicated on the package: the smaller the number, the larger the material. To make up the petals, you need 10 g of beads, and leaflets - 50 g. Stamens will also be made separately, so be sure to purchase 5g of yellow beads for them too. To form flowers, you will need a copper wire (0.3 mm) and scissors or pliers.
Next, we select a pot, a small piece of polystyrene foam, which will serve as a fixative for the bouquet (you can use loose pebbles, pebbles), a green floral ribbon for decorating the stems. This is a basic set of materials. If you decide to decorate your creative work with other elements, you will pick up the remaining materials as necessary. For example, a violet can be planted in a small basket instead of a pot, decorate hairpins with miniature flowers, etc.
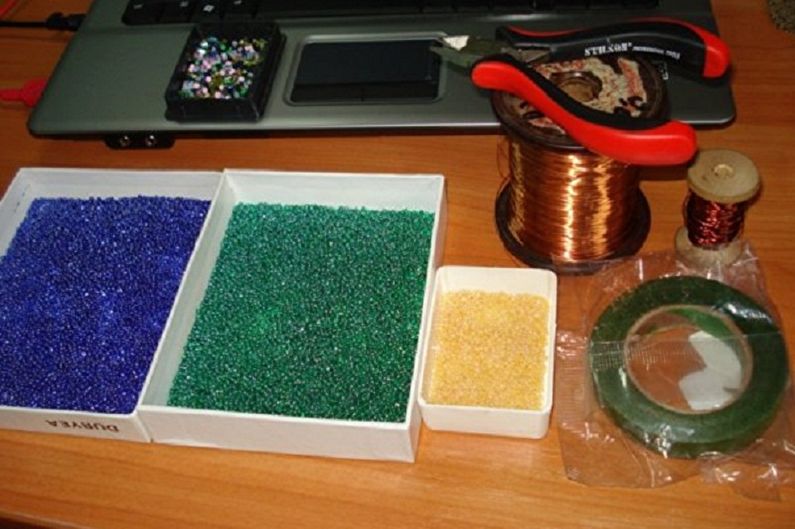
Do-it-yourself violet from beads
Making a bouquet of violets will take a lot of time, especially if you are new to beadwork. However, our step-by-step instruction will show that it is not difficult to do such creative work, you just need to be patient, and the result will undoubtedly bring a lot of pleasure.
Stamen
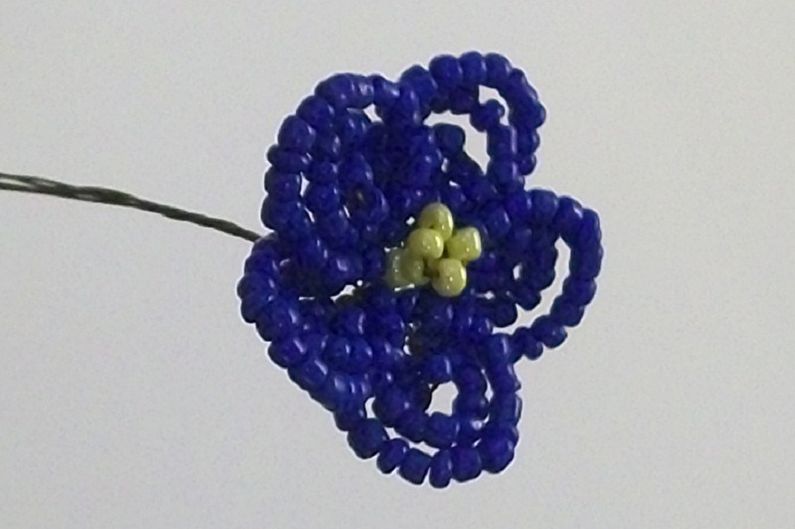
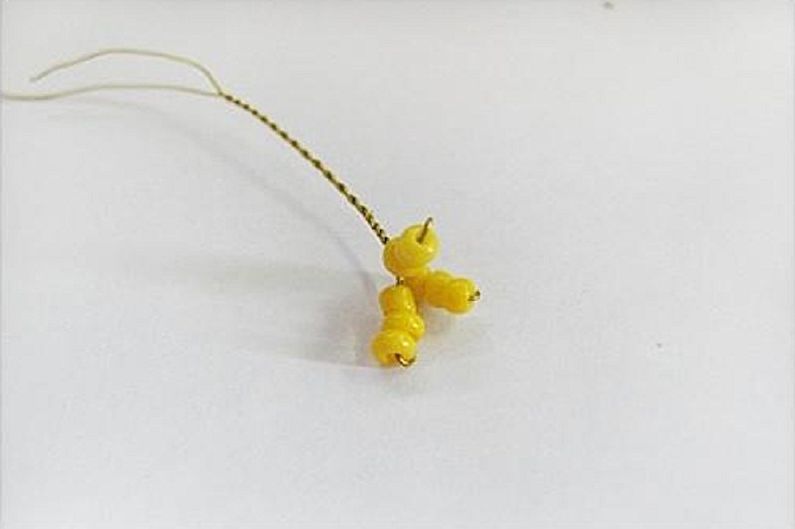
First of all, we will form the smallest and simplest flower elements - stamens. For one part you need to cut 15 cm of wire and string 4 yellow beads on it. We move the beads to the middle of the segment, and scroll the tails together. Next, take two more yellow beads and put them on two tails at once. The stamen is ready. Thus, we form as many stamens as there are supposed flowers in the bouquet.
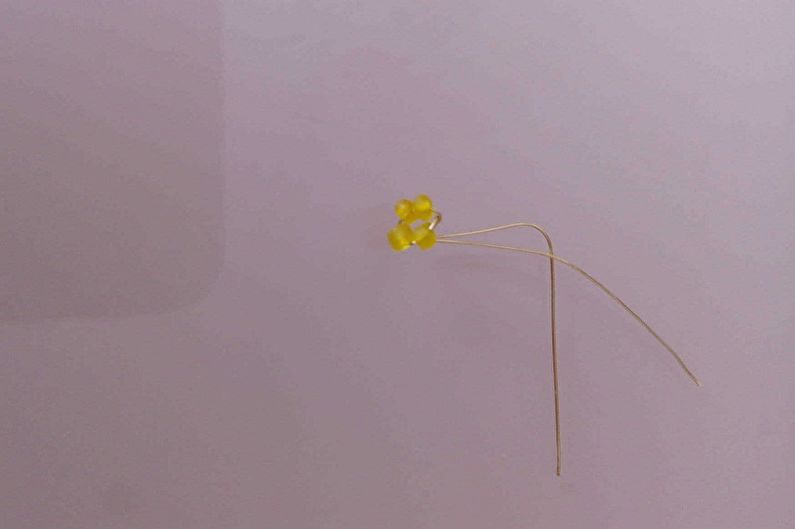
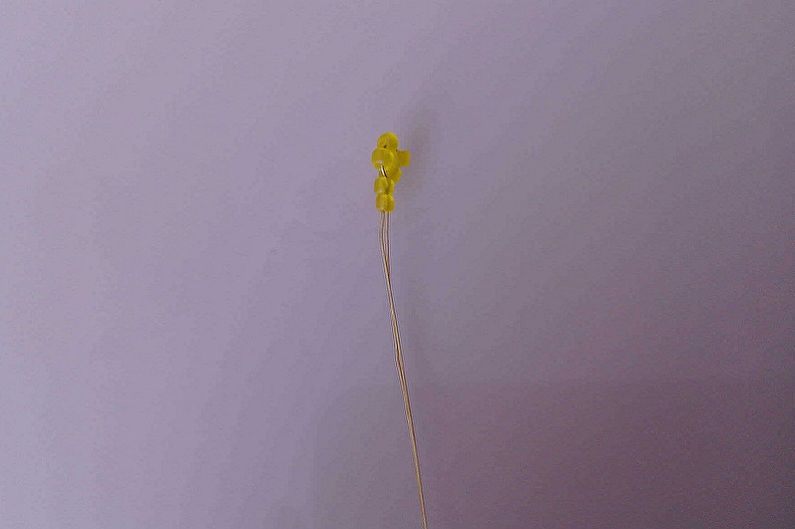
We form flowers
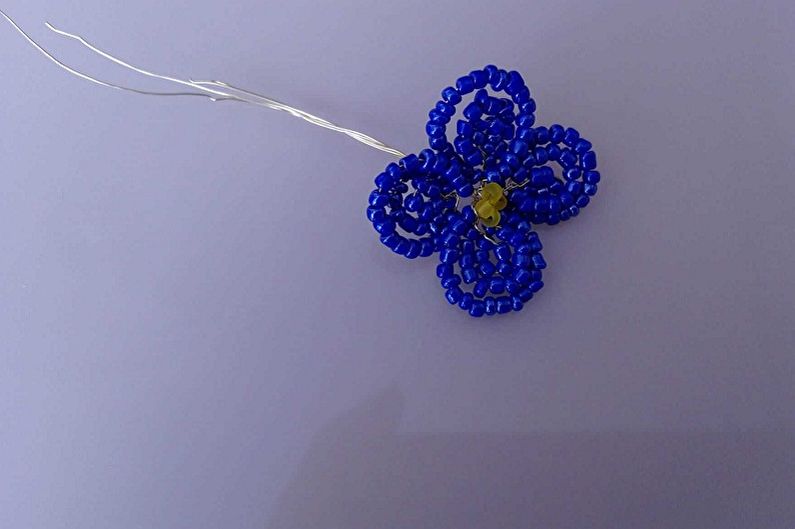
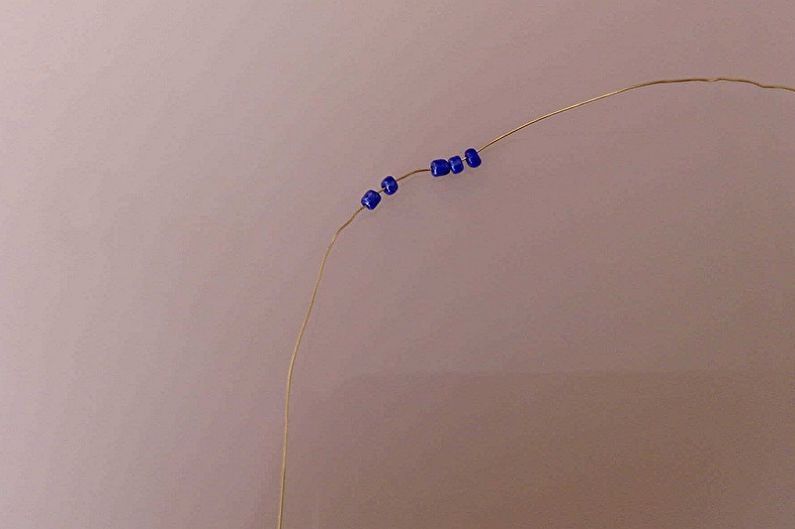
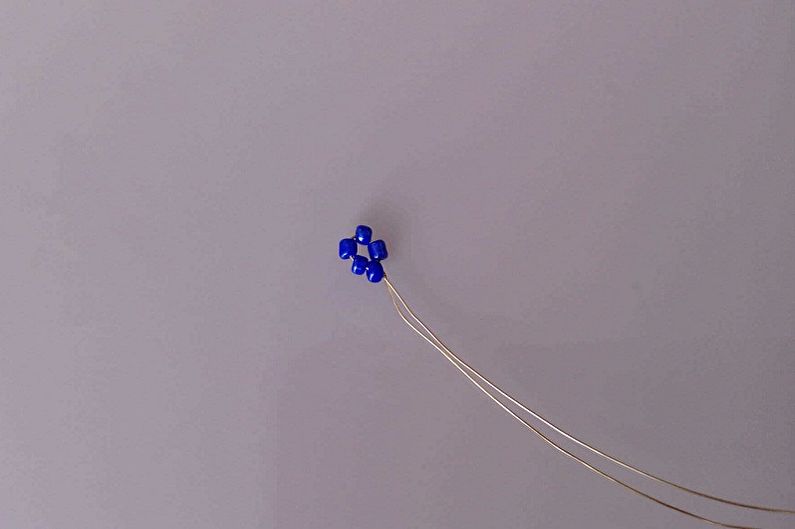
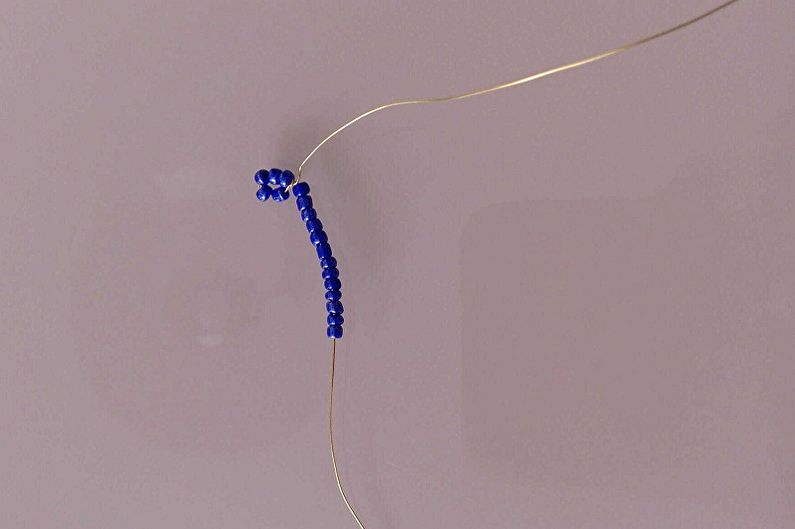
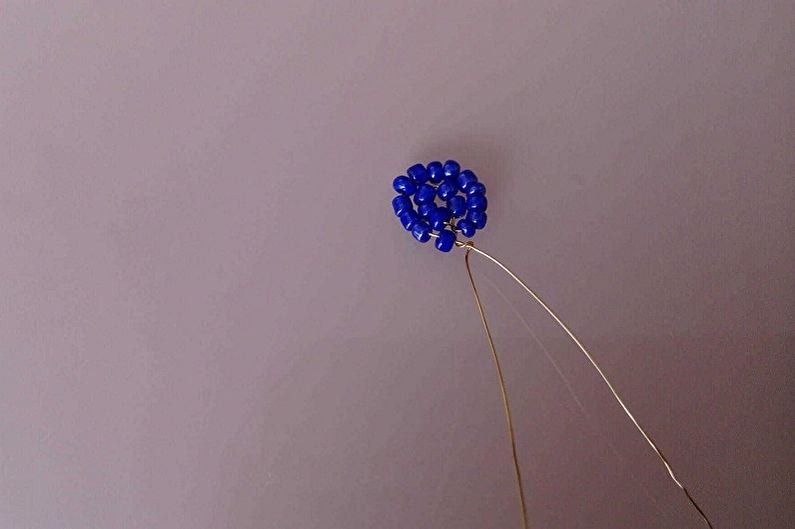
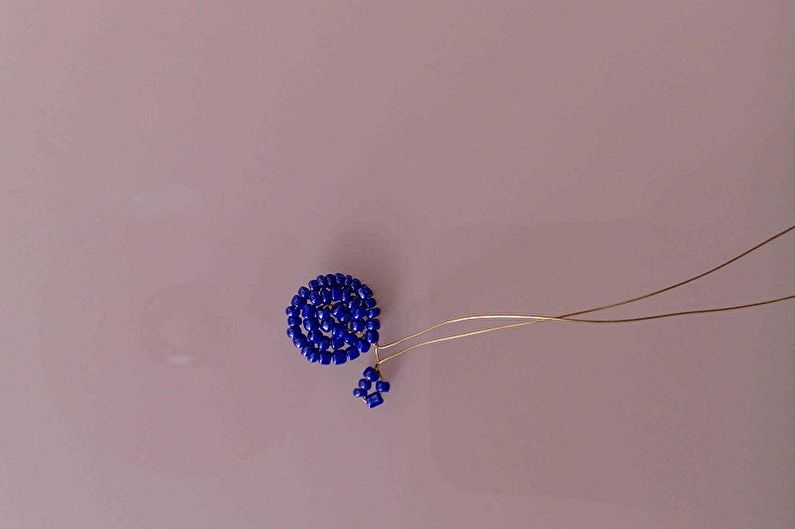
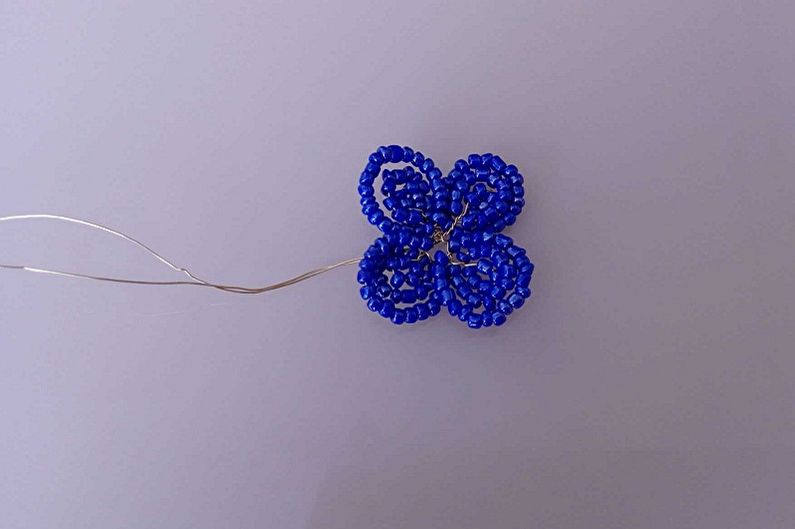
For one flower, you need a piece of wire of about 45 cm. We string 5 blue beads on it (or any other that is selected for violets), move them to the middle and, scrolling through the tails, fix. On one of the ends of the wire we string another 13 beads and circle around the perimeter of a small circle, fix. We put 18 pieces on the other end of the wire, we also circle around the petal and fix it, as shown in the photo. The first petal is ready. Using the remaining wire, we form three more petals in this way to form a four-petal violet.
It is worth paying attention to the fact that the amount of beads can vary depending on its size: if it is too small, more material will be needed, if large - less. In any case, this will become clear in the process. We produce as many flowers as the composition provides.
Leaves
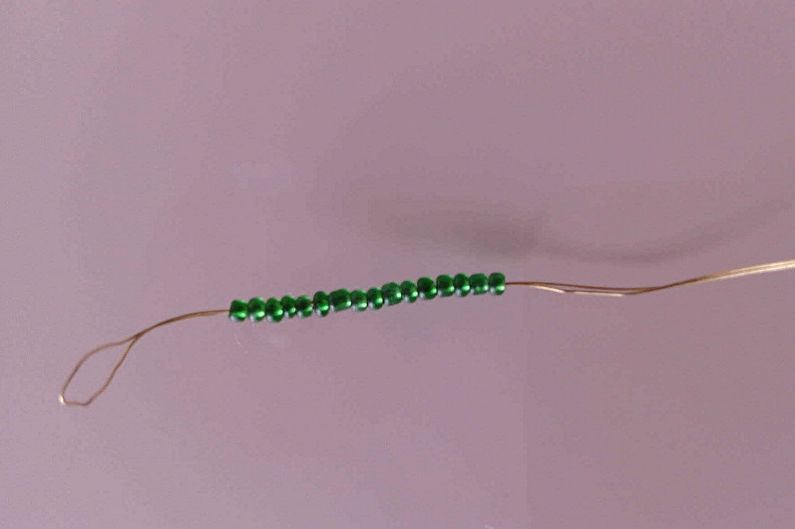
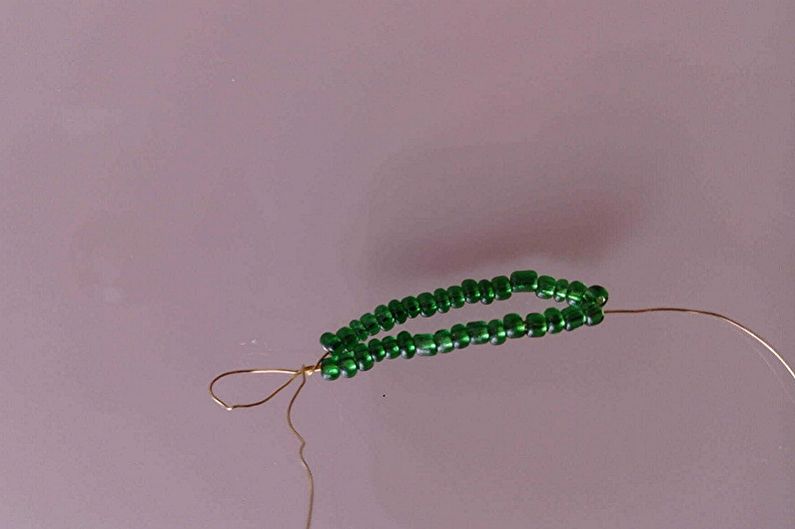
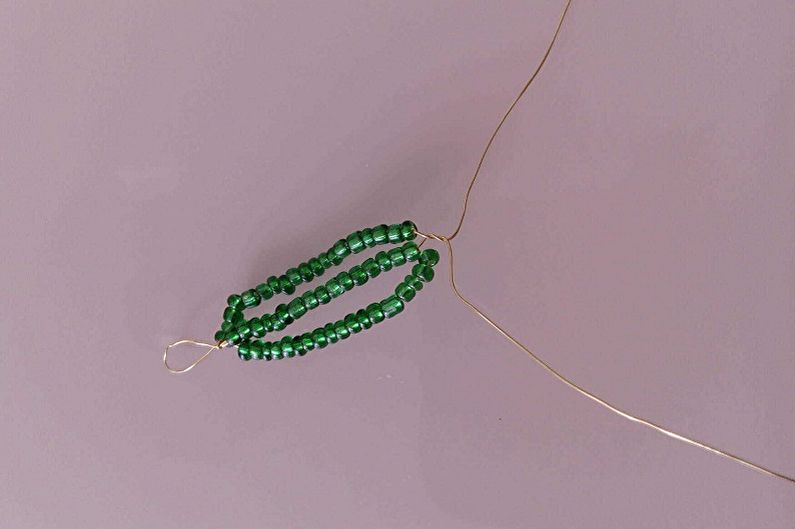
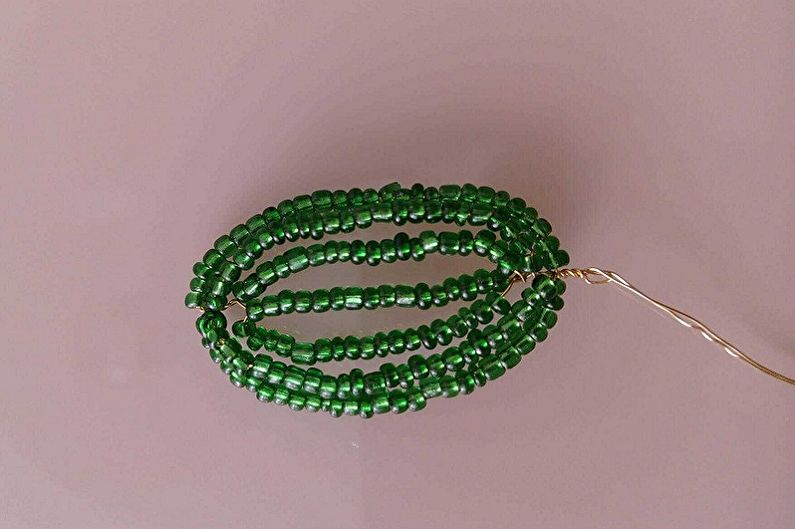
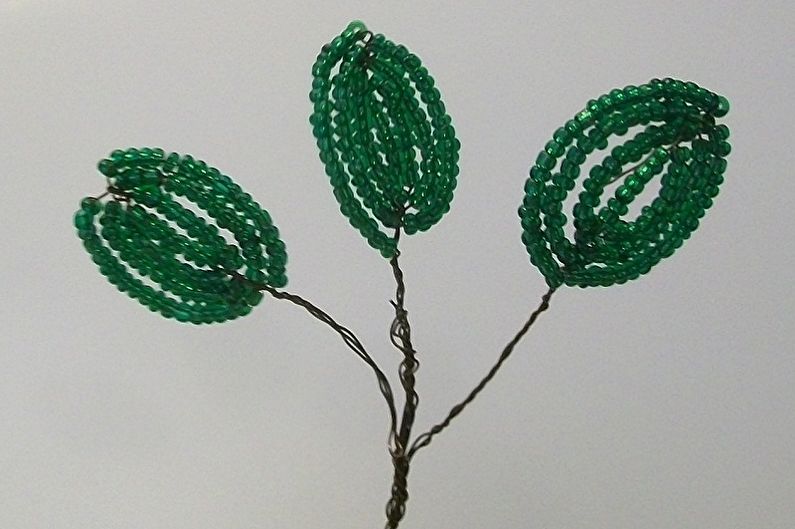
The process of making leaflets is perhaps the most time-consuming.We take 45 cm of wire, fold it in half, string 8 beads, while on the one hand we get a loop, and on the other, two ends of the wire that need to be rolled together. Next, we part the ends to the sides and put on each 10 more beads, lift them up, fix them around the loop. Again we put on the ends of 12-14 beads, depending on their size, lower them, screw them to the base of the leaf, and wrap the remaining ends of the wire together.
For a simple flower, such a leaf is quite enough, but at your own discretion, you can make the plates wider. To make the final bouquet proportional, you can make leaves of different sizes: large ones will be located below, and small ones will be located on top.
We collect violet
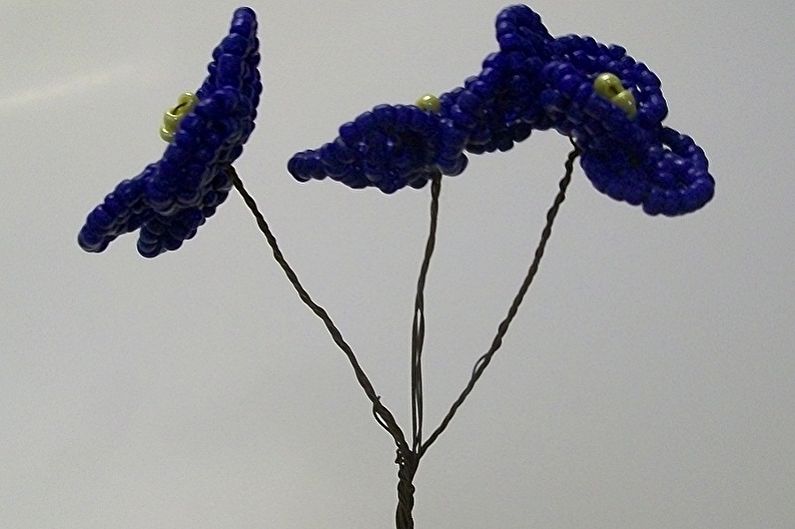
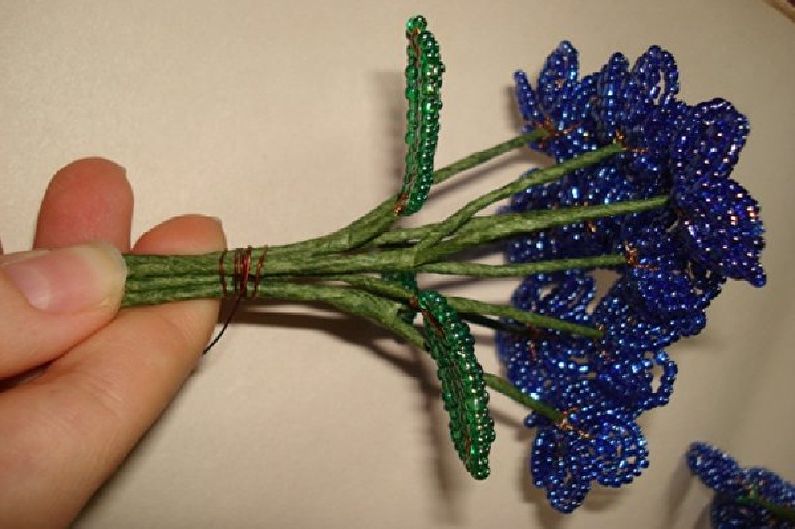
When all the elements are made, you can begin to assemble the composition. First we connect the stamens with flowers, and then we fasten the leaves. Using a green ribbon, we arrange the stems of all the elements of the composition: you need to tie a small knot at the base of the flower and then wrap the stem tightly so that the copper wire does not appear. We collect all the flowers in a bouquet and tie them with a piece of ribbon.
Next, take a piece of polystyrene, make a hole in it, into which we insert our bouquet. Set the composition in a pot. On this, the process of making violets from beads with their own hands can be considered completed.
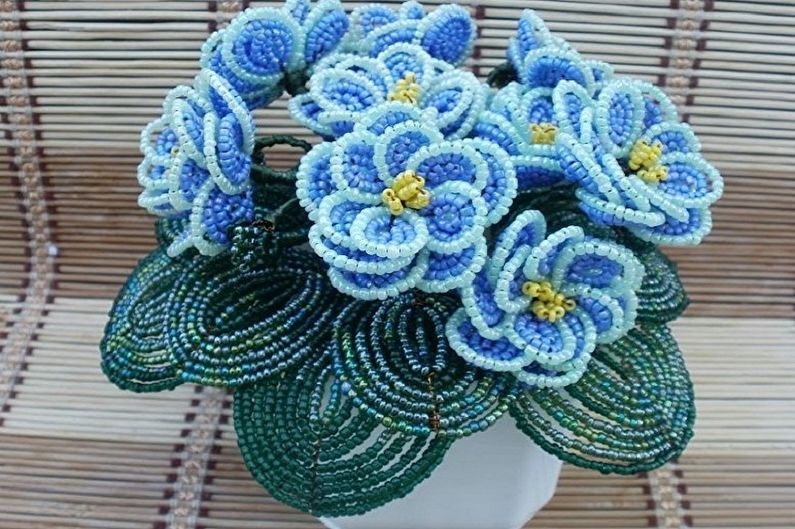
DIY terry beaded violet
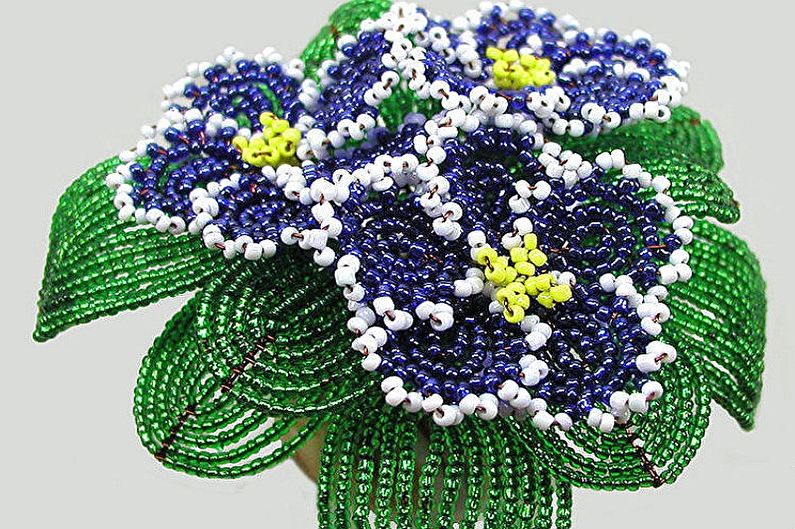
If you have already mastered some of the skills of working with beads, we suggest trying to make a terry violet with your own hands, which will significantly differ in its beautiful magnificent forms. In this case, the leaves are formed in the same way as in the case with the usual violet. The difference will be in the design of a flower with a stamen. To the main color of the beads of the petals, it is necessary to choose a lighter tone of fringe beads, for example, white or pale blue.
Petals
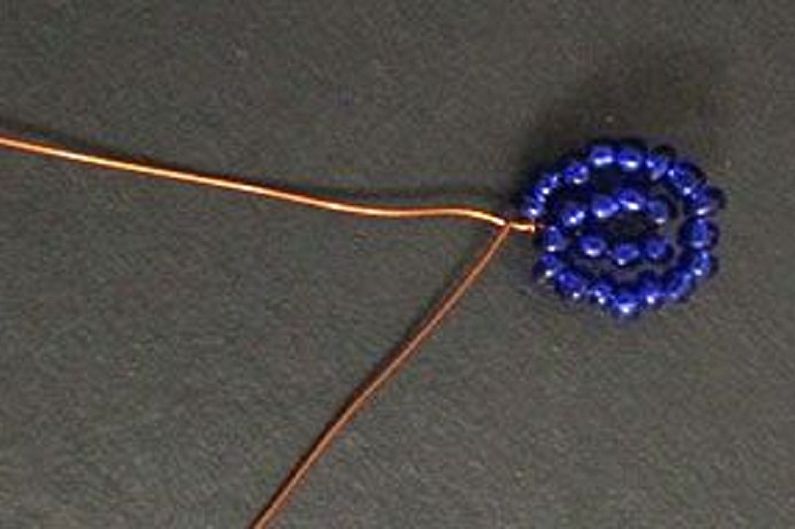
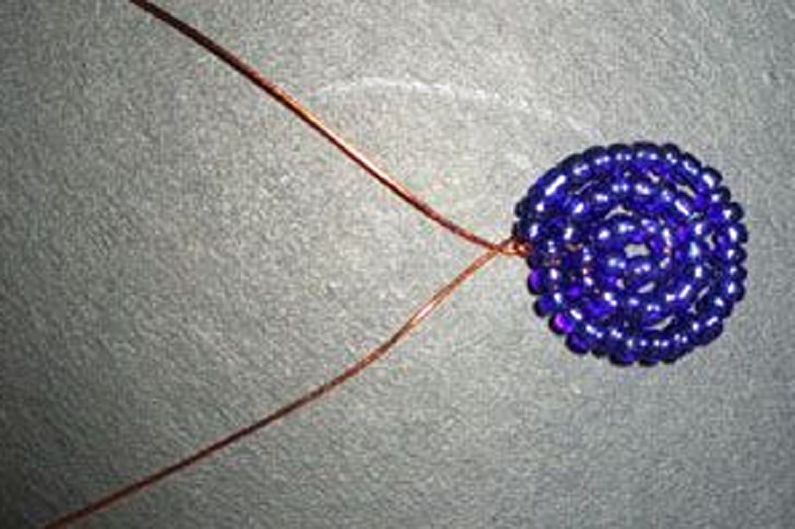
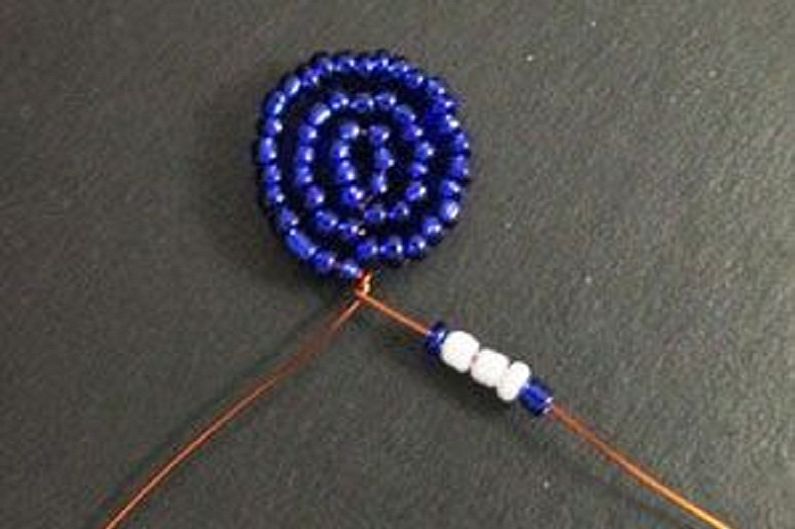
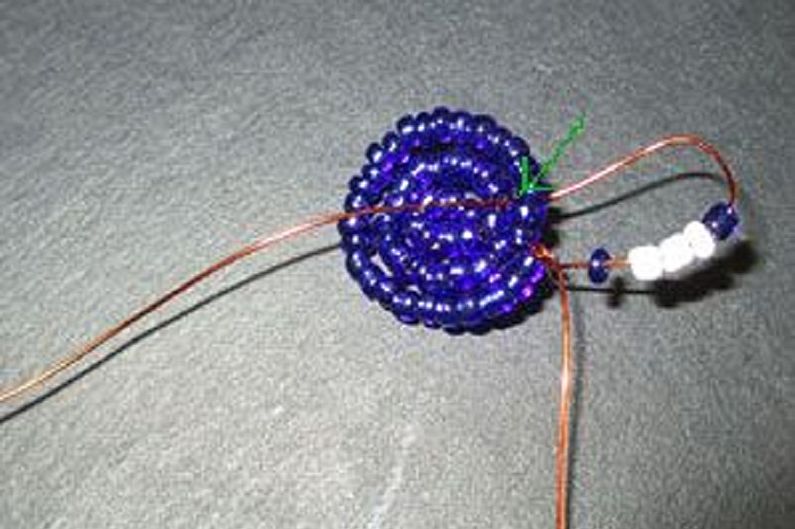
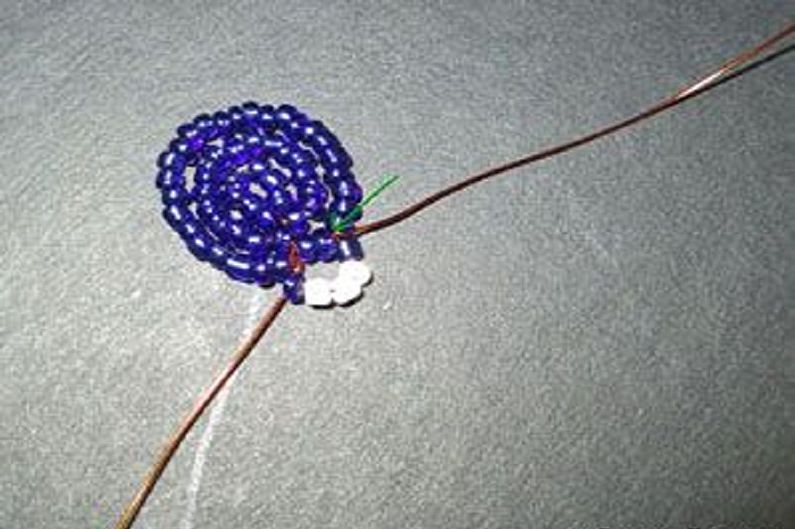
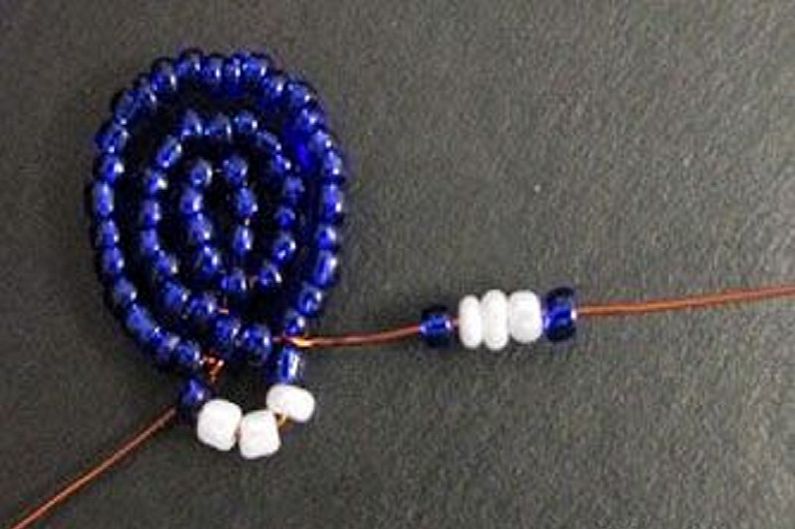
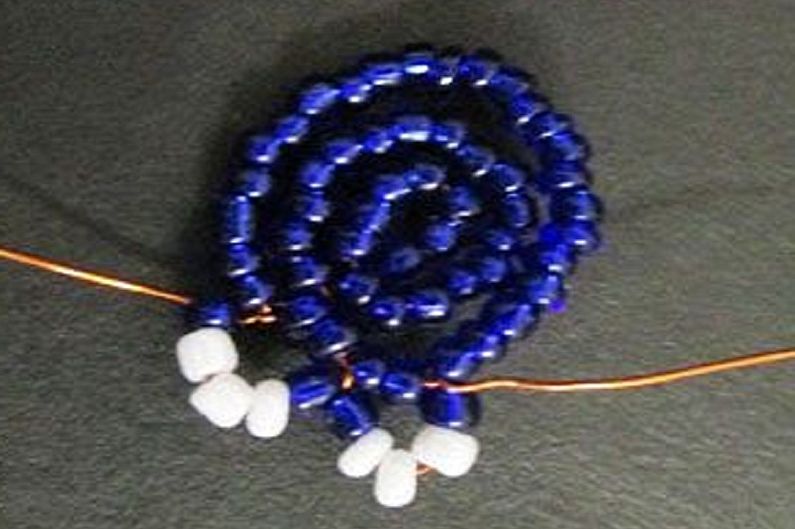
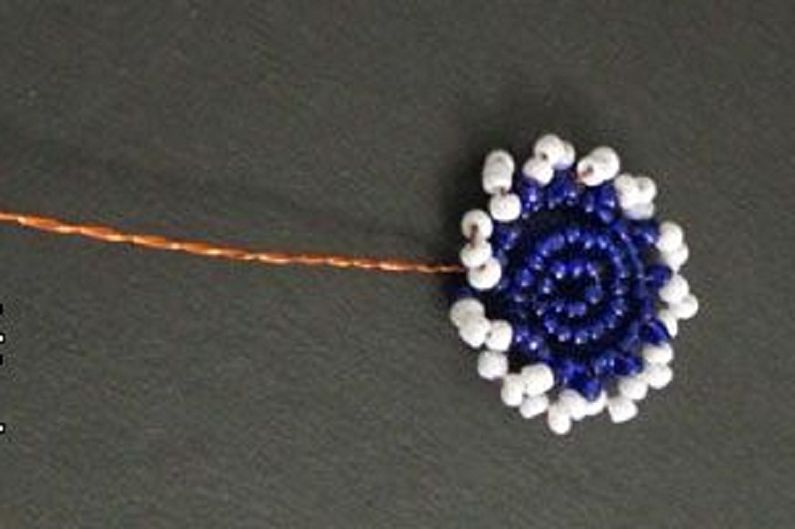
The version with terry violet involves the manufacture of each individual petal, which will then be assembled into one lush flower. So, to make a petal, you need to cut off 45 cm of copper wire. We string 7 beads on it and move them 10 cm from the edge of the wire, fix it in a loop by scrolling. Next, we string the required number of beads onto a long segment and form a second loop around the first. Again we string the beads and arrange the third row.
The base is ready, now you can proceed to the fringe. We string 4 beads on the wire, two of which (medium) - white or any other bright tone. The end of the wire with the strung material is passed between the second and third bead of the extreme row of the base. We fix the wire, after which we repeat the loops until the entire petal is framed by them. We make 5 pieces of such blanks, after which we stack them on top of each other, and tightly twist the ends of the wires together. Now all the petals need to be spread out, giving the flower a fan shape.
Stamen
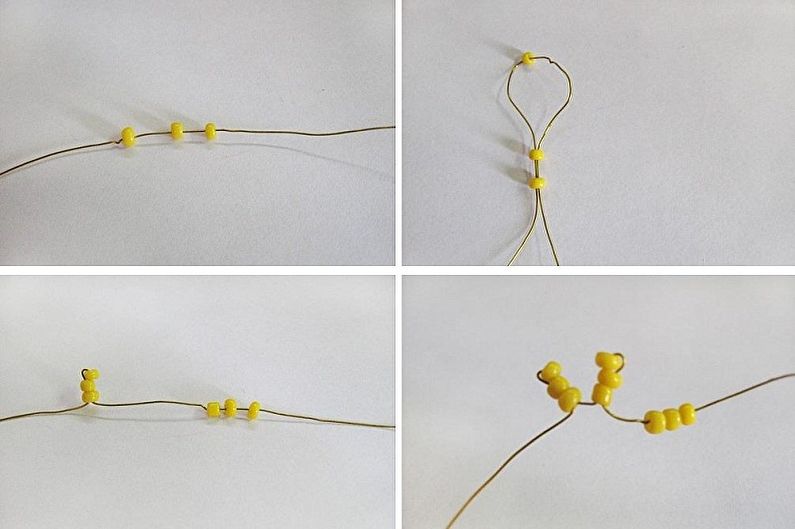
Since the flower we get is quite magnificent, the stamen also needs to be made voluminous. We take 20 cm of wire, string 3 beads, which we move 10 cm from the edge. Pass the long end of the wire into the second and third beads, tighten and get a loop. Then again we string three beads and repeat the same actions, forming loops as densely as possible to each other. When we got 3-4 loops, both ends of the wire need to be twisted together. We connect the finished design with a flower and fasten the ends of the wire. Terry violet flower is ready.
This will be followed by the process of assembling a bouquet, which, in fact, does not differ from the method of forming a bouquet with a simple violet, which we examined above.
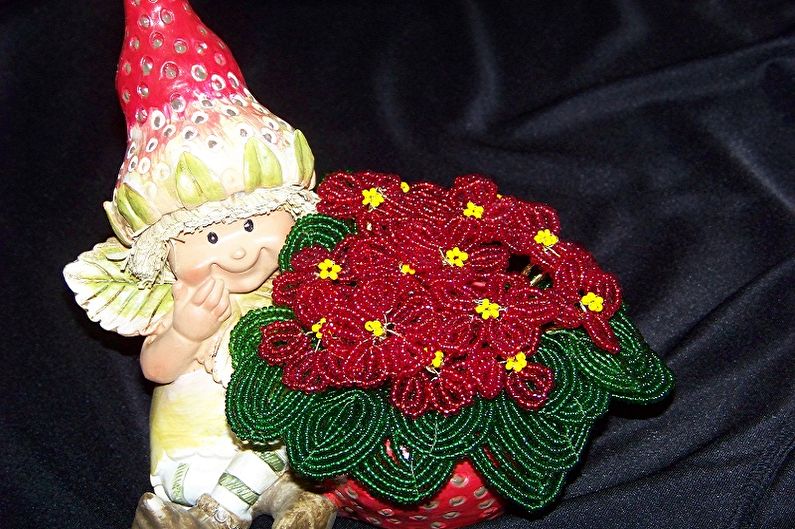
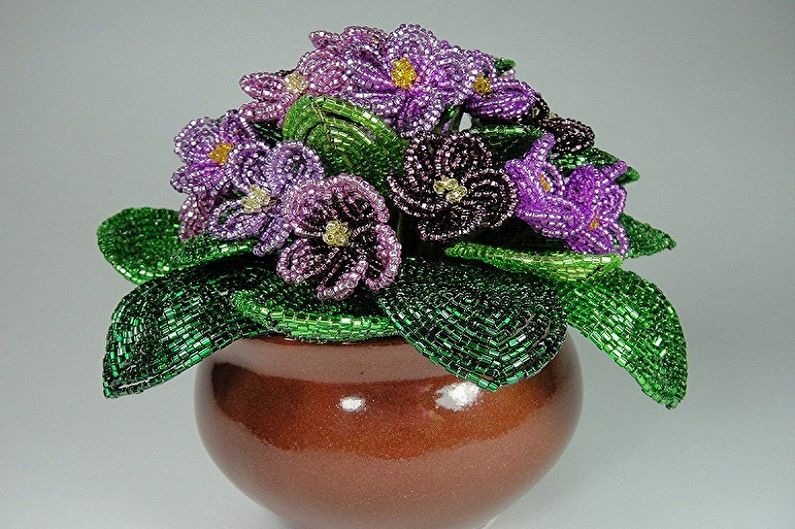
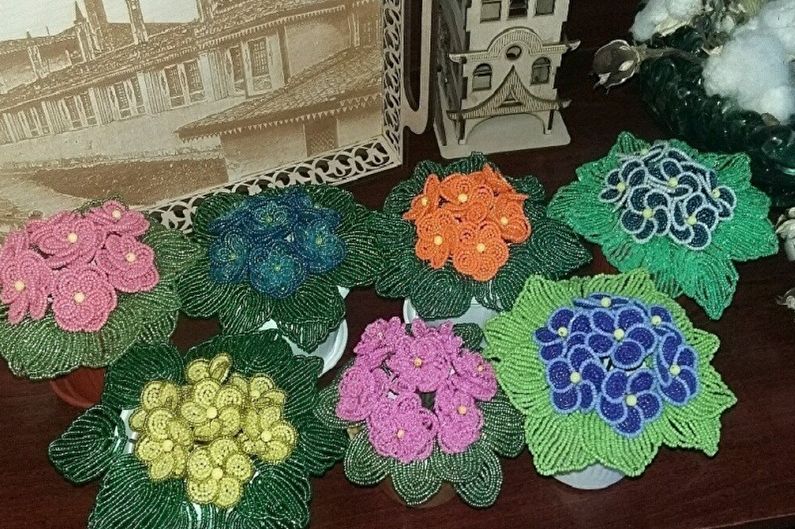
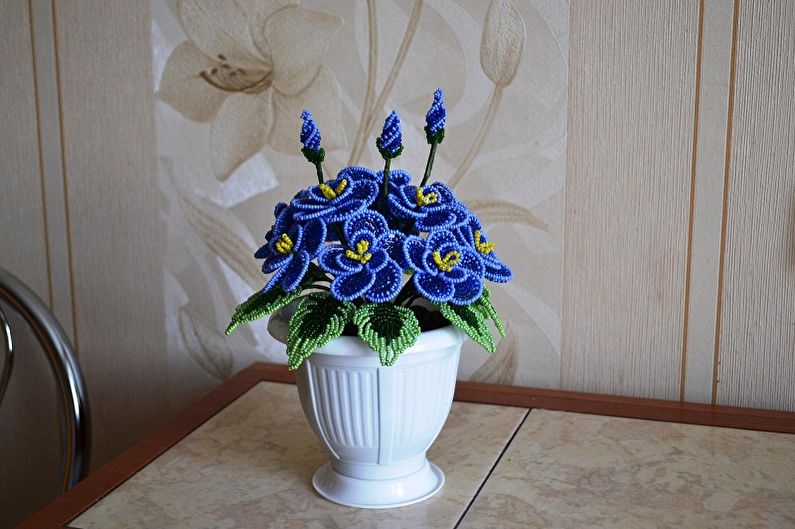
Violets from beads - photo ideas
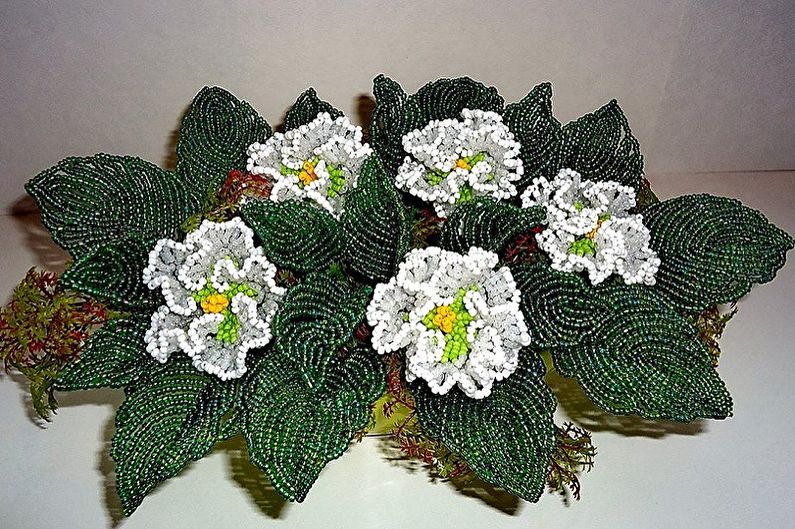
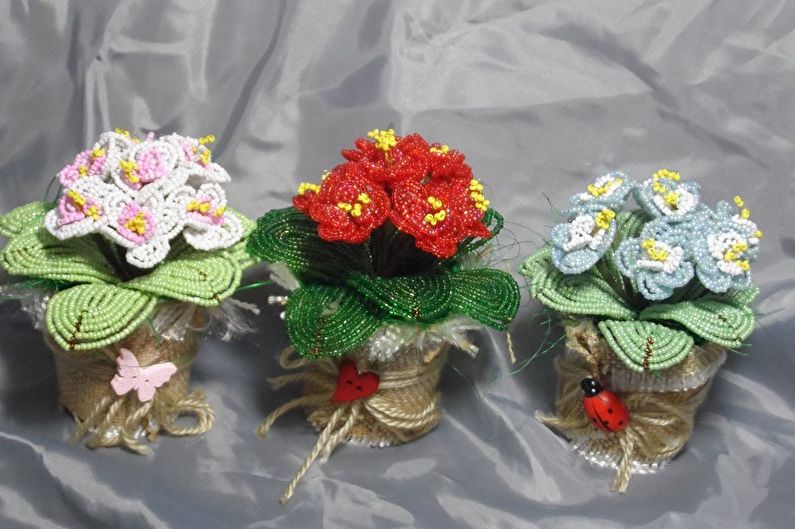
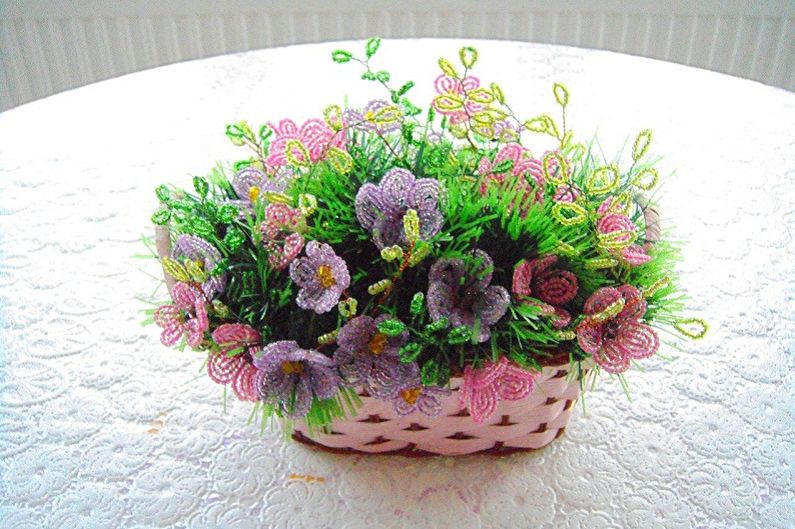
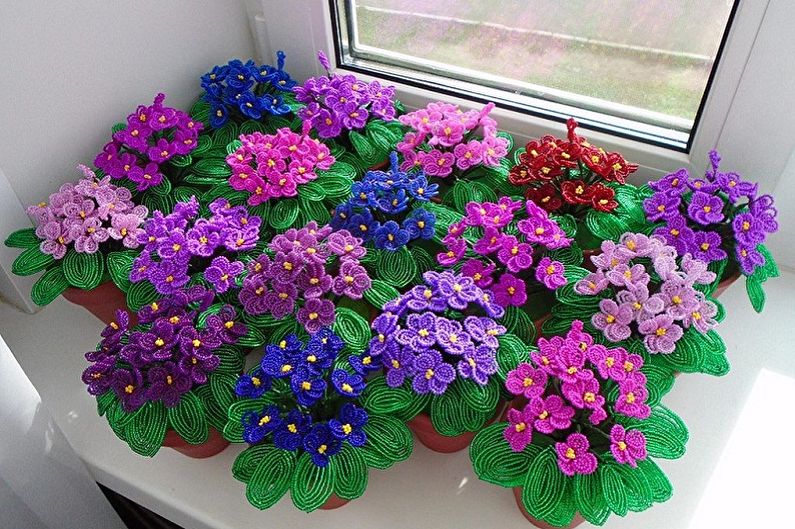
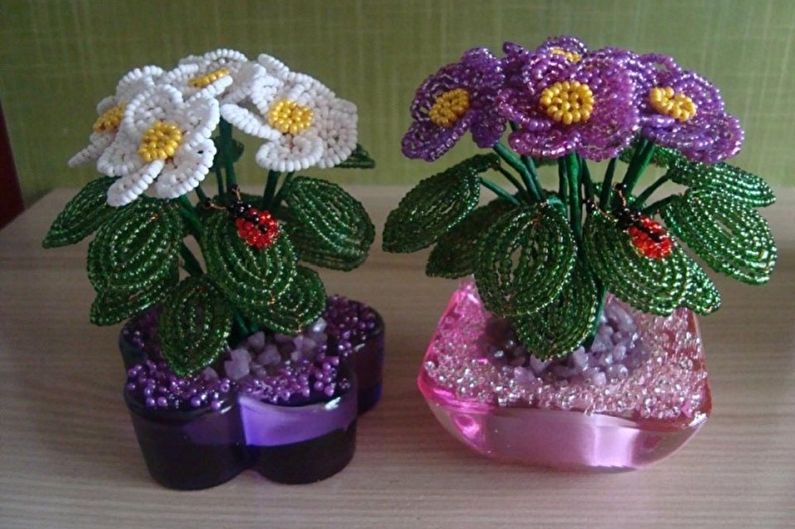
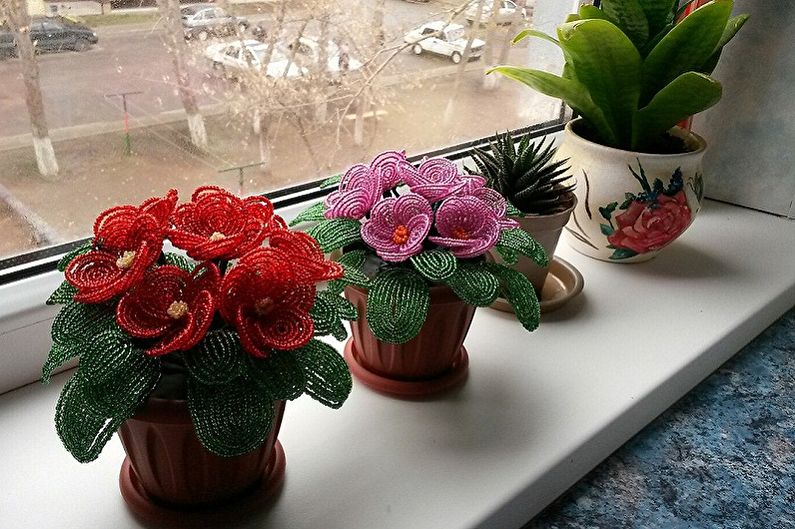
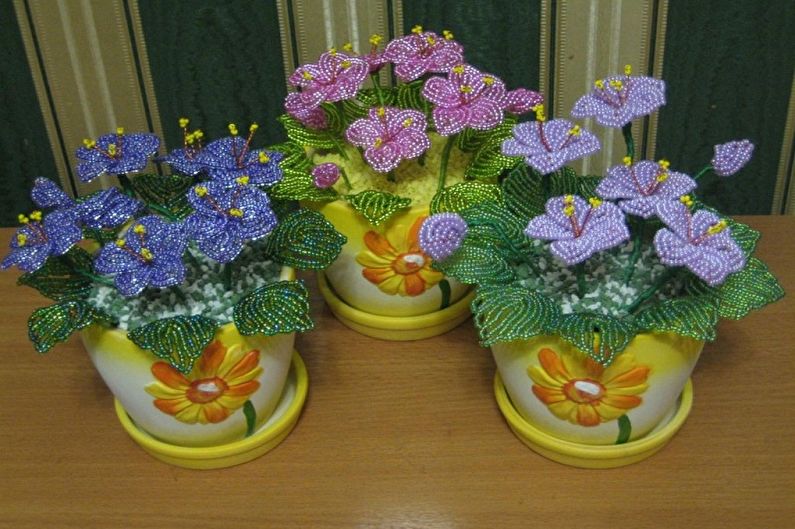
In the further gallery you can learn more about how beautiful violet beads made with your own hands can be. The photo shows a lot of design options, color palette combinations, multi-colored options that will help you learn how to make luxurious home-decoration bouquets. Enjoy watching!
