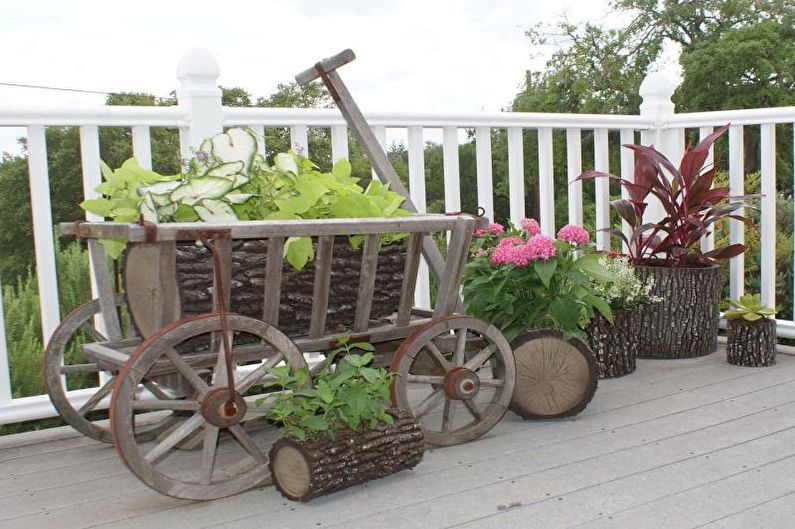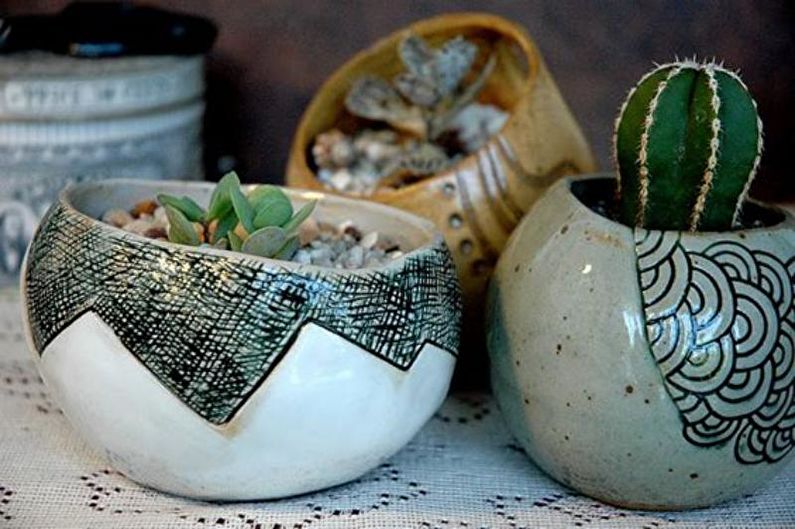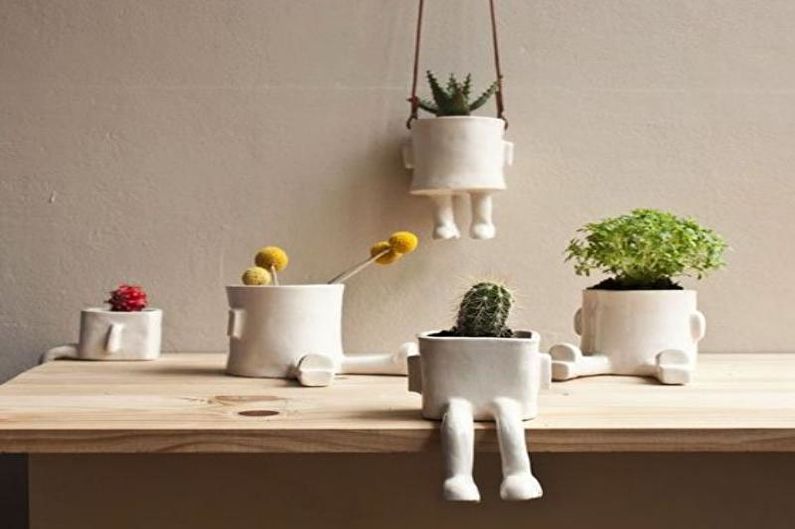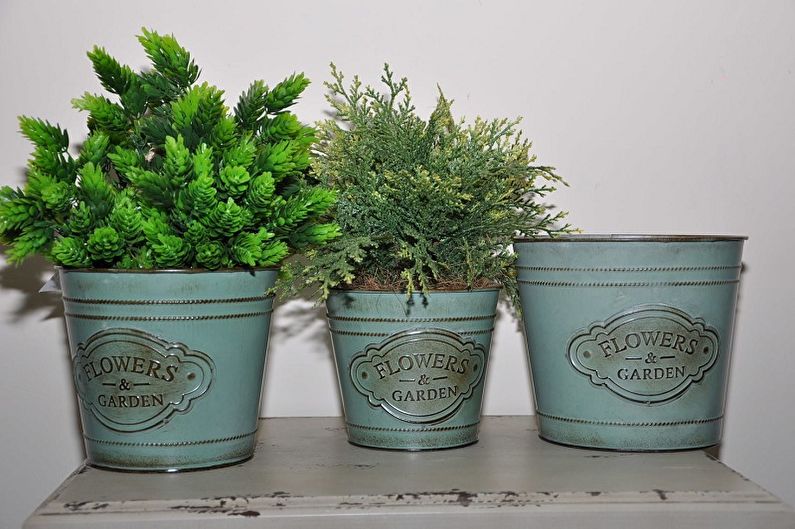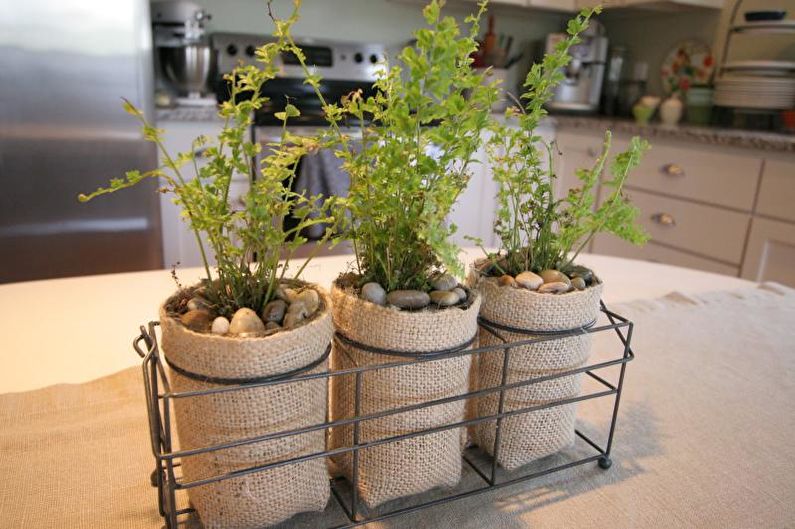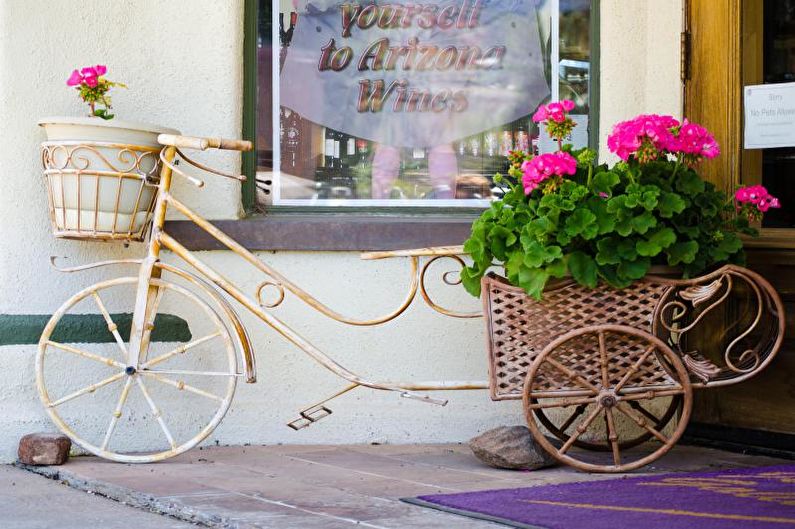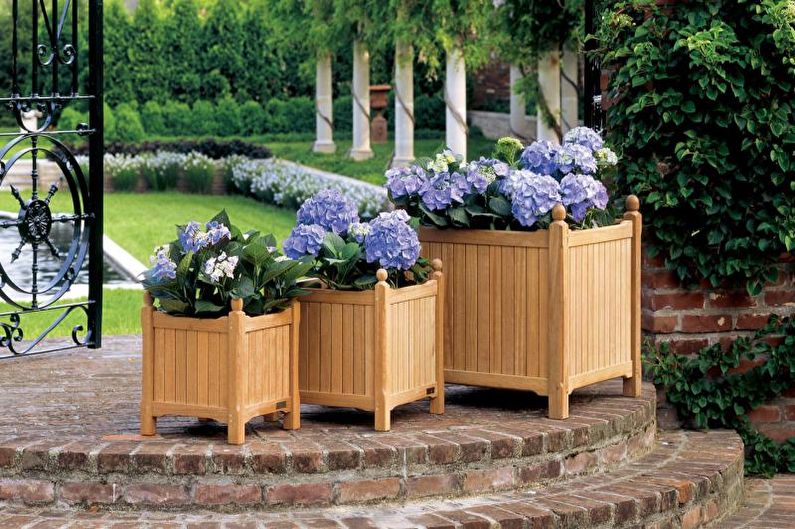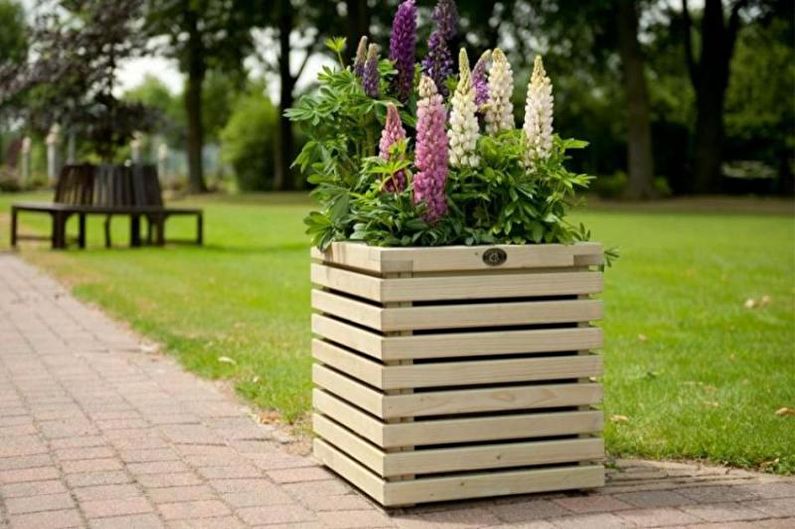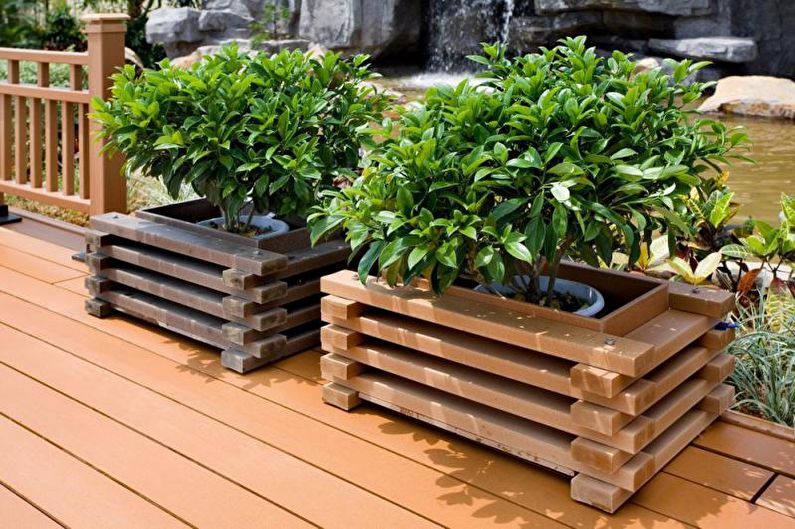
Want to transplant plants and upgrade planters? Take your time to run to the store, perhaps your house already has items ready to do you a new service. Let's see what is interesting and beautiful you can come up with and make yourself!
Cache-pot from a suitcase
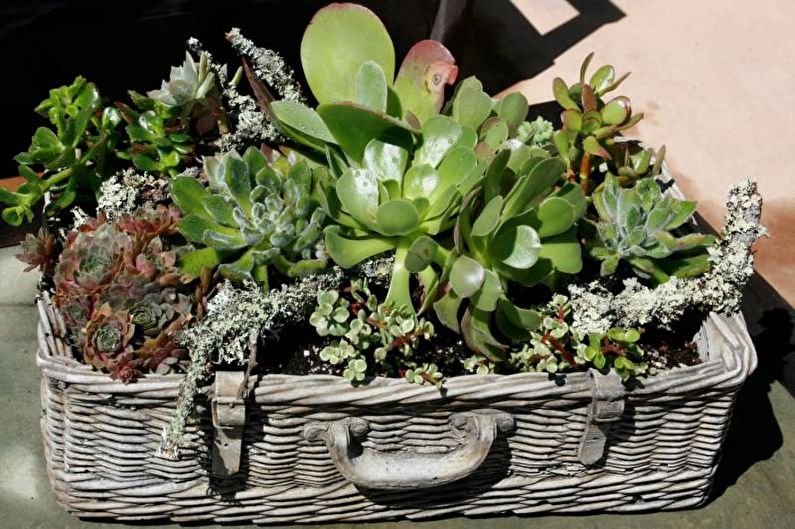
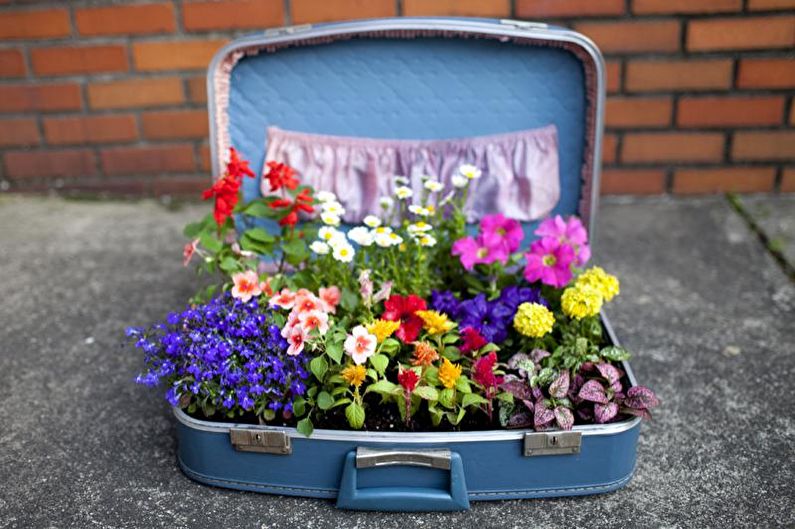
Old suitcases look very intriguing - looking at them, we present fascinating journeys to distant uncharted distances, from where we bring vivid impressions and unforgettable stories. The suitcase also serves as a faithful companion and involuntary spectator of our adventures.
Therefore, if we find this seemingly unremarkable item in the attic, pleasant memories may flood in on us, and we probably will not want to part with it. Instead of sending the suitcase to eternal rest, we suggest making it a beautiful element of decor, and in combination - a haven for indoor plants.
So, what we need for this:
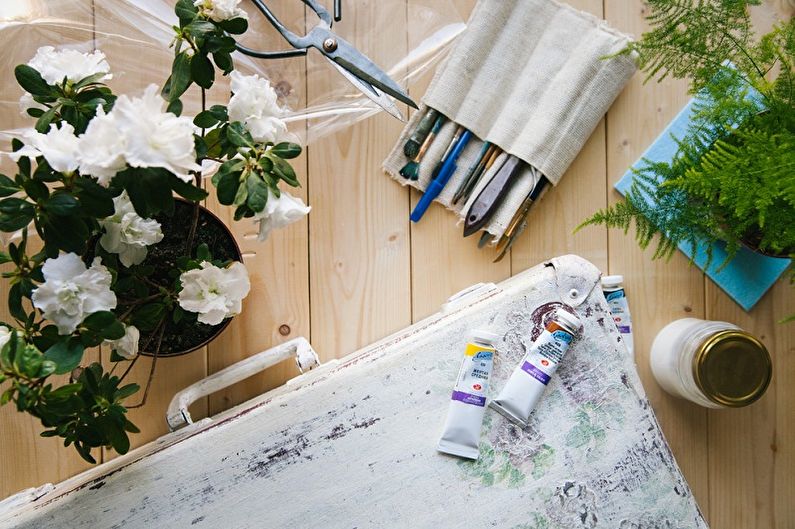
- Suitcase (if you don’t have one at home, take it from relatives or friends or go to a local flea market);
- Expanded clay or earthen soil;
- Indoor flowers (choose any to your taste, the main thing is that they get along with each other and fit in a suitcase);
- Durable film (greenhouse or oilcloth for the table);
- Stapler for furniture;
- Varnish, brushes, paint, primer for decoration.
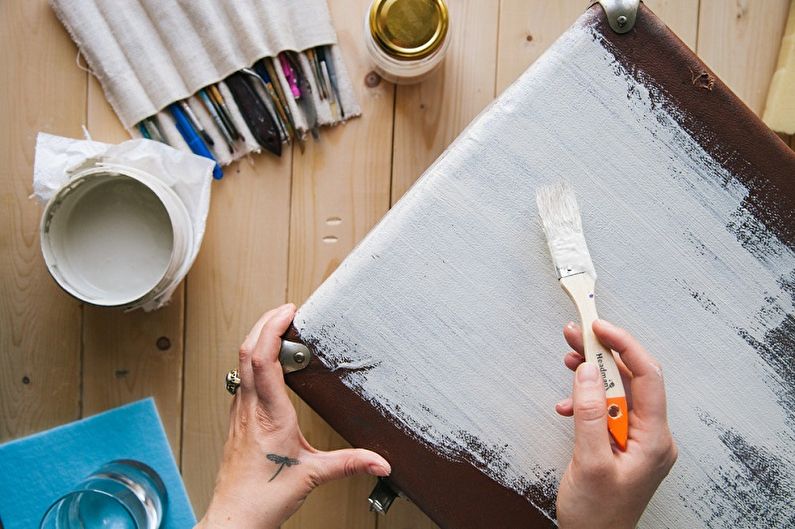
First you need to decorate the suitcase. The most universal option is to cover it with white. Remove the cover, we need only the bottom deep part. Wipe all surfaces with a wet cloth and treat with alcohol. Cover the outer part of the suitcase in two layers with soil (acrylic) and let it dry. Corners and handles can not be touched; to avoid accidental staining, stick masking tape on them.
If desired, the outer part can be further decorated using decoupage technique. Fix the work done with varnish (best matte parquet) - this step is required if you want the product to serve you for a long time.
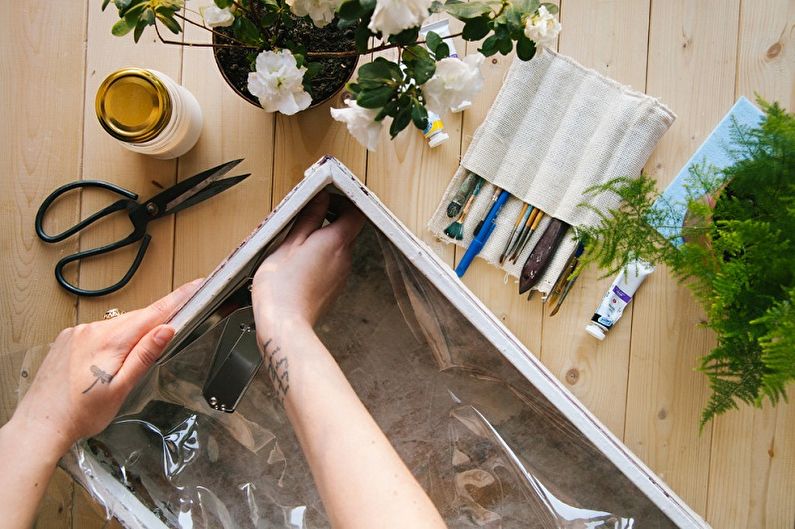
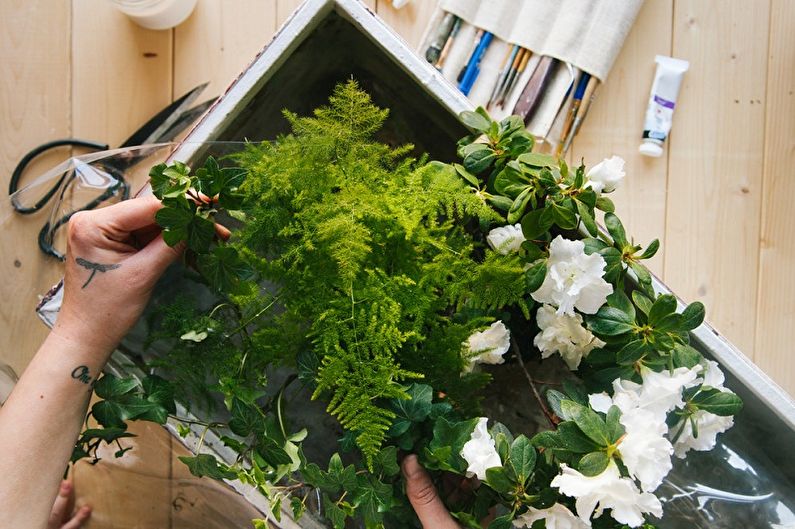
Cover the bottom of the container with a film, so you will avoid damage to the suitcase due to liquid. The film is fastened with a stapler for furniture along the upper edge.
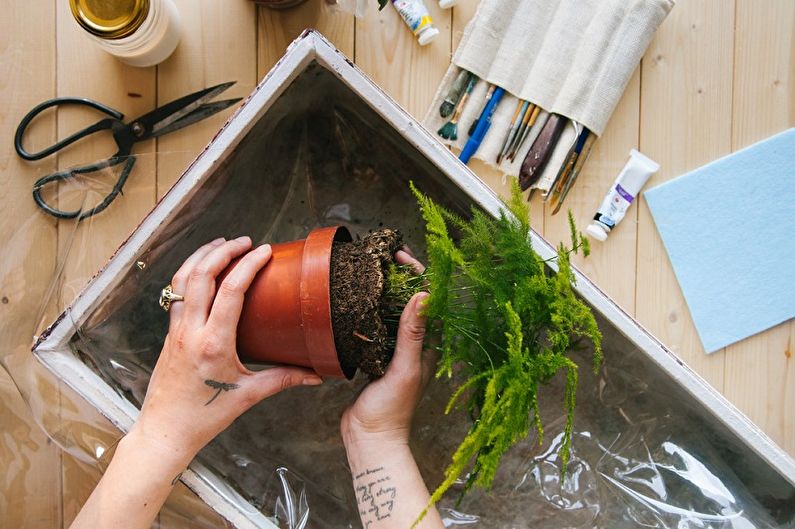
Cover the bottom with expanded clay, carefully remove the plants from the pots and arrange them, leaving areas for the subsequent growth of rhizomes. Fill the voids with indoor flower primer.
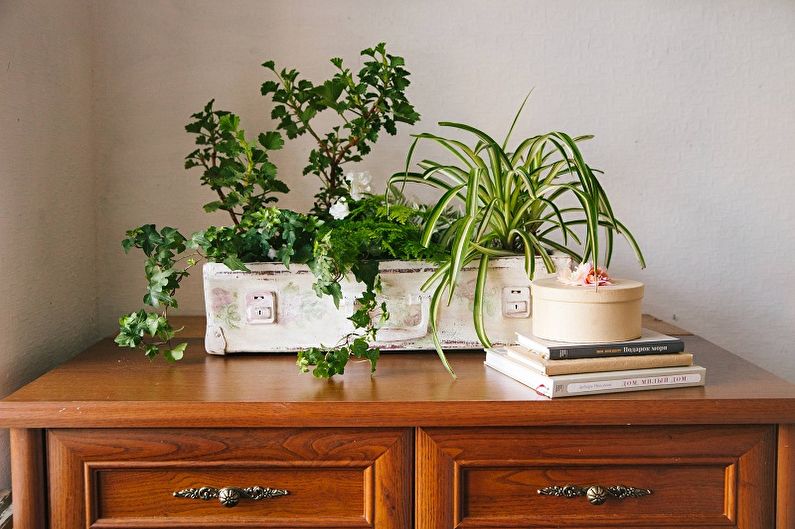
The suitcase is ready! Put it in a selected place and admire your creation. In the future, when watering, monitor the amount of fluid, because if there is too much of it, the plant may die, since there are no holes for drainage. This applies to all types of pots.
Concrete pots
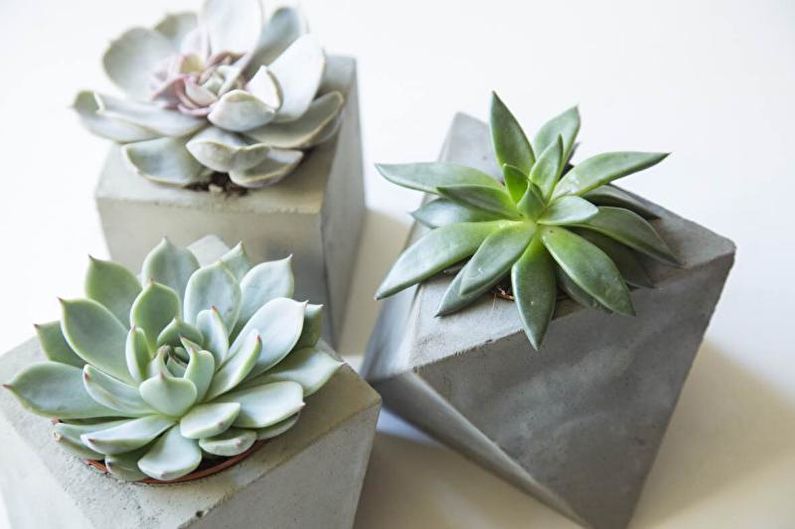
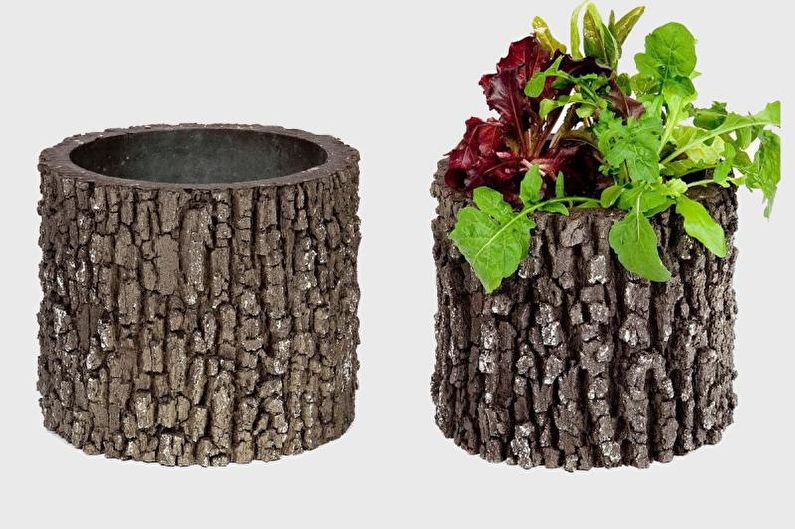
At first glance, it may seem that casting a cache-pot from concrete is difficult. Of course, you will need to work hard, but the result will be very durable and aesthetic. We will discuss some of the nuances of work and get down to business.
It is better to choose a concrete mixture that is not dusty, which you will find at points of sale of materials and tools for creativity.
As a form, you can use plastic or cardboard packaging, from under the products, since they will simply be removed from the dried concrete. It is also appropriate to use thinner forms, but pre-treat them with sunflower oil. In total, you will need two containers. The first should be wider, it is needed for the outside of the product, and the second, narrower for the inside. Try to insert one into the other - so you will appreciate the conformity of sizes and future wall thickness.
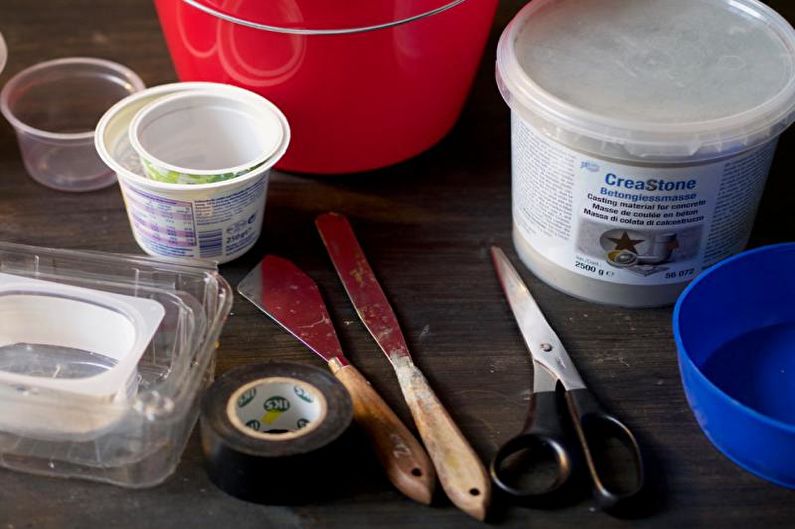
In the manufacturing process you will need: molds, scissors, reliable adhesive tape, spatula, bucket, concrete mix.
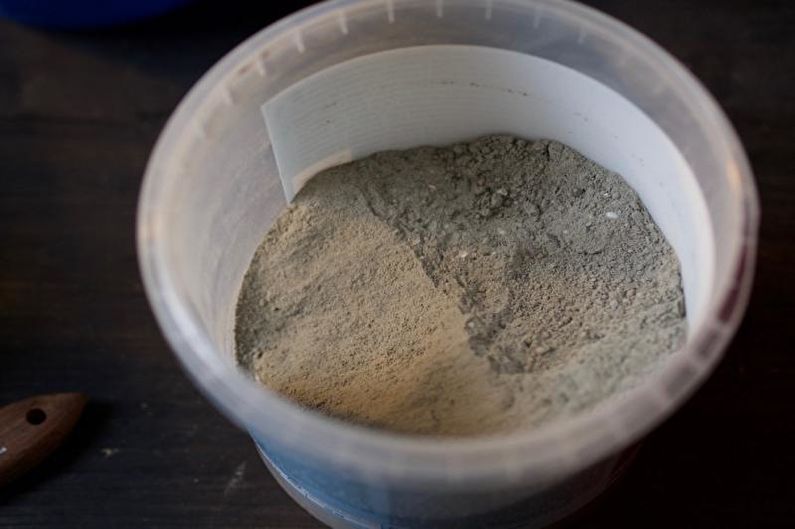
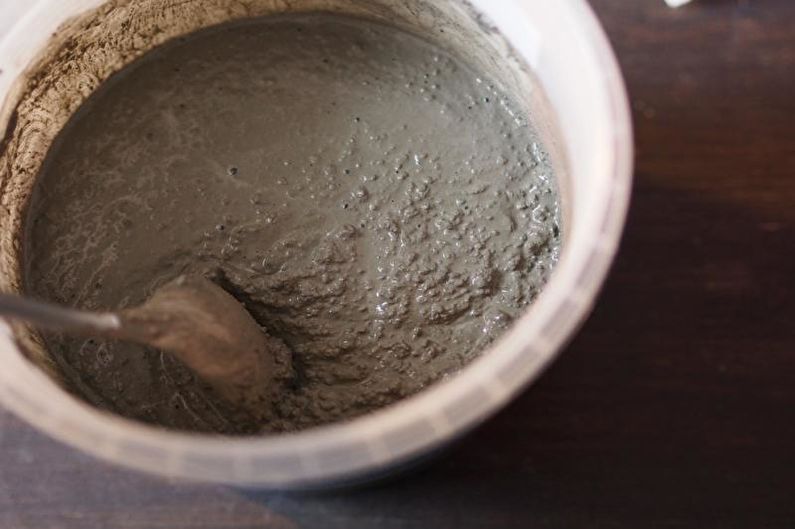
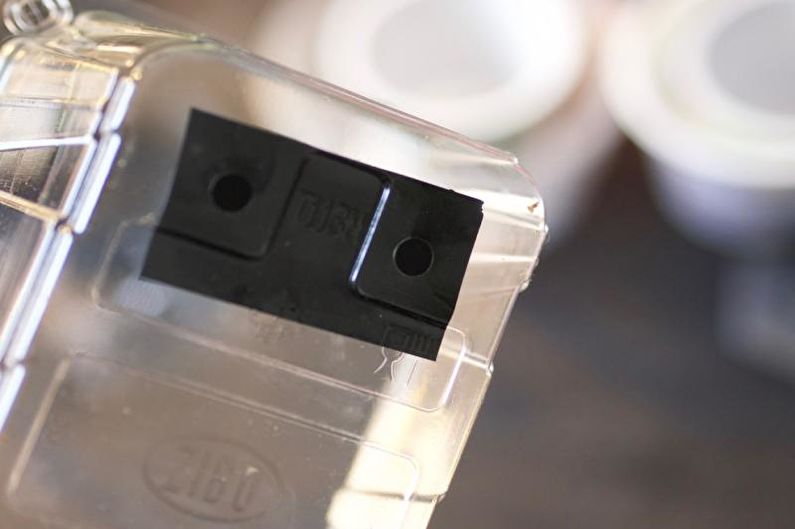
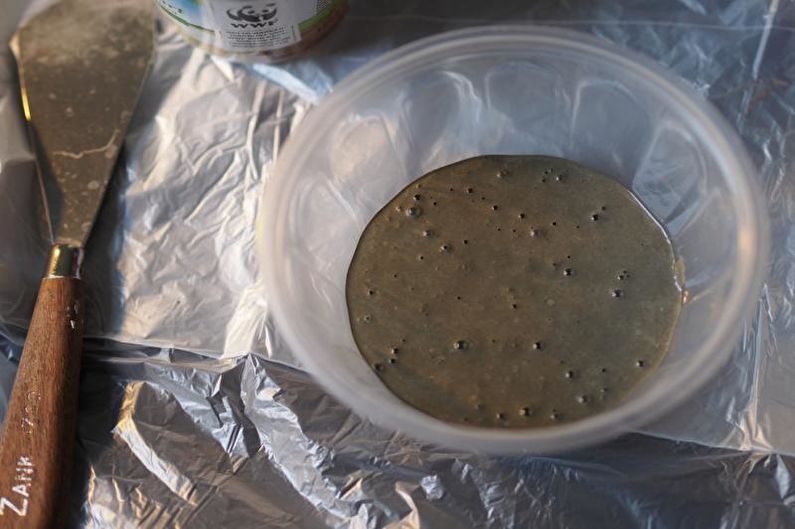
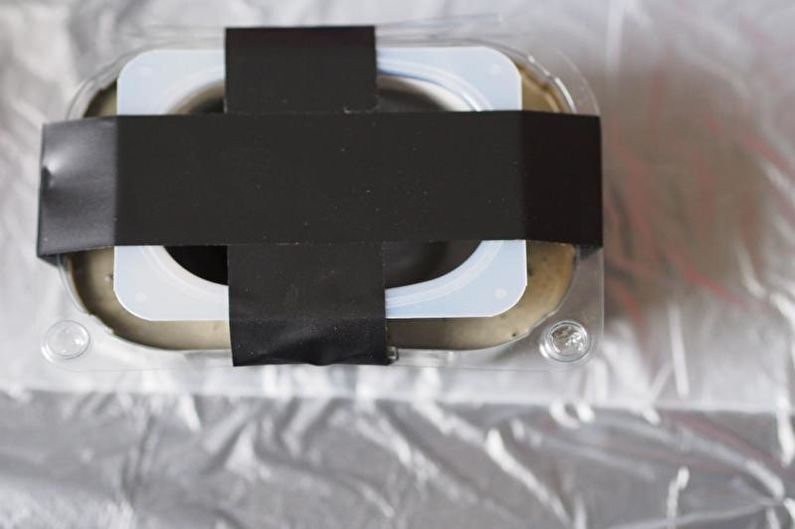
Knead the concrete mixture until a yogurt structure is obtained. Follow the instructions given by the manufacturer. If you pour more water than necessary, then do not worry, because after a while it will appear on the surface. Drain and add a small amount of the mixture, spreading it over the surface. The molds must be checked for holes. If you find them, then just cover them with duct tape. Pour the mixture into a large mold to half.
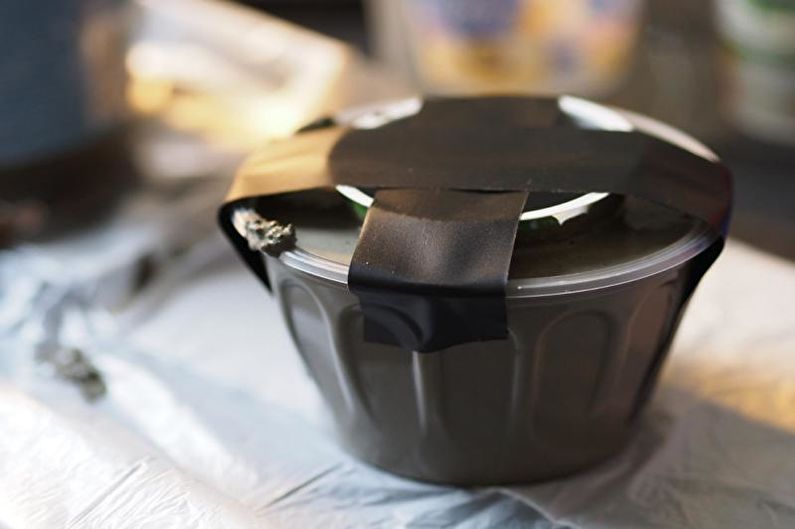
Without waiting for the concrete to solidify, fix a smaller capacity inside the external mold. You need to fix it from above using adhesive tape. At this stage, it is important to ensure that the small form moves away from the larger one by at least 1 cm, since otherwise the planter will come out fragile. To evaluate how full the vessel will be, you can during the manufacture of the first container by immersing the internal form in the mixture.
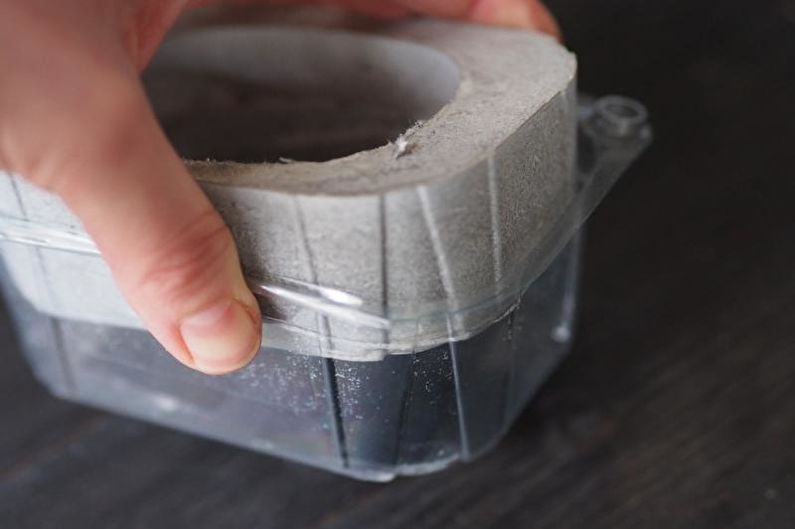
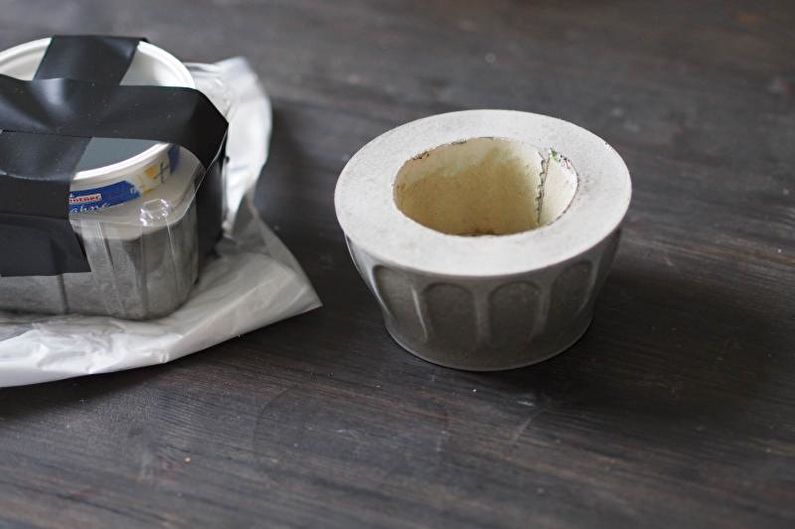
Give concrete time to solidify - about two to three days. No need to remove the tape. After the expiration date, the pot can be carefully removed. If this is difficult, cut the cardboard or plastic with a knife.
Get rid of surface roughness with sandpaper. Done!
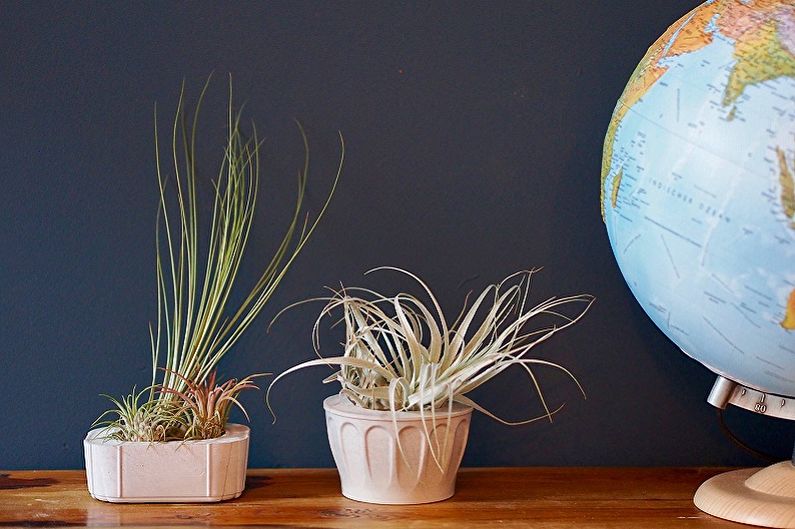
The cache-pot can be decorated or painted. Plant the plants and put them in a prominent place - so that everyone can see what kind of master or craftswoman you are!
Pots from the remains of tiles
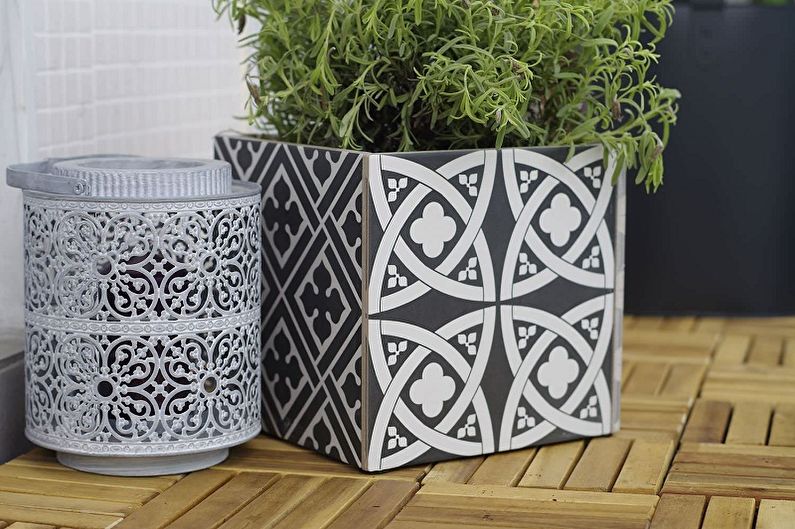
At the end of the repair work, many houses still have decoration materials, including tiles. Just from it you can build an unusual flower pot that will decorate the interior or garden.
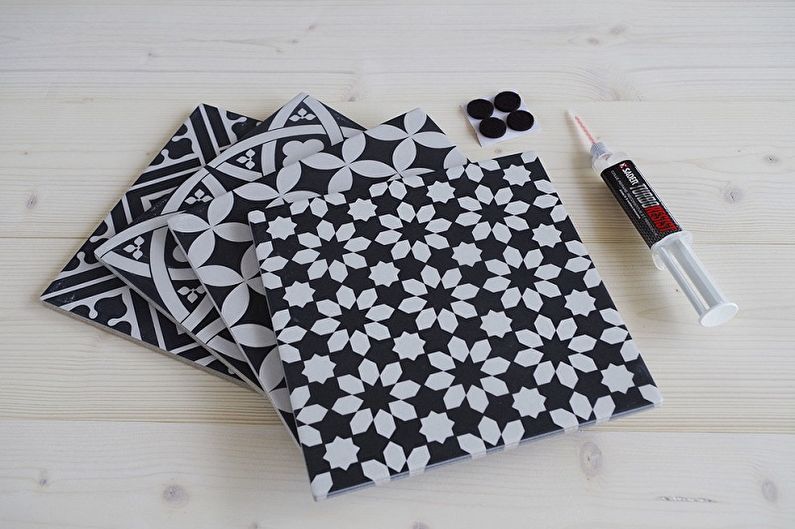
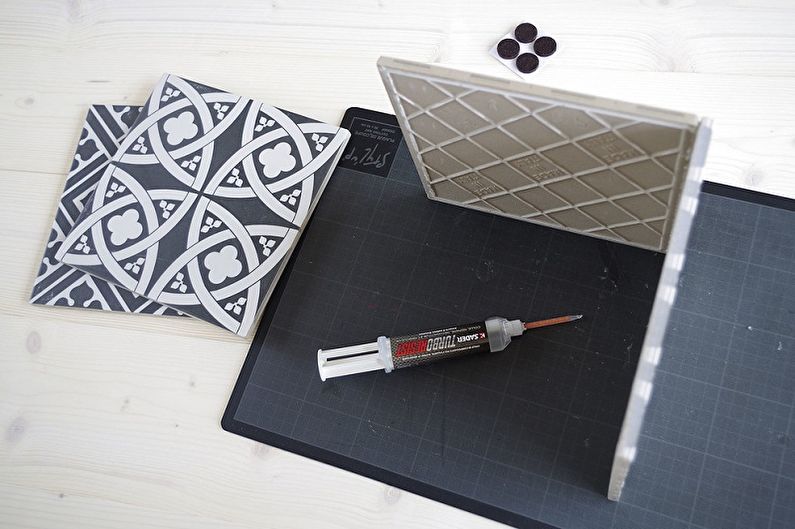
Stock up on such materials: glue (gun or moment), 4 tiles in one size, 4 pcs. felt.
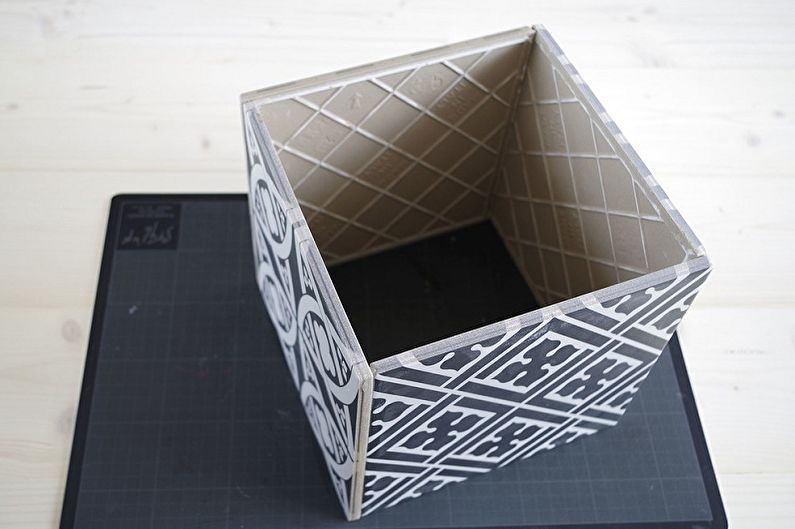
Apply glue to one edge of the tile and immediately press it against the back of the other tile. To keep the edges neat, use a thread mat. Repeat the algorithm for each tile. So you get the basis for the product.
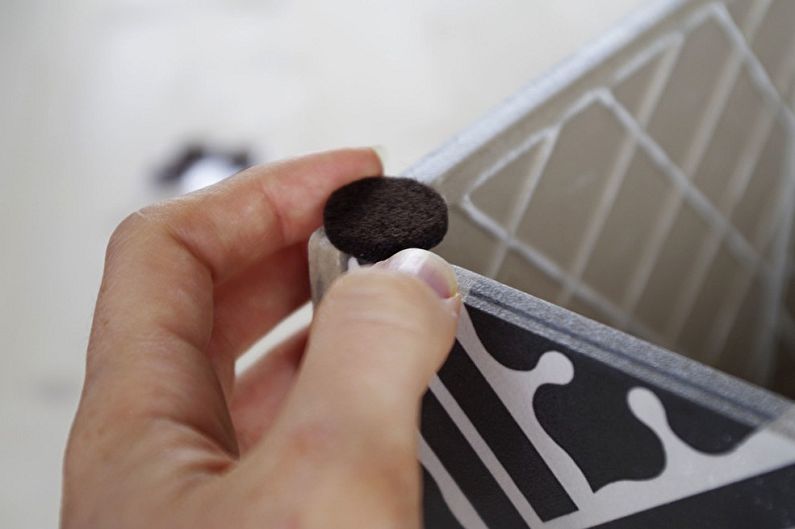
Fix the felt circles with glue on all 4 lower corners of the resulting cube. Put a pot of plants in the pots. Done!
What is especially nice - such a pot is universal, for example, you can use it as a candlestick for the garden.
Fabric pots
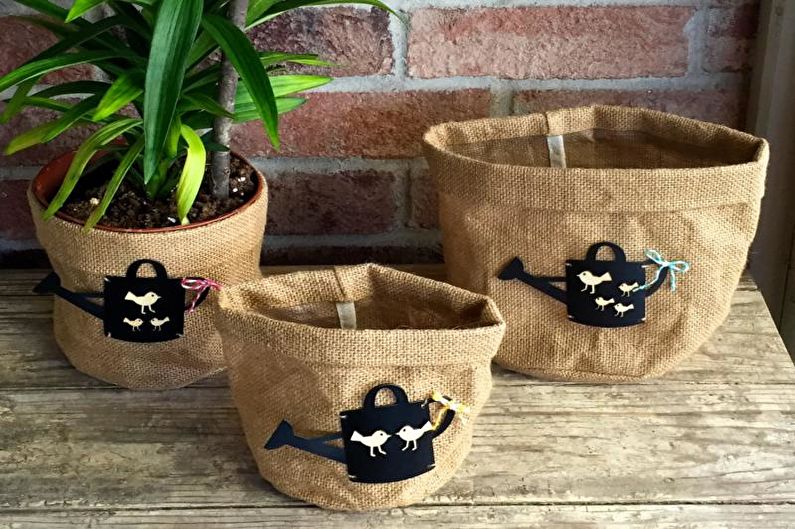
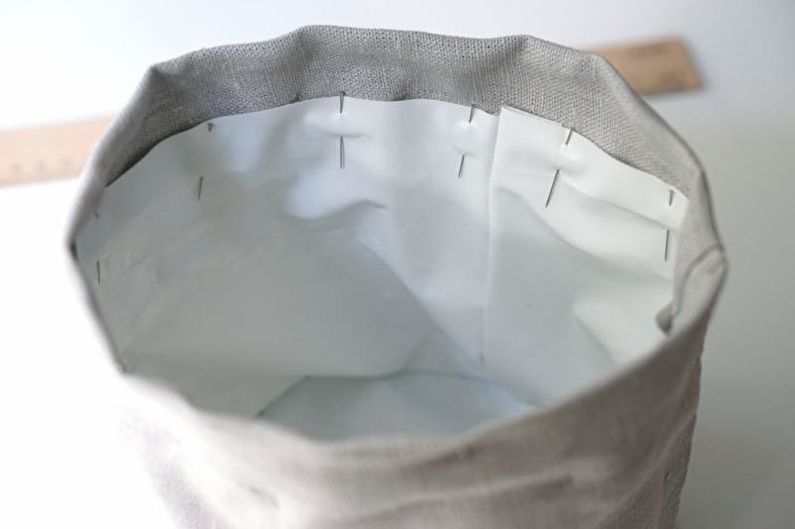
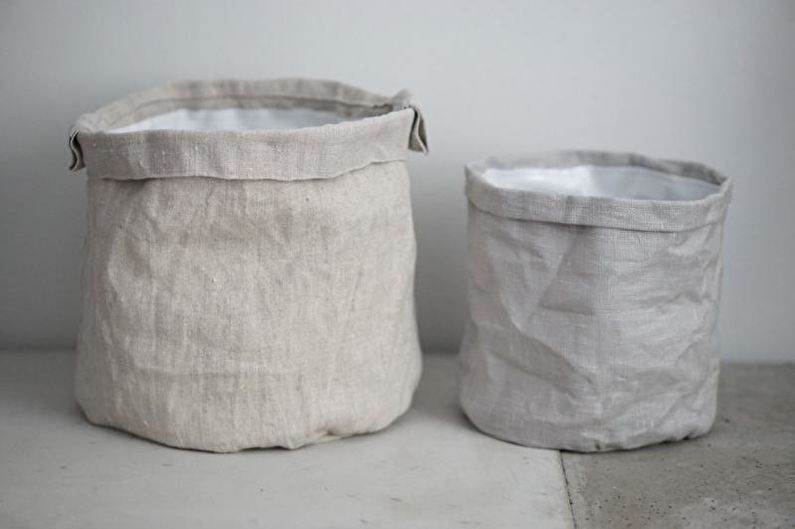
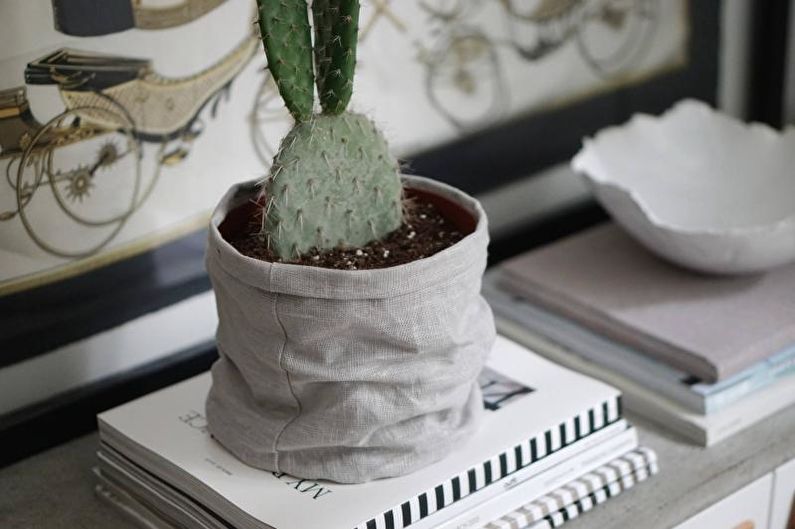
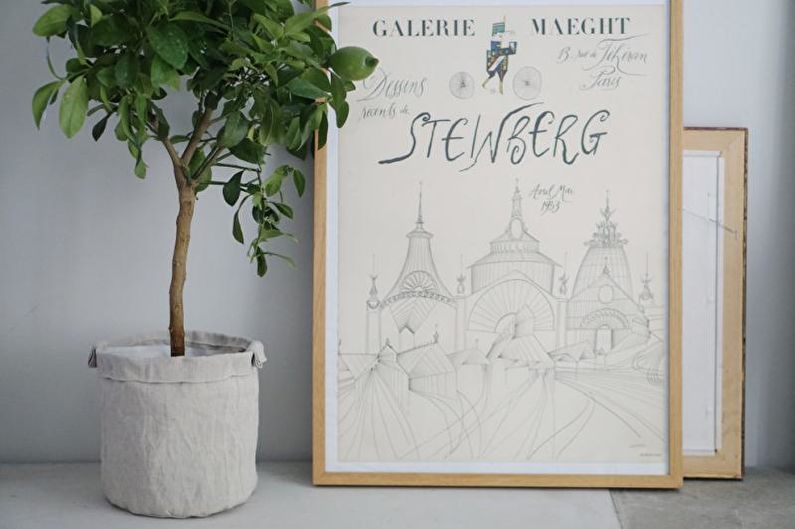
One of the simplest ideas to decorate an unsightly planter is to sew a single linen cover or a large canvas with pockets. So that water does not penetrate the fabric, an oilcloth should be placed on the bottom. You can choose an ornament or texture at your discretion, and, in most cases, the plants will not need to be transplanted, which will save your time and energy.
Textiles should be sufficiently dense and keep in shape. For a separate case, it is necessary to form a cylinder with a film on the inside. To make a cloth with pockets, you will need to prepare a wire base that will fix the shape.
Hanging shelf with flower pots
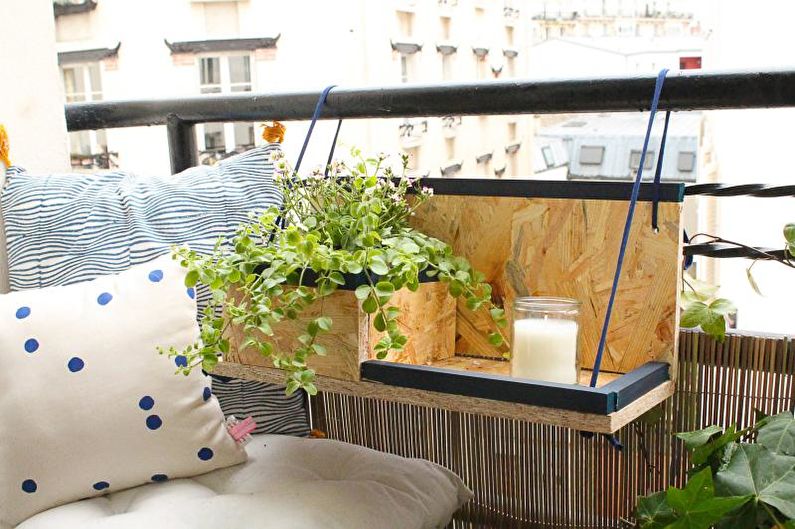
For the balcony or room you can build a nice shelf on which you can place flowers and a couple of candles.
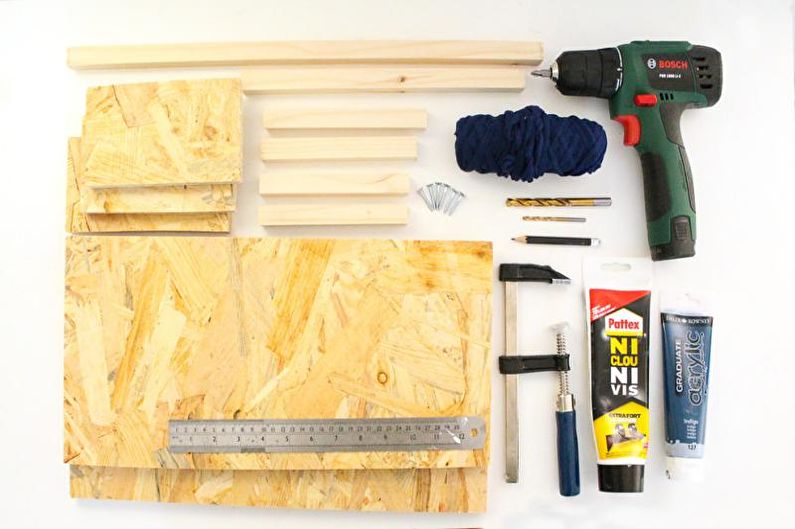
You will need: plywood (ordinary boards or OSB with sizes 45x20, 45x18, 15x9 and two fragments 17x9 cm); one bar 1.5 cm wide, cut into strips (two 45 and 27 cm long and 4 pcs. 15 cm each); rope or rope; glue for working with wood; drill; self-tapping screws 4x3 mm; press; wood paint; brush.
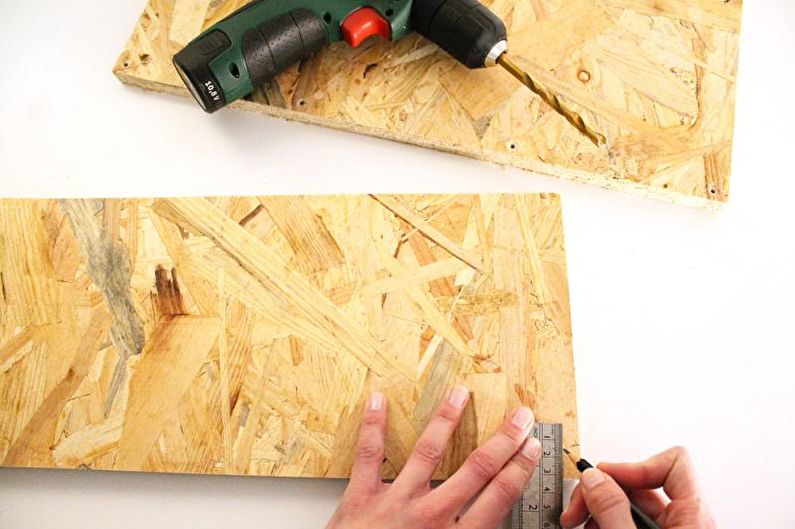
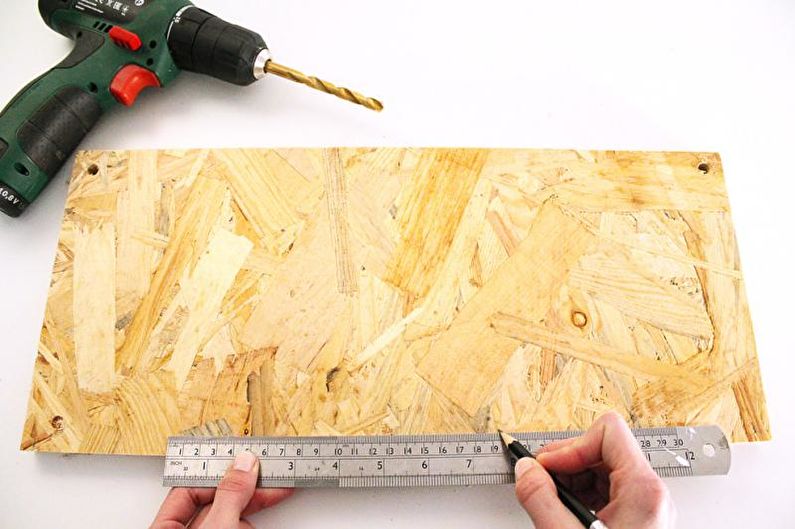
Color the bars - they will serve as the edges of the plant box and the shelf itself. Next, make holes for the rope in the largest plate - this will be the back wall. Step at least 1 cm from the edge.
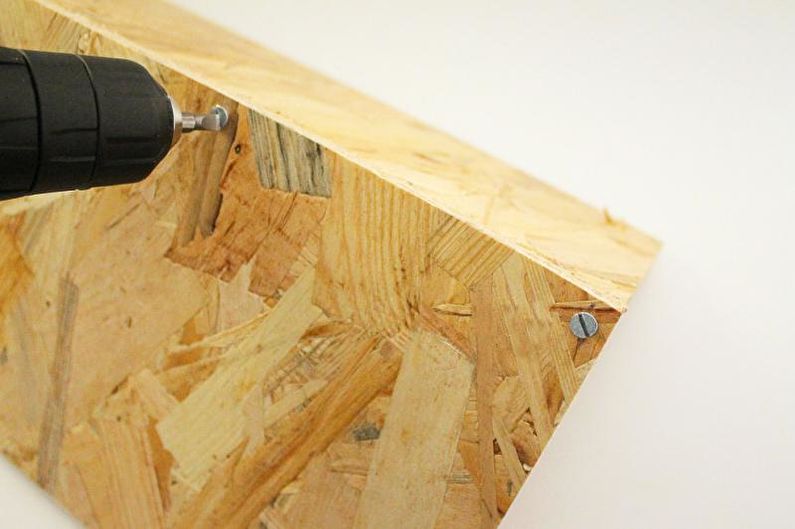
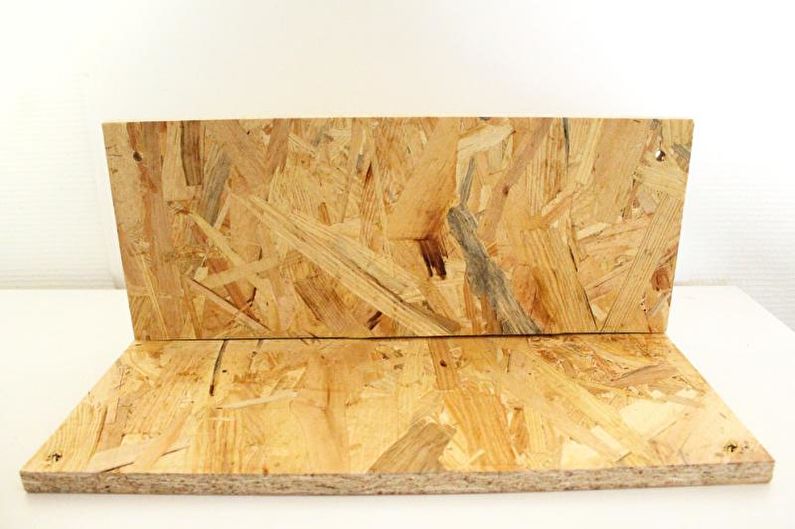
Drill holes on the left side of the plate for the bottom of the shelf, 1 cm off the edge. Make holes on the right side, leaving 2.5 cm.
Form holes on a vertical piece to connect the parts. Use a thinner drill and drill, backing 3/4 cm from the edge. Drill holes with a thicker drill to make them look neat. Fasten the elements.
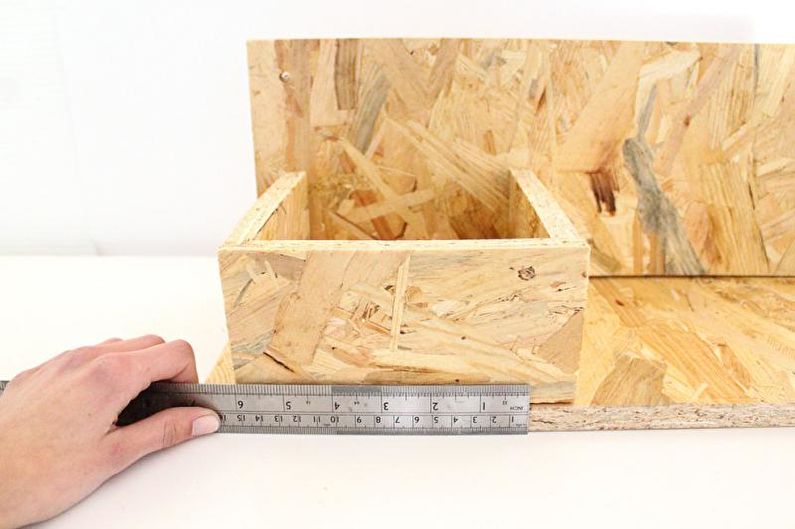
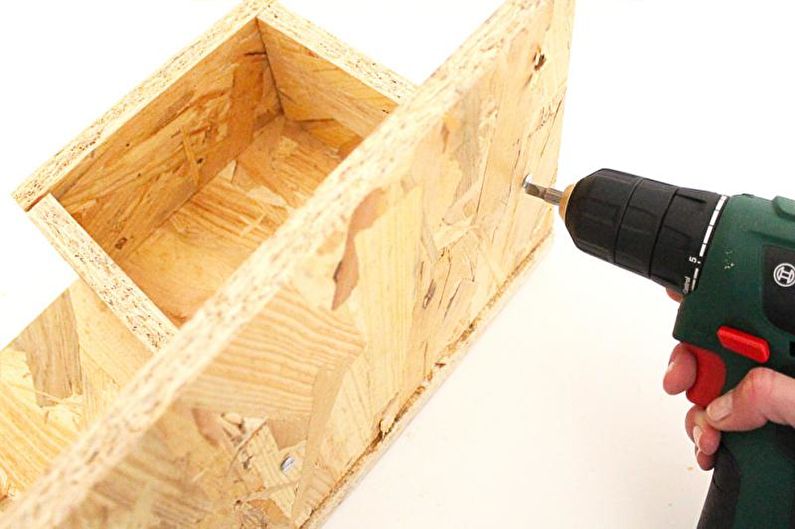
Decide on the size of the flower-pot box and take measurements, leaving space for fastening on the left side.Mark the attachment points - in the middle and at the corners of each box wall. Drill them with a thin and thick drill. Using screws, screw the drawer to the shelf.
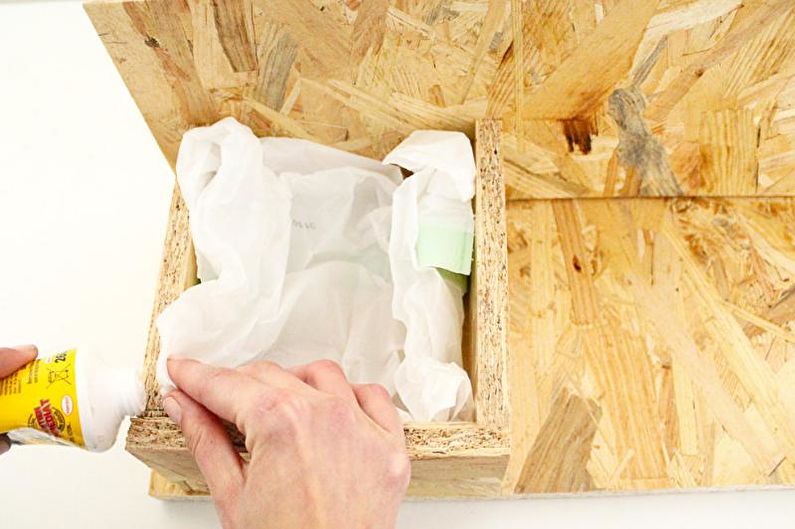
Apply and distribute glue to the bottom of the shelf and the edges of the box, put the bars there, press down. Allow time to dry according to glue instructions.
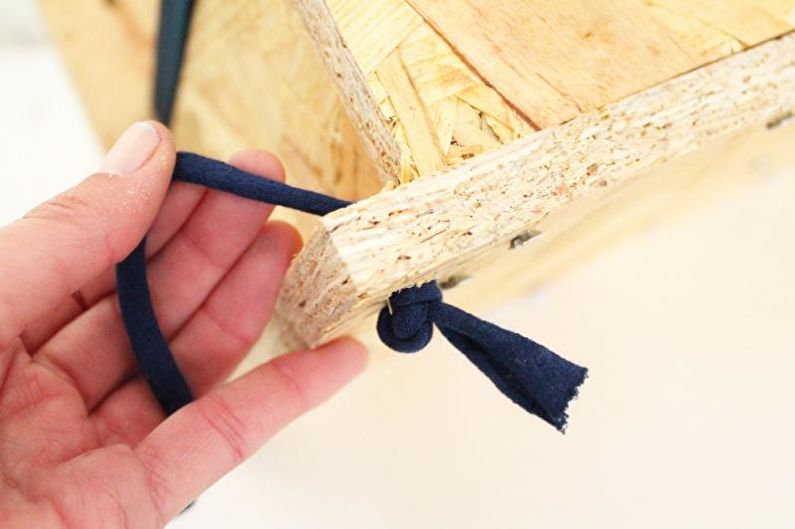
Pass the rope with the ends tied into a horizontal board. Pull it up to a large plank, vertically, and also tie the knots. Done! Put oilcloth on the bottom of the box and plant flowers there or put inside the pots. On the shelf, you can place candles or other decorative elements, put cups with hot drinks there.
Ideas for flower pots in the garden
In the garden, you can much more freely approach the issue of selecting containers for plants. But nevertheless, for the well-being of representatives of the flora, it should be noted that they need to be selected depending on the size of the cache-pot. If the vessel is shallow, then use vegetation with a superficial root system. In addition, a small amount of land, which will have to be used in some cases, will not be able to provide any flower with food. Therefore, in this case, give preference to unpretentious representatives, for example, beautiful succulents or plants that are suitable for rock garden.
We have collected some crazy, but spectacular compositions:
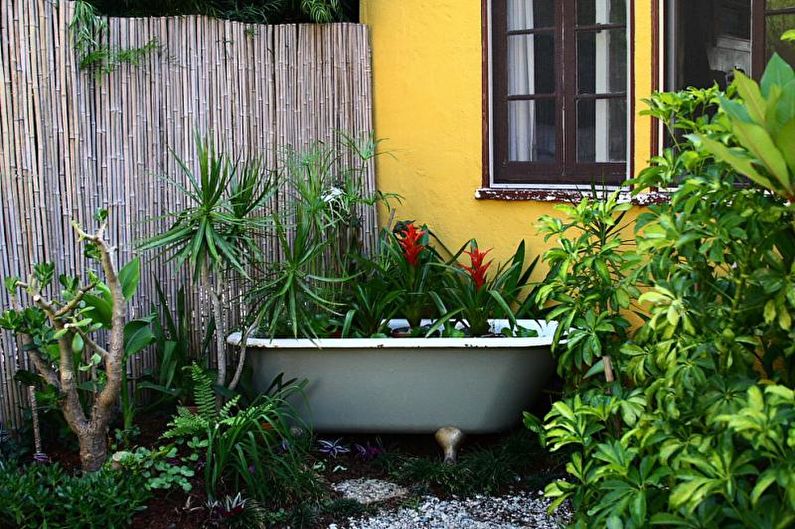
- Self-sufficient, large flowers with rich and saturated greens can be planted in the bathroom - such flowers even in such a large capacity will not be lost;
- An excellent natural planter comes out of the old wooden table - pretend that the plants themselves have sprouted there, you can even plant grass there and plant beautiful stumps;
- Old cars, especially vintage ones, look very organic with flowers inside, as if you were taking them for a transplant;
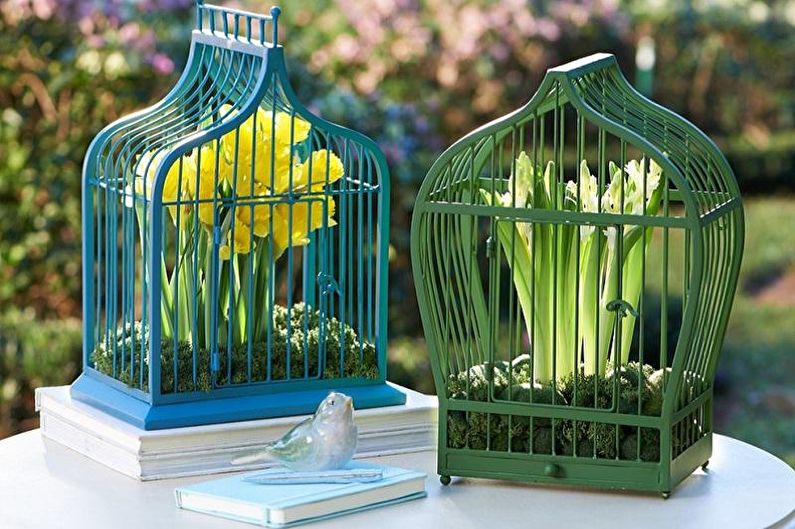
- The figured cages for parrots look incredibly sophisticated and cute, paint them in bright colors and boldly plant, say, moss and daffodils there;
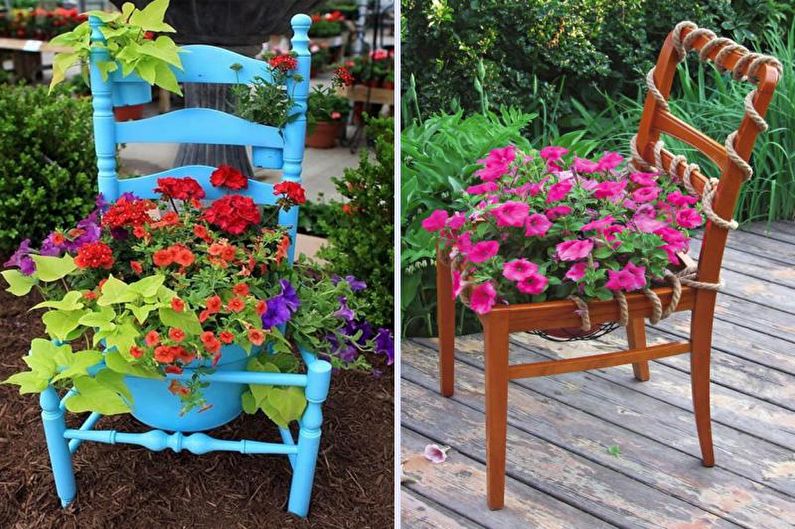
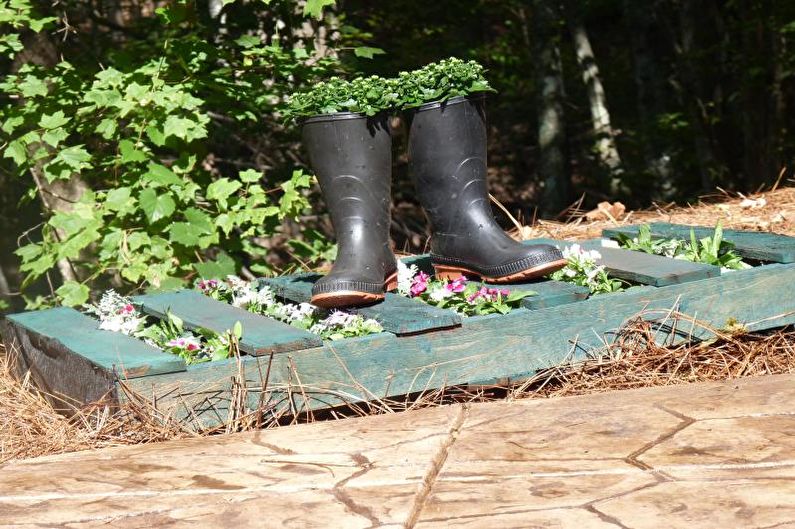
- Sometimes plants sprout in the most seemingly impossible places, use this - put flowers in rubber boots, a thick book with yellowed pages, charred logs.
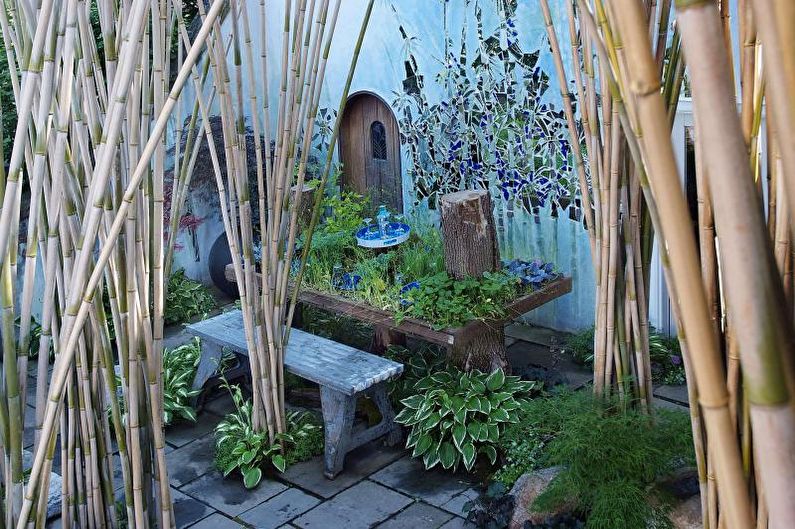
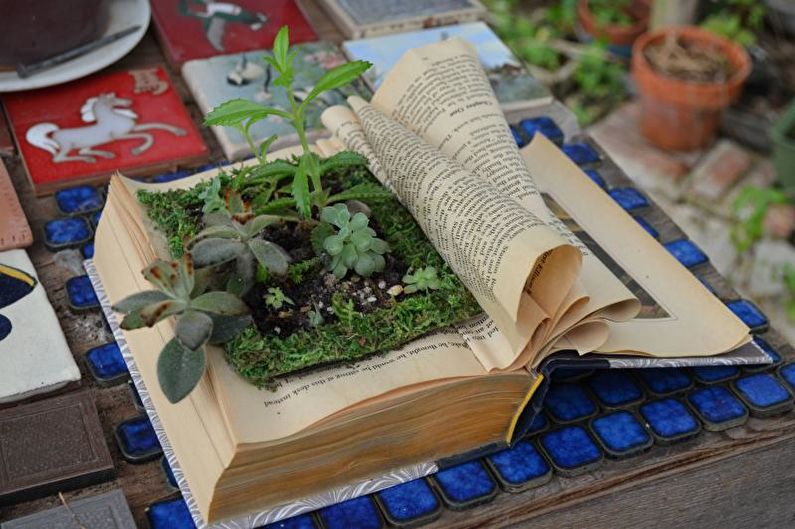
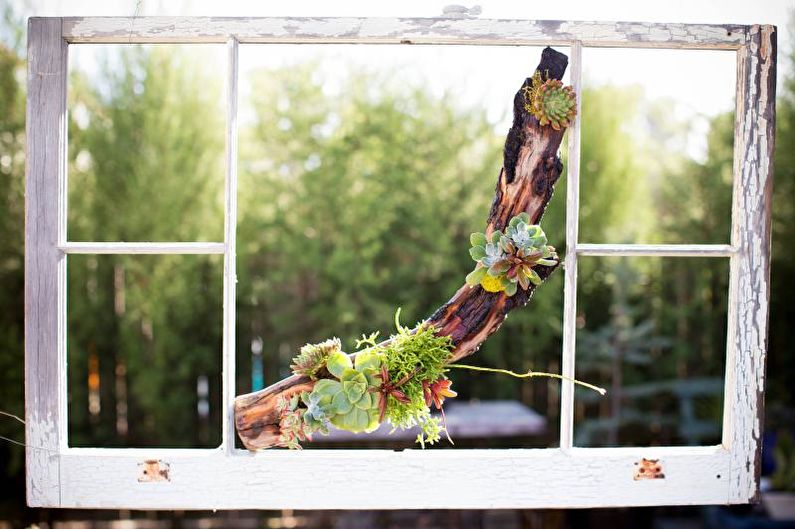
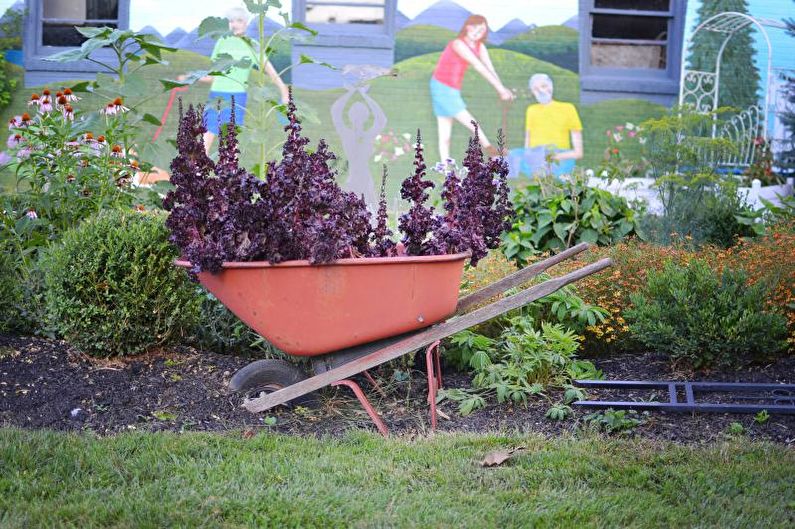
DIY flower pot - photo
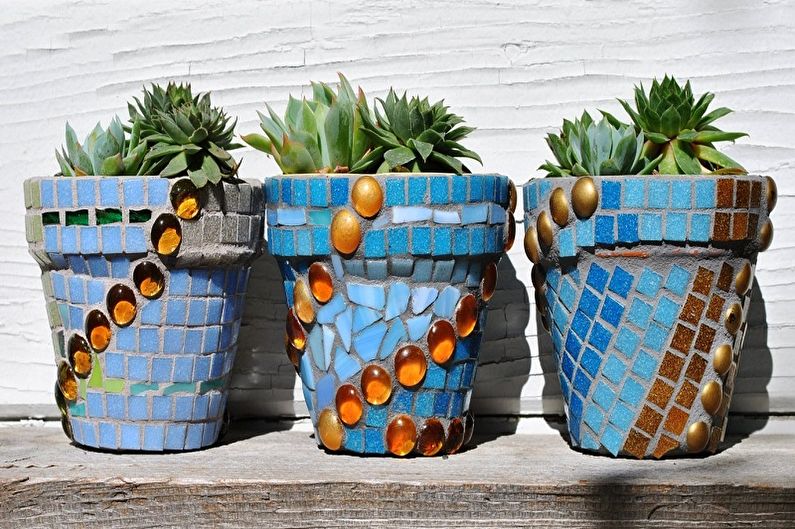
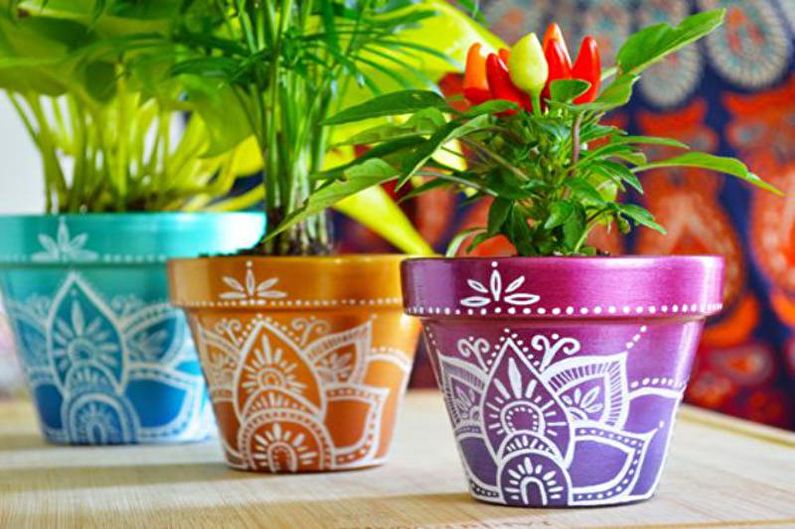
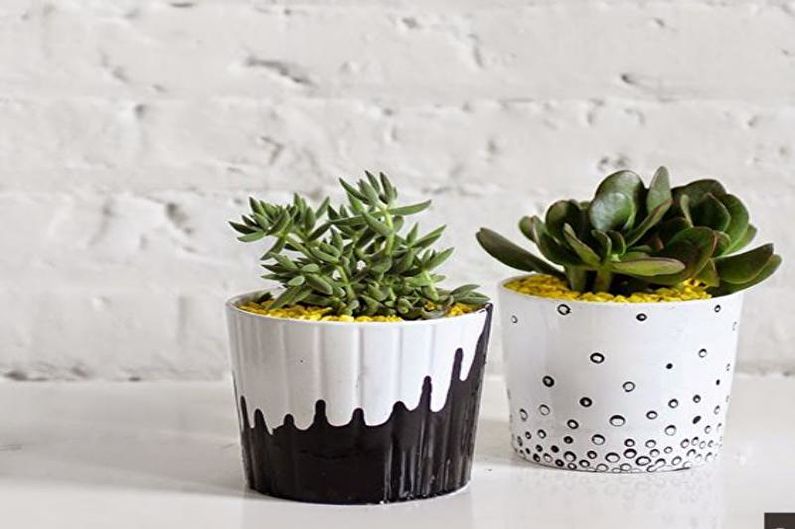
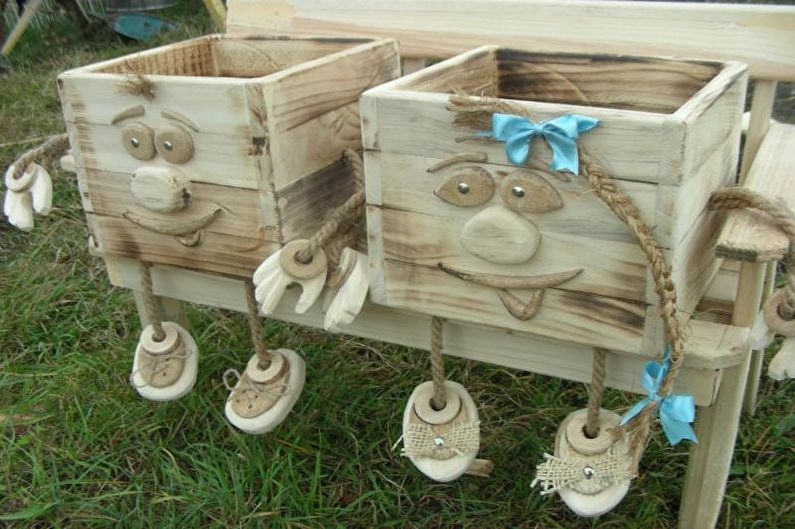
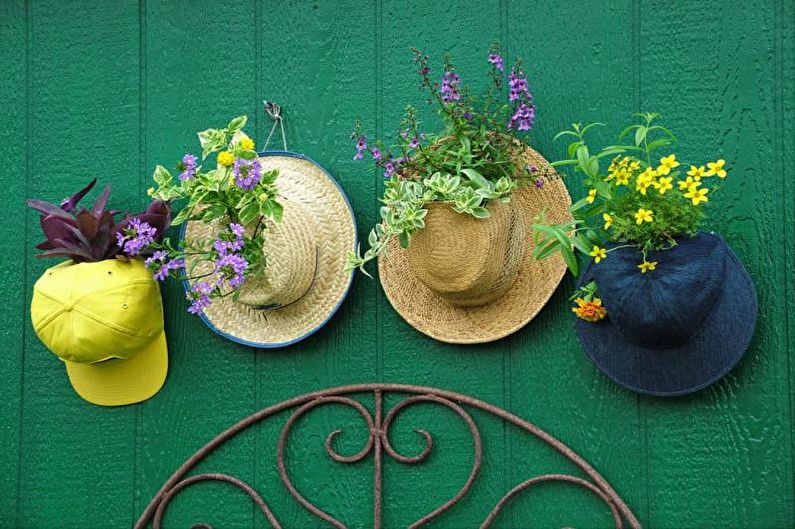
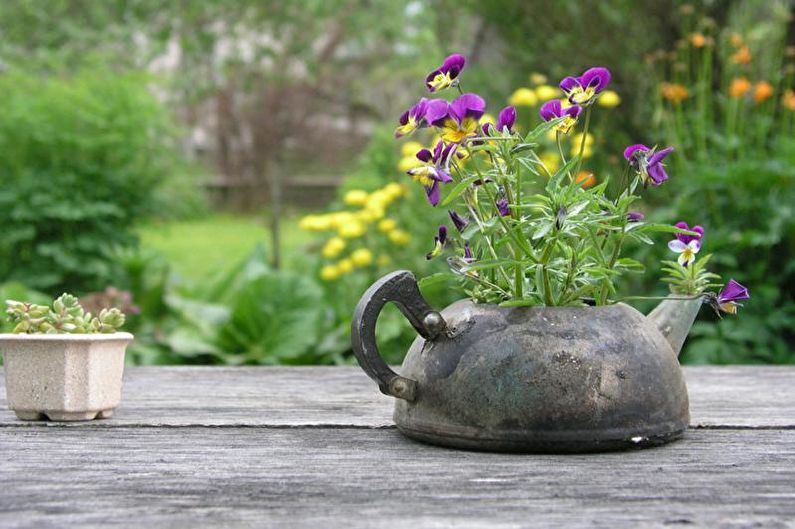
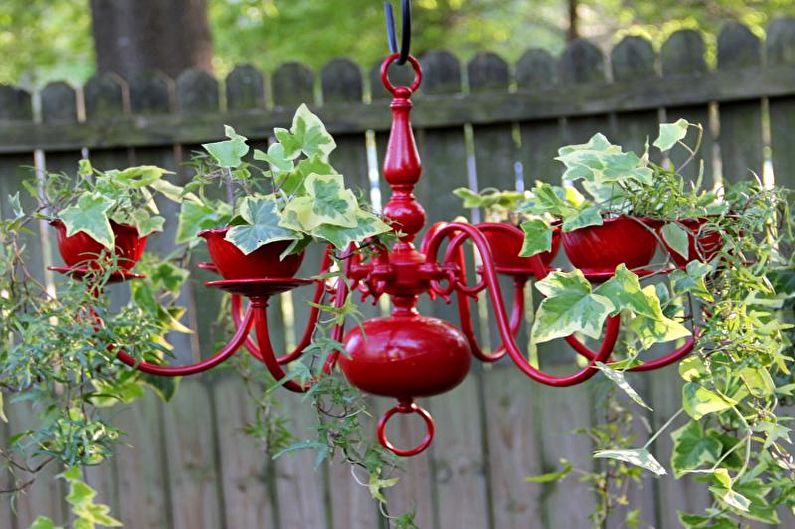
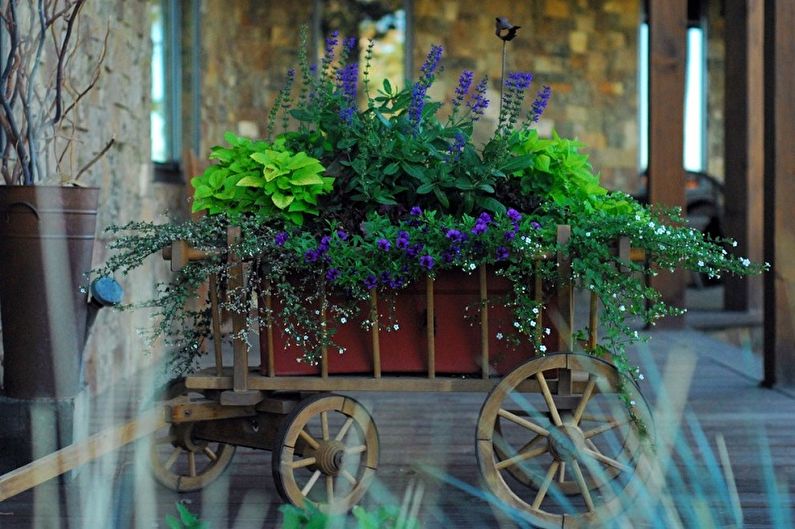
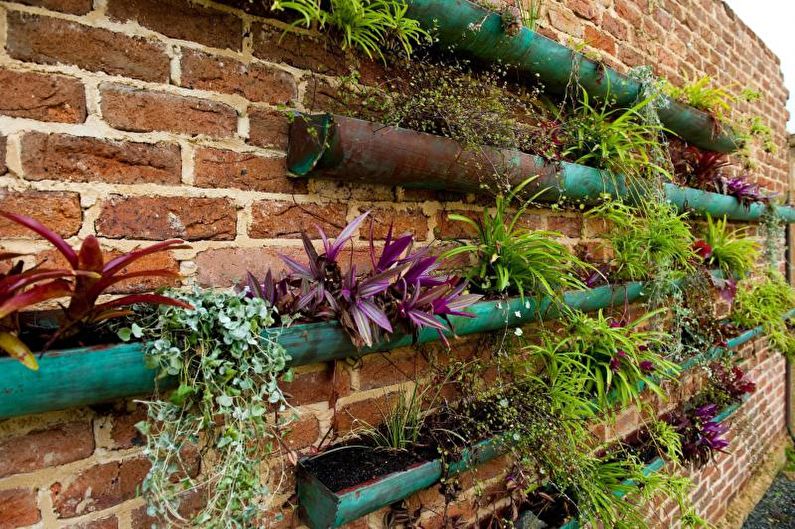
In fact, almost any item you like can be used as a pot. The main thing is that the plant should be provided with the necessary conditions for life. We offer to view a selection of photos with beautiful ideas for planters. We wish you a pleasant viewing and inspiration for creativity!
