It happens that you can not find the keys just before leaving? This is a very annoying situation. The stylish and, undoubtedly, useful wall key keeper will help you fix it. Having picked up or making a housekeeper with your own hands, you will forever forget about these minor, but unpleasant everyday problems.
We choose a key keeper for a hall
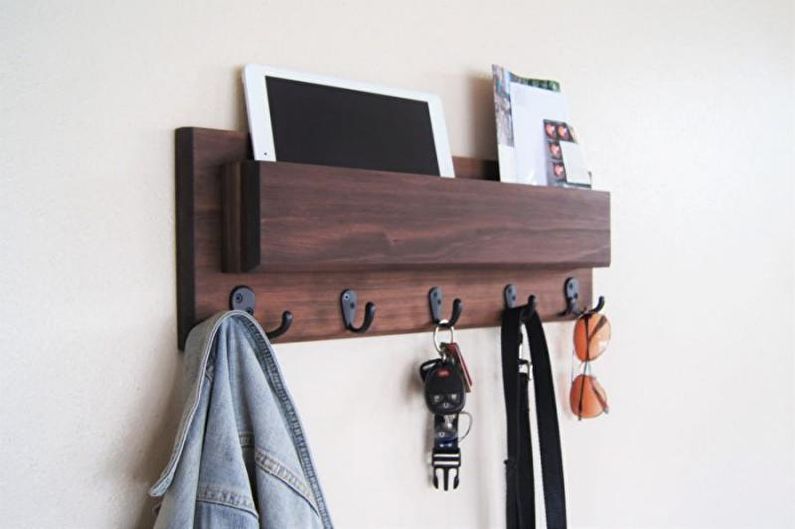
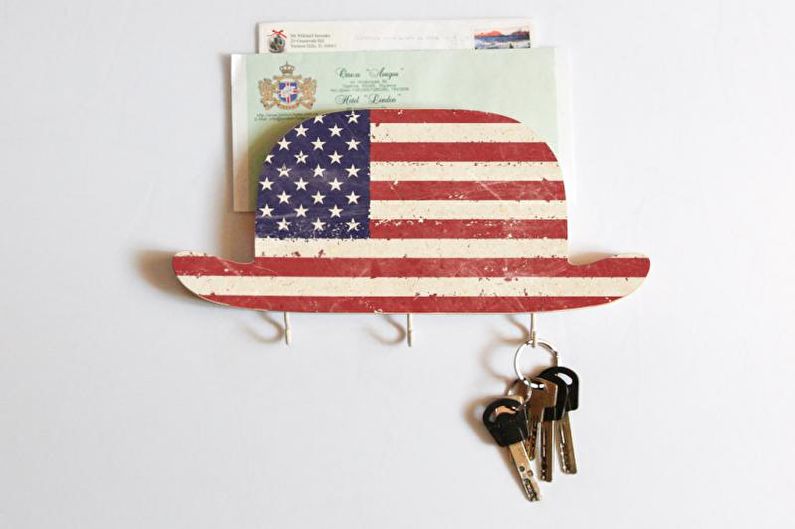
Conventionally, wall-mounted key holders can be divided into two types: open and closed. Closed are made in the form of boxes or lockers in which the keys are hidden. They are a platform with key mounts. Based on the materials that are used to make key holders, the following groups can be distinguished:
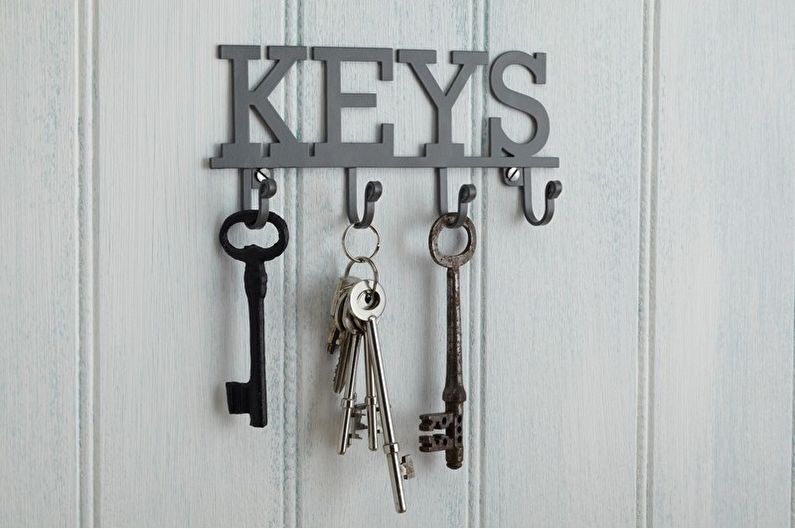
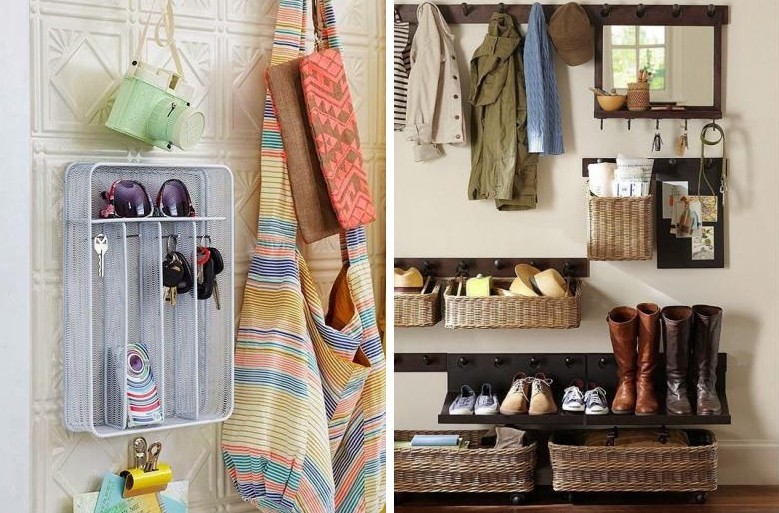
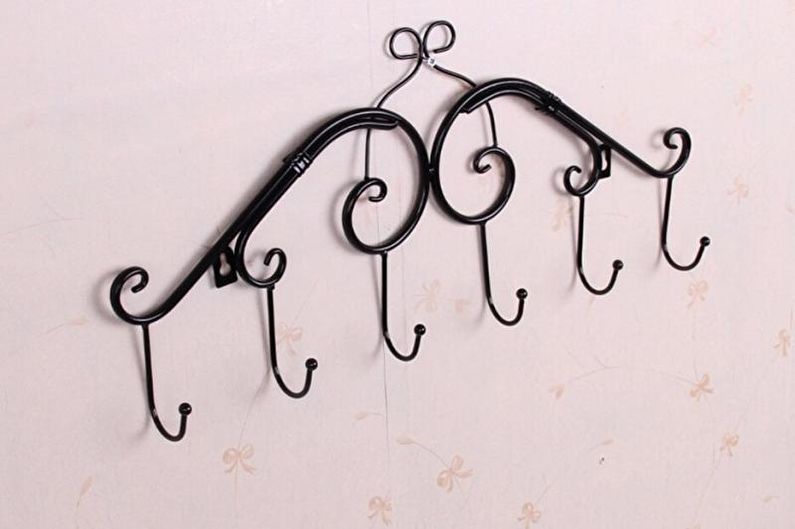
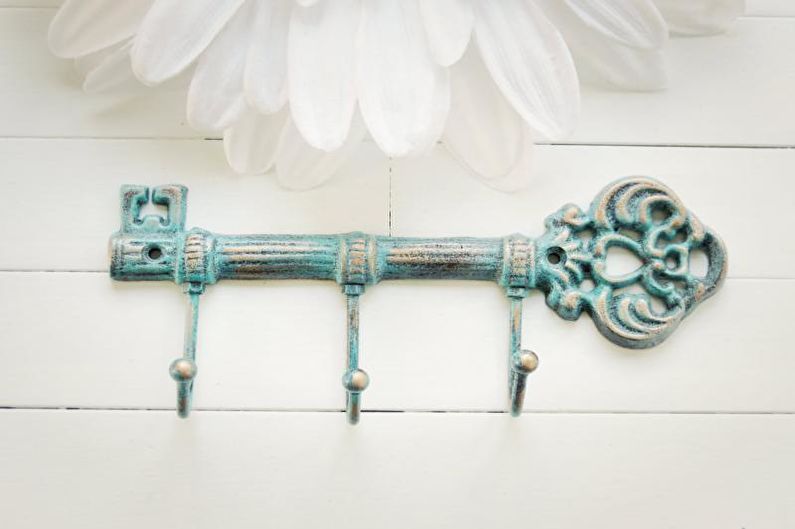
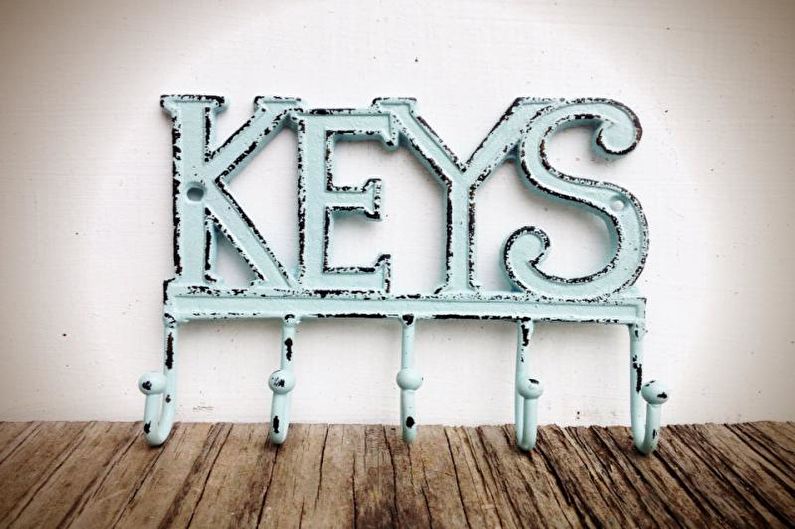
Stylish metal key holders look great in loft or high-tech interiors. A great solution for storing a variety of keys and small accessories. Beautiful metal key holders create a representative image of the hallway.
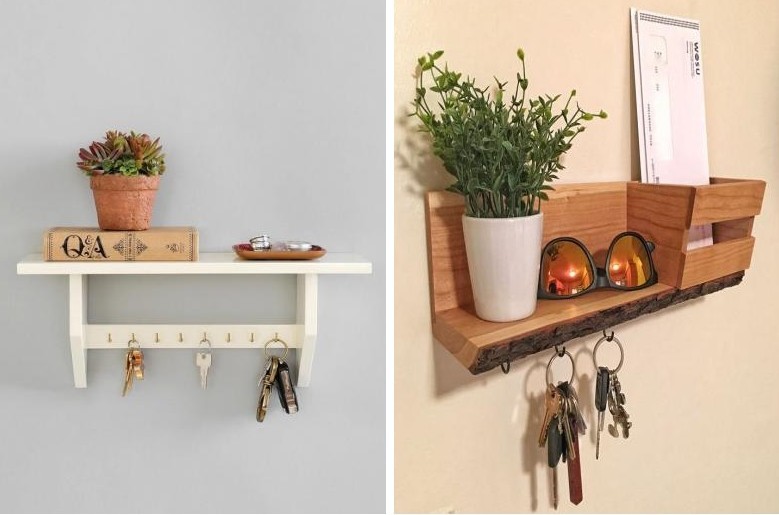
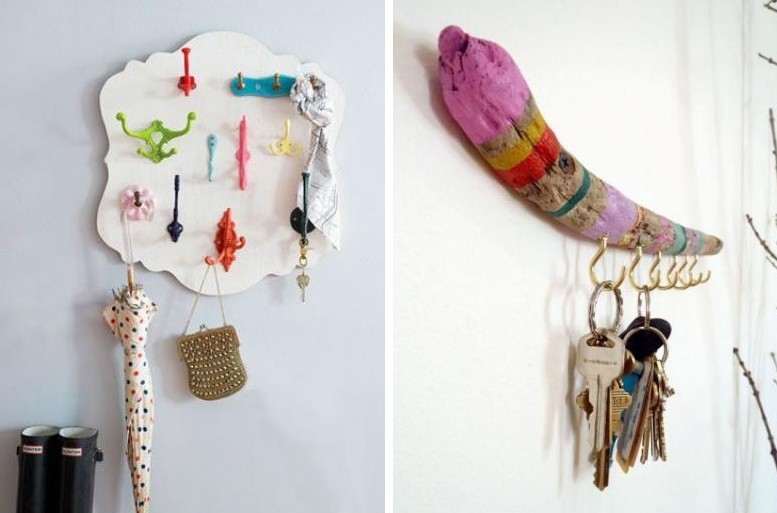
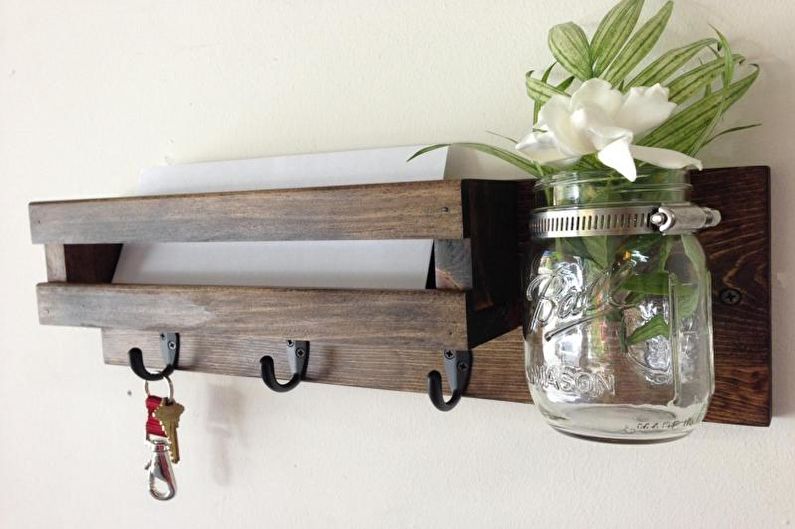
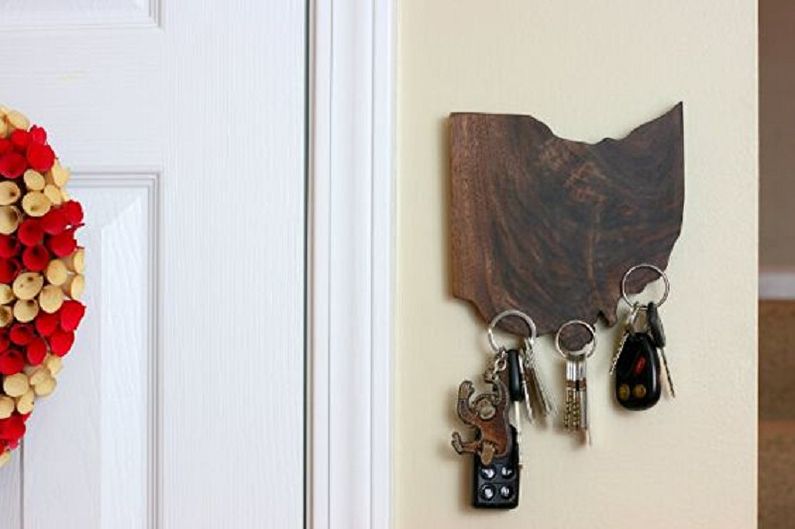
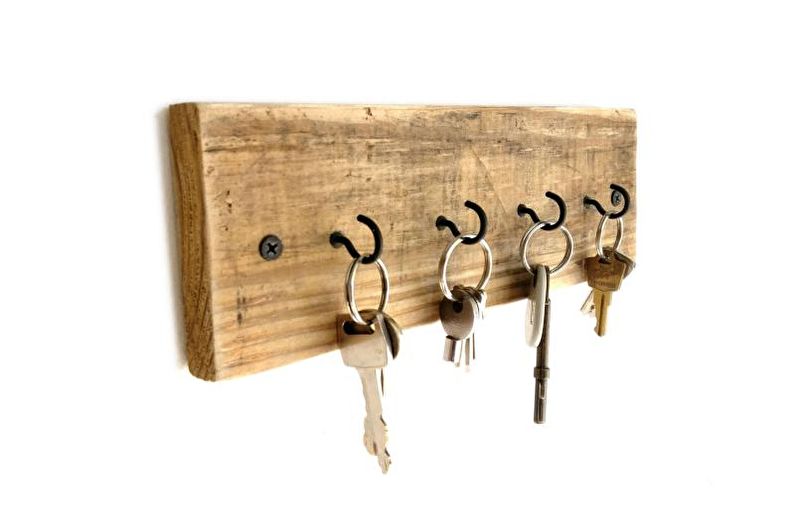
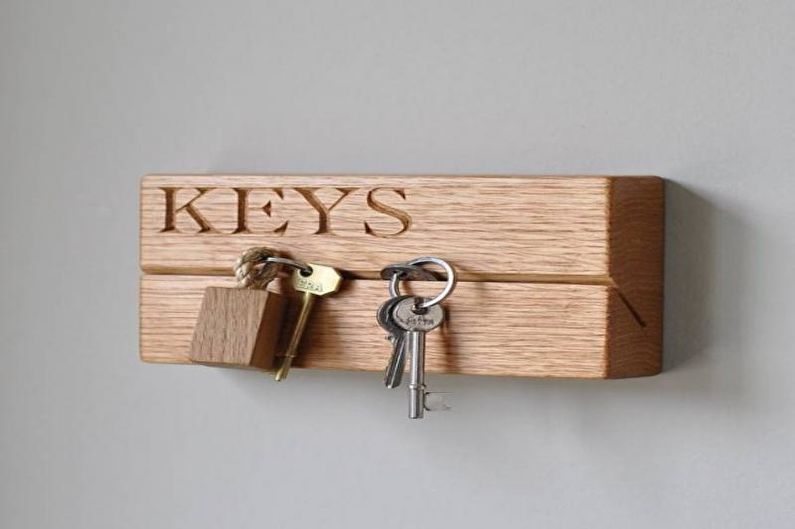
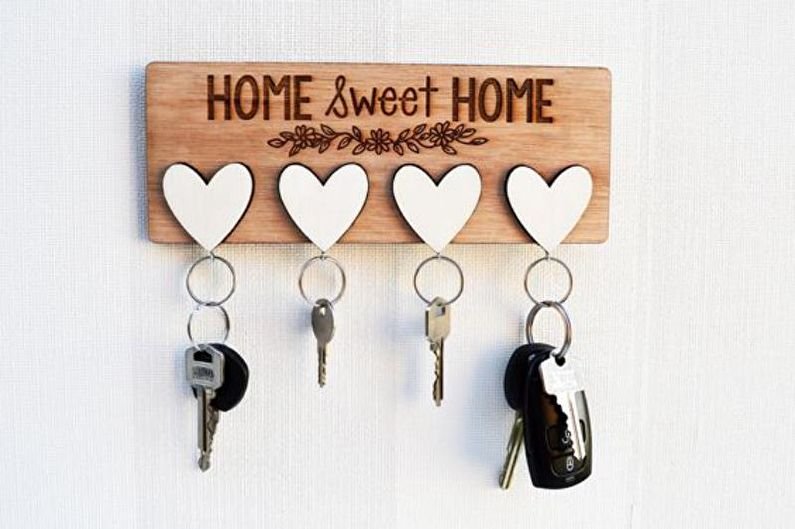
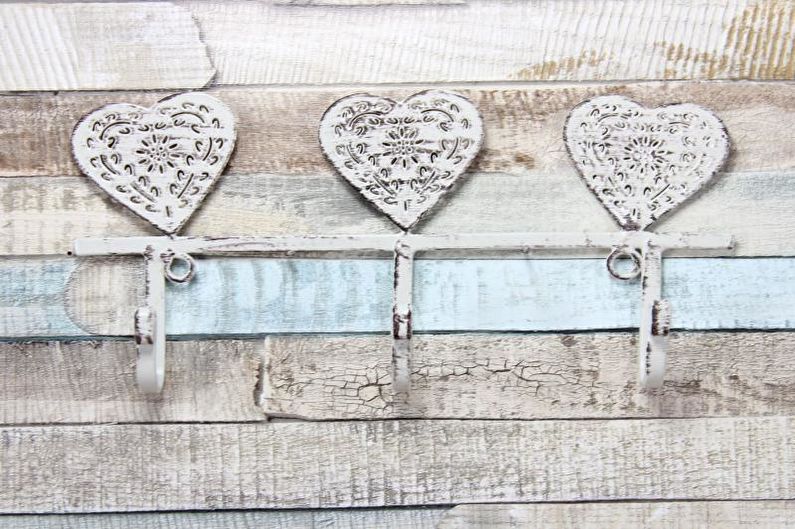
Extremely popular wooden key holders - an unusual accessory that emphasizes the good taste of the owner of the apartment. Beautiful woods decorated with carvings or bright colors will help not only to decorate the hallway, but also to conveniently place keys.
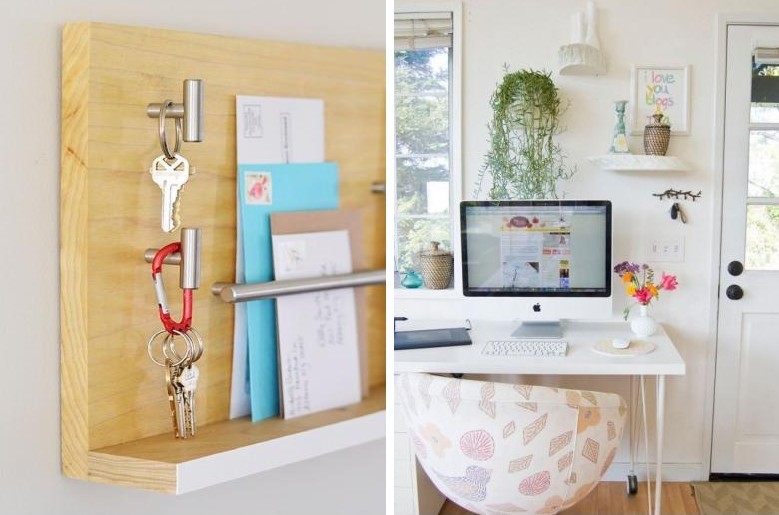
Want to make the hallway special? Then it’s worth choosing a key holder made of leather. Such accessories are mainly small in size, which is very important for owners of small corridors. An excellent and sophisticated element, complemented by wooden or metal inserts, is suitable for any interior.

DIY key keeper
Do you think that it’s difficult to make a wall key holder in the corridor? Nothing like this! This is a fairly simple and interesting activity. For this you need only a little time and effort. In addition, you will save a lot of money, because the materials are quite affordable, and many of them can be found in your apartment.
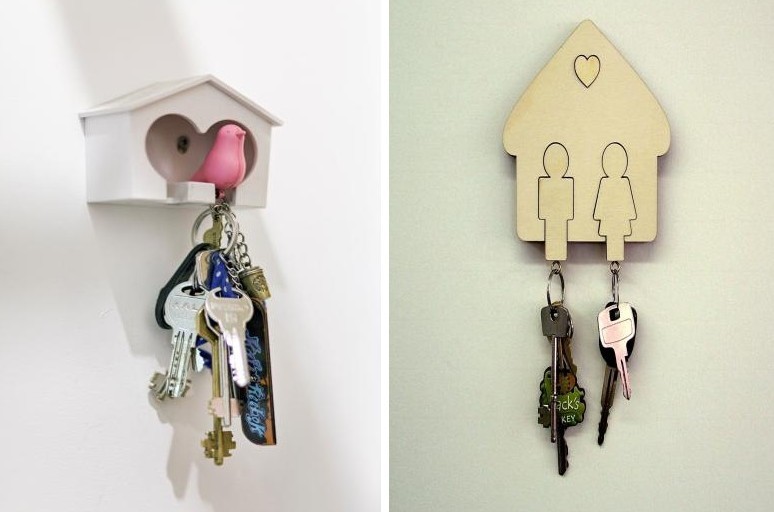
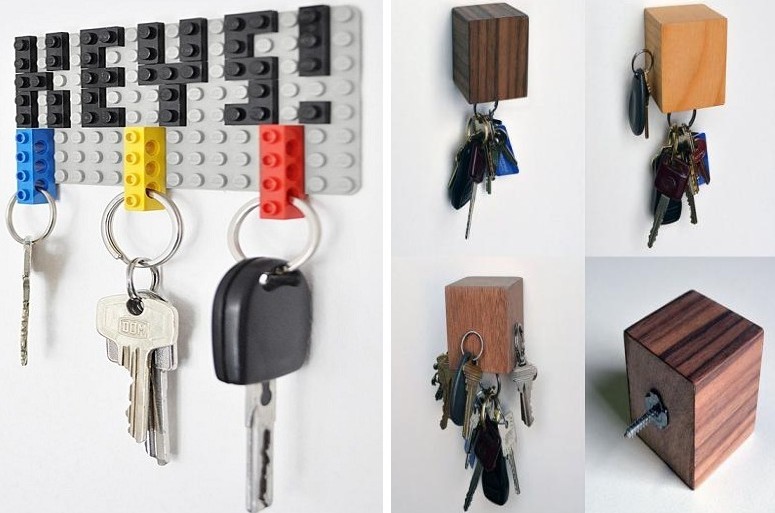
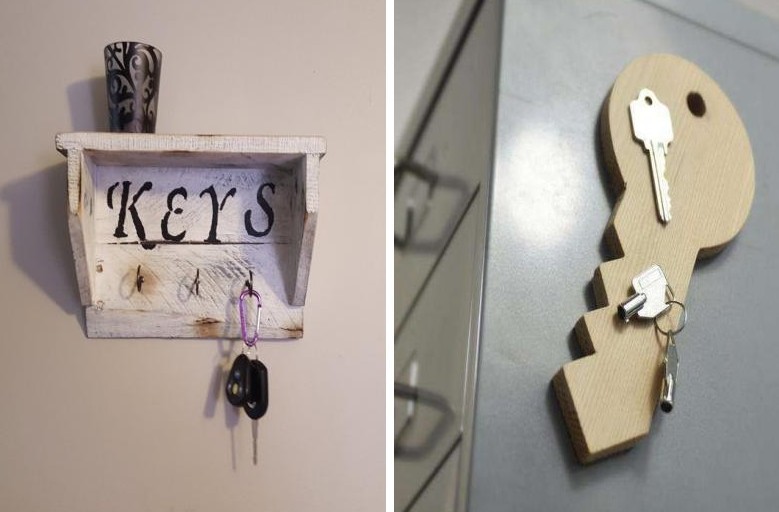
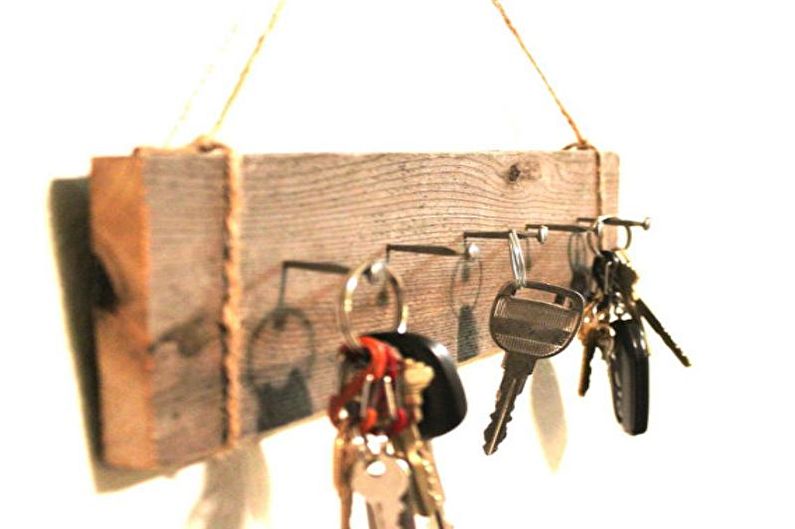
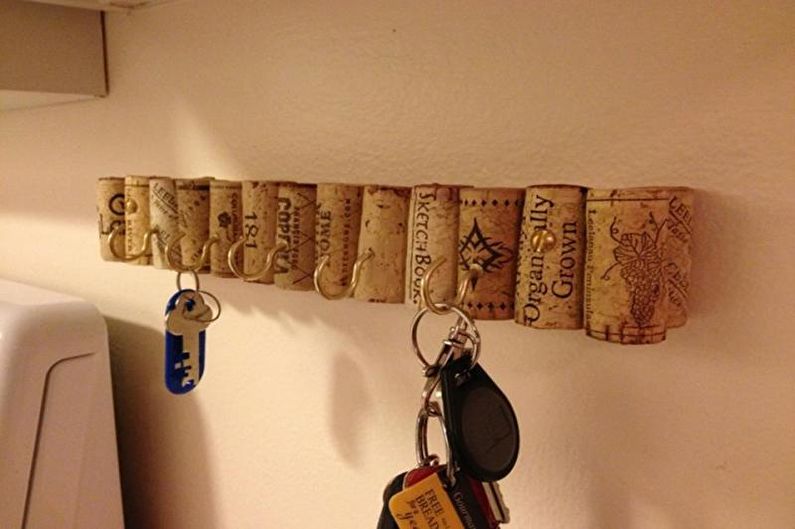
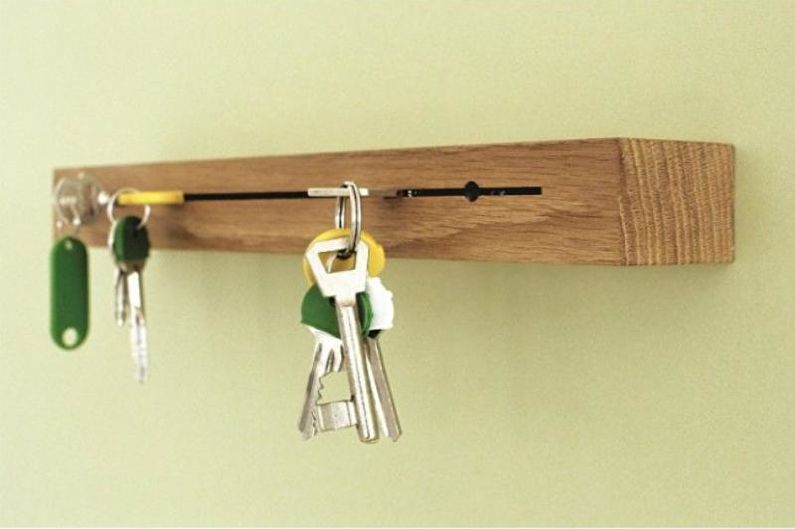
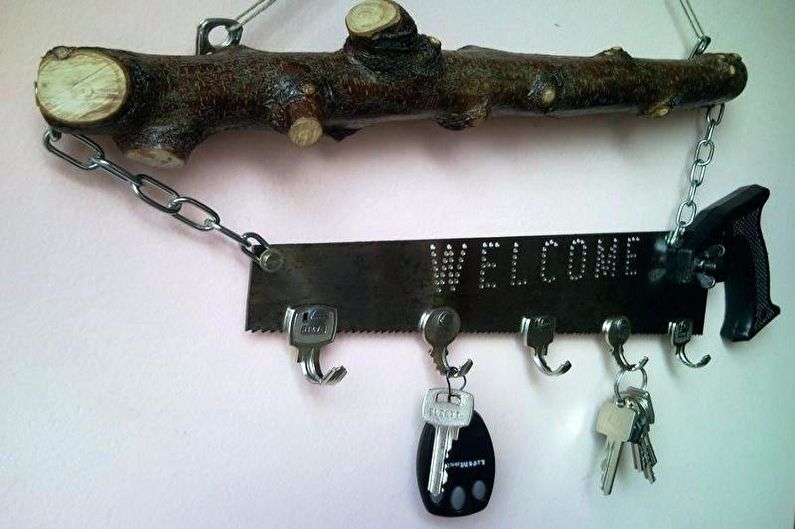
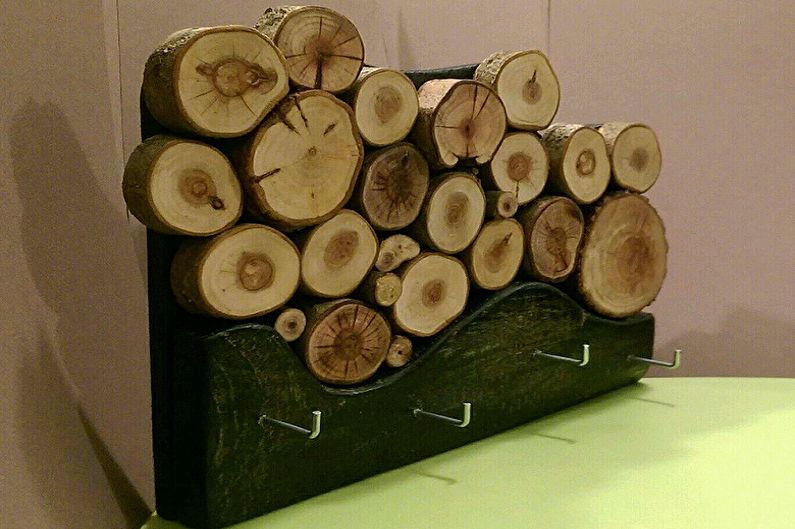
If this is your first time encountering interior decor, then try to make the easiest and most affordable option - an open key holder. A similar home decor can be made from any base, the main thing is that hooks or other holders can be fixed on it. Crafts made of wood, small boards or thick branches, structures made of wire and pieces of plastic - all this is suitable for making housekeepers with their own hands.
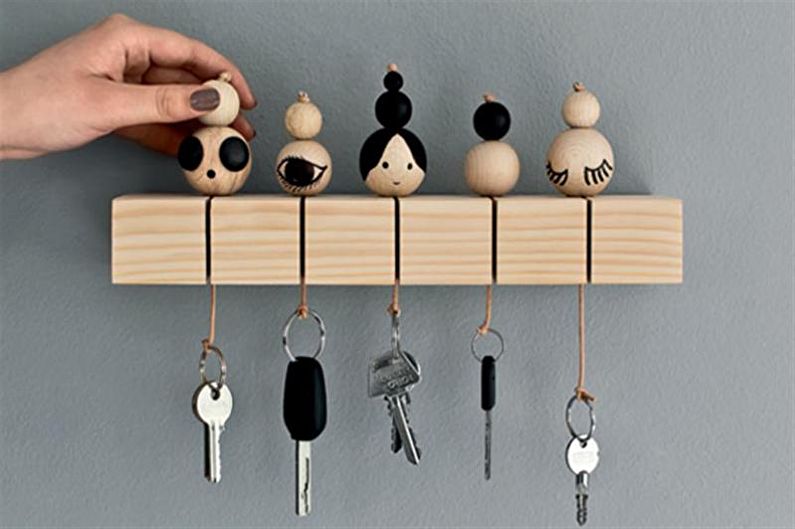
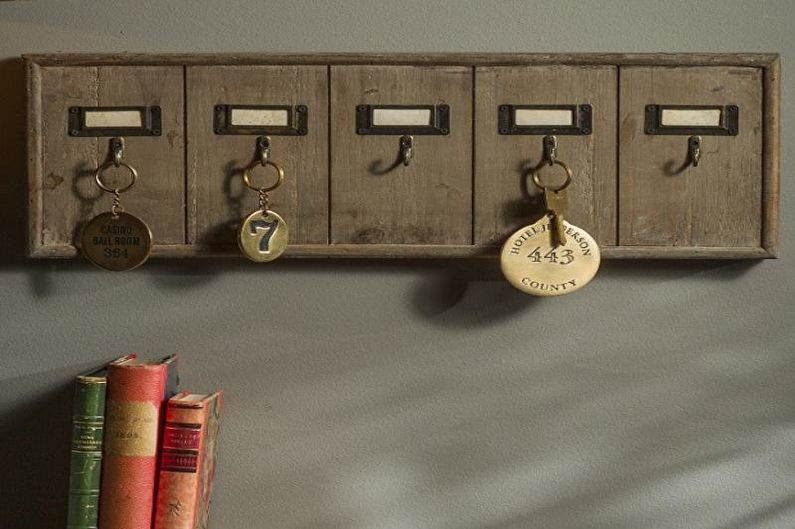
Attract children to creativity, this will allow them to occupy themselves with an interesting affair and accustom them to order. If you decorate each key with a unique tag, also created by your own hands, the entire design of the key holder will get a really colorful appearance.
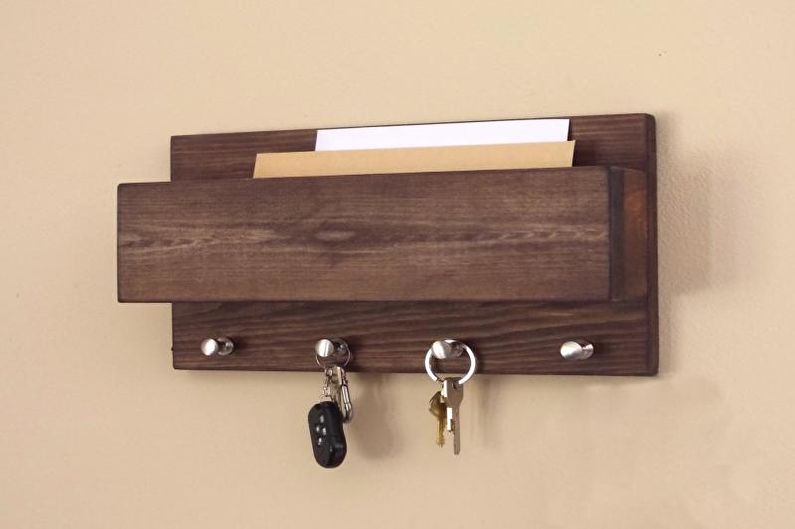
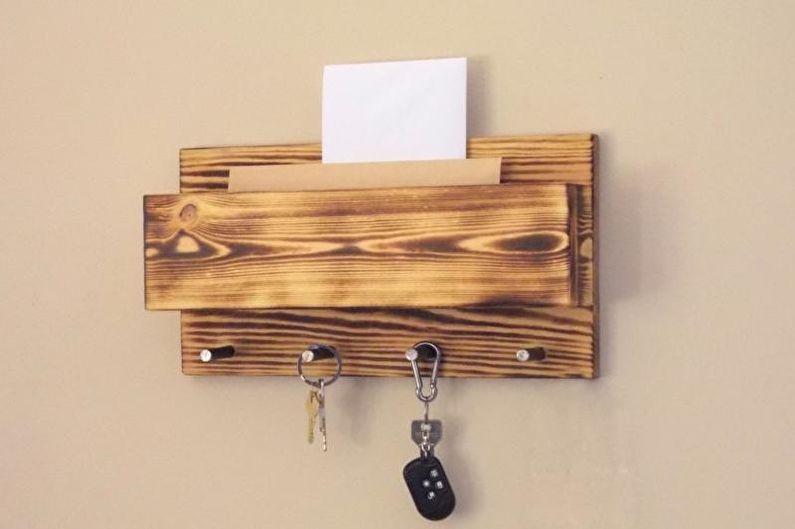
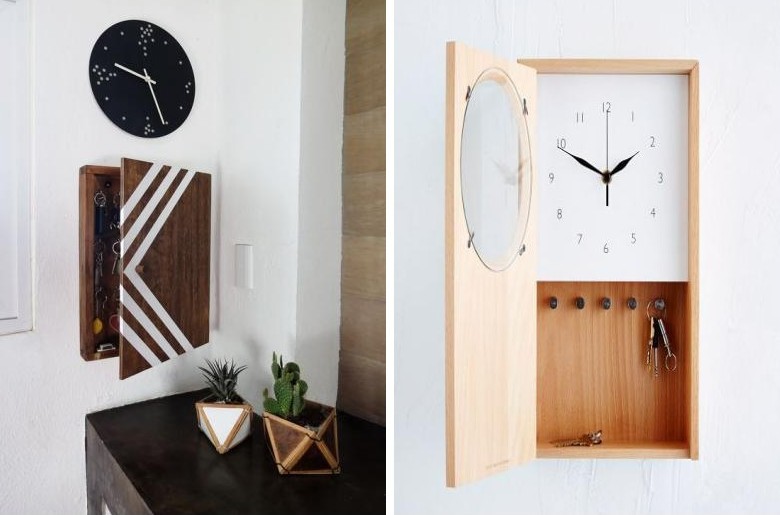
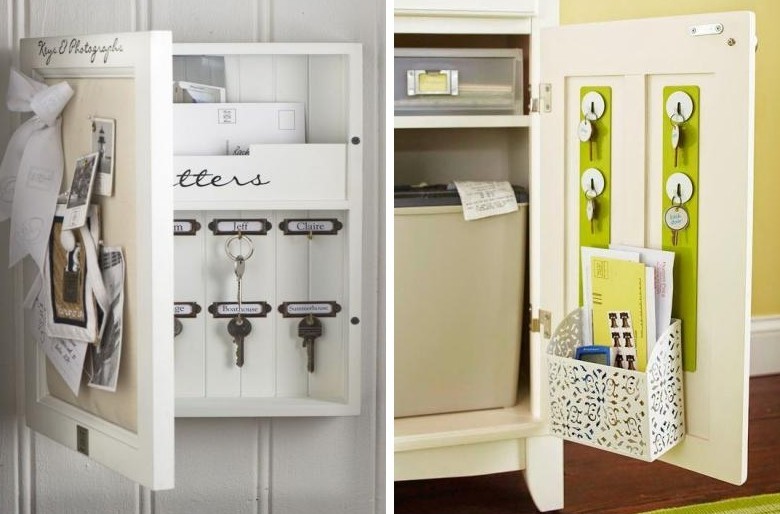
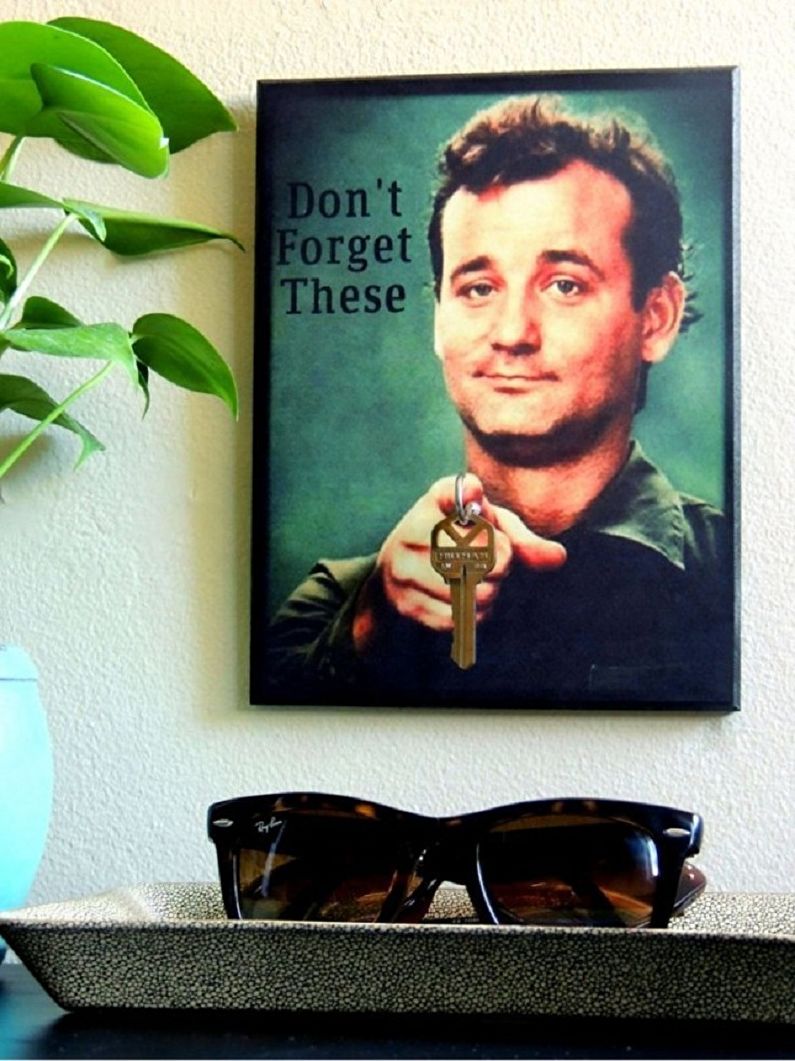
If you consider yourself a skilled craftsman, then try creating a closed wall key holder. The process will take a little more effort and time, but the result will look truly beautiful and mysterious. On the outside of such a cabinet you can put a photo or a cute picture, decorate it with antique keys or a watch, this will give the whole design even more charm.
Additionally, closed key holders can be an organizer that can hide useful little things.
DIY do-it-yourself key keeper
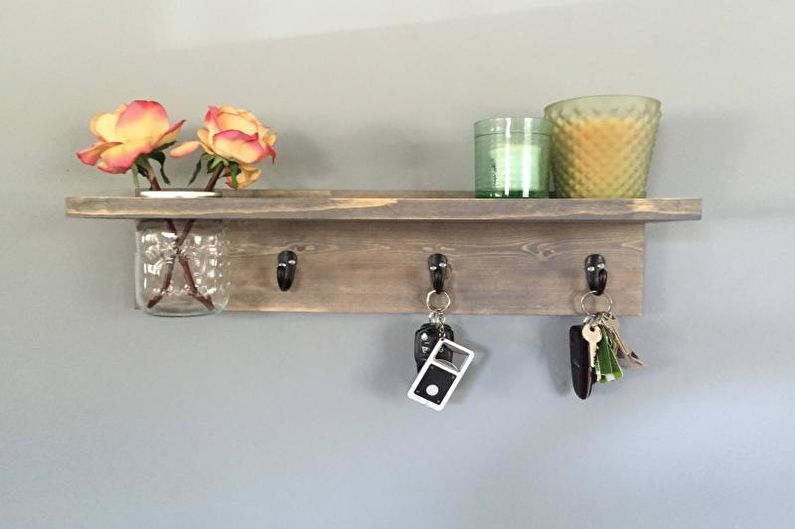
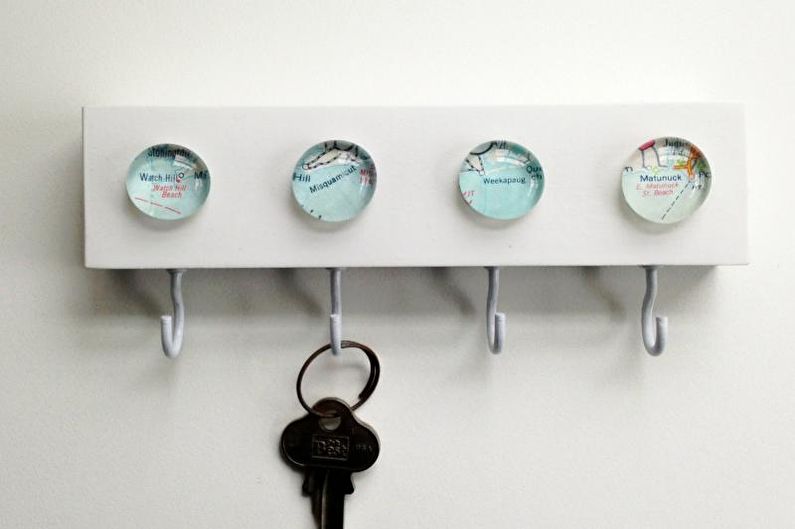
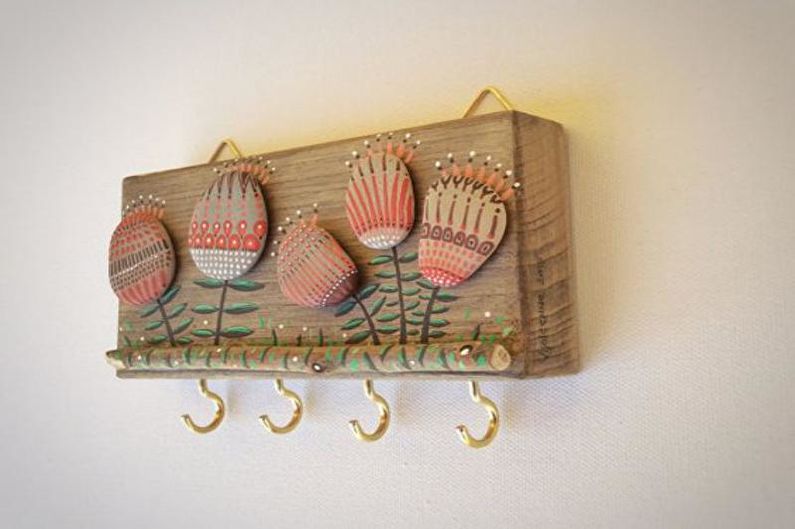
Let's dive into the needlework process with you and create a simple but unusual and unique color key holder. To do this, we need to prepare:
- Basis - you can take a board from fiberboard or wood;
- A pot of flower pots - first divide it into two parts;
- Putty and a tool for its application - it can be a spatula or brush;
- Paints - suitable acrylic or gouache;
- Clear nail polish;
- PVA glue and Moment - instant glue can be replaced with liquid nails;
- Hooks for keys.
Let's get to work. To keep the workplace clean, cover it with film or paper.
1. Take the prepared base. Give her any shape you want. Apply plaster, its layer should be very thin - 0.5–1 cm.
2. Until the putty is dry, you can mark the pattern with a finger or a thin stick.
3. Focus on the ornament by coloring the lines. Wait for the paint and putty to dry completely, and then coat the base with varnish.
4. If desired, you can paint the halves of a pot of pots or decorate them in any other way.
5. Using Moment glue or liquid nails, attach the pot halves to the base. When all the elements have dried, place the base in the frame and proceed to install the hooks.
6. Depending on the hooks selected, glue or screw them to the base. Now your housekeeper is completely ready.
Having completed all the steps, you will get an original and useful housekeeper, which will be a wonderful decoration for your hallway.

Do-it-yourself wood housekeeper
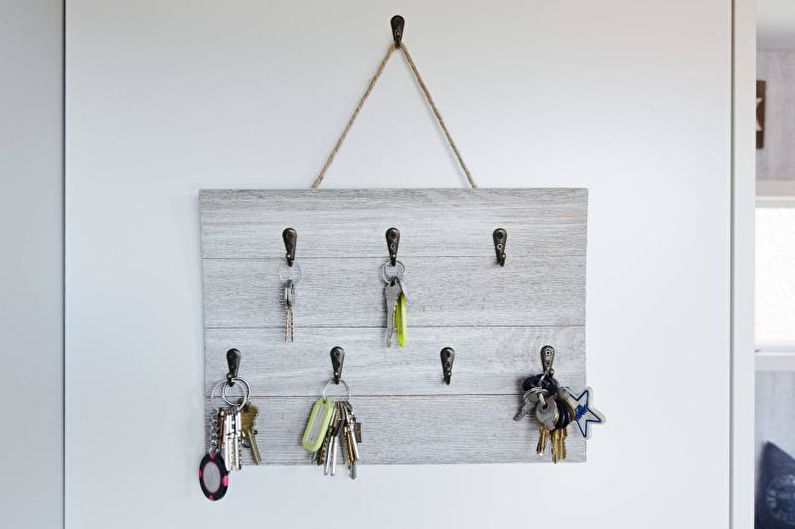
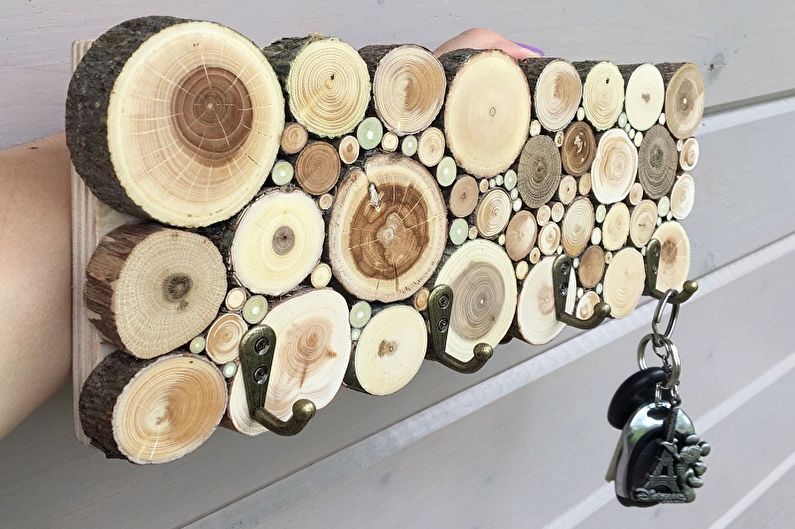
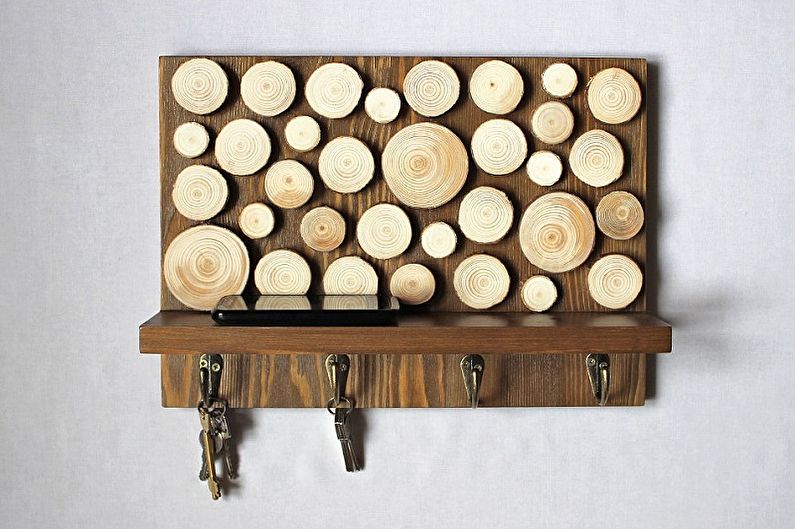
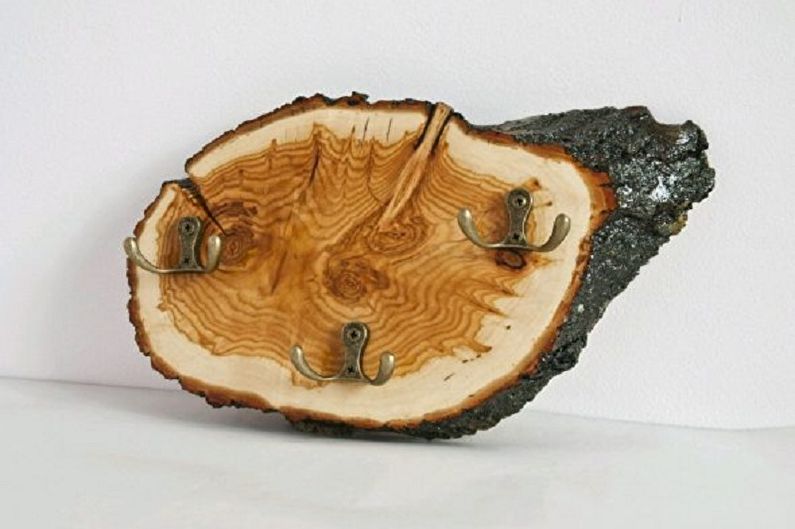
Would you like a stylish and interesting housekeeper for your hall? We will tell you how to make a housekeeper from a saw cut tree, which is perfect for an interior in a rustic or Scandinavian style.
You will need the following materials:
- Wood cut - you can choose the desired grade of wood and determine the diameter;
- Stain - based on water or alcohol;
- Emery paper - it is better to choose small or medium grit, as large will damage the wood pattern;
- Varnish - transparent acrylic will do;
- Brush - from synthetic materials;
- Hooks - any variations that can be fixed with screws or glue will do.
If you like to work with wood, then such a housekeeper will be an ideal option for you. You can choose absolutely any saw cut, pine, maple or acacia looks great.
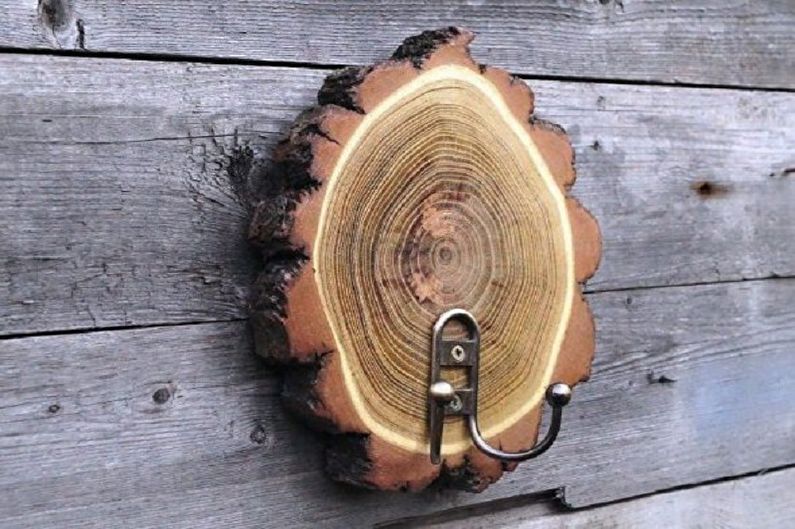
1. Process the saw cut with sandpaper, first medium-grained, and then finer-grained. This will get rid of various irregularities and damage from the saw. To avoid damaging the woody pattern, gently and accurately draw sandpaper along the fiber. Then remove the dust that has appeared and smoothen the surface of the tree, the fibers will rise and you will see a picture. Wait until the workpiece is completely dry.
2. The next stage - saw cutting. If this is your first time encountering woodwork, get a water stain. It will save you from a lot of mistakes, because it dries much longer, and you will have the opportunity to wipe unsightly places and remove drips. You need to stain along the wood fibers using a wide synthetic brush. To get a uniform pattern, you need to stain several times. Each layer must dry before you move on to the next.
3. If you wish, you can transfer any drawing to the blank. To do this, prepare a mirrored printout of the drawing. Coat the sheet with the pattern and the wood with varnish (acrylic), then connect them. Smooth the paper over the cut and leave it for about 3 hours.
4. Now gently smoothen the paper and begin to roll it, the pattern should appear. Remove the paper completely and clean the surface of its debris.
5. For fastening to the wall, you can use a loop of thick thread or buy special devices.
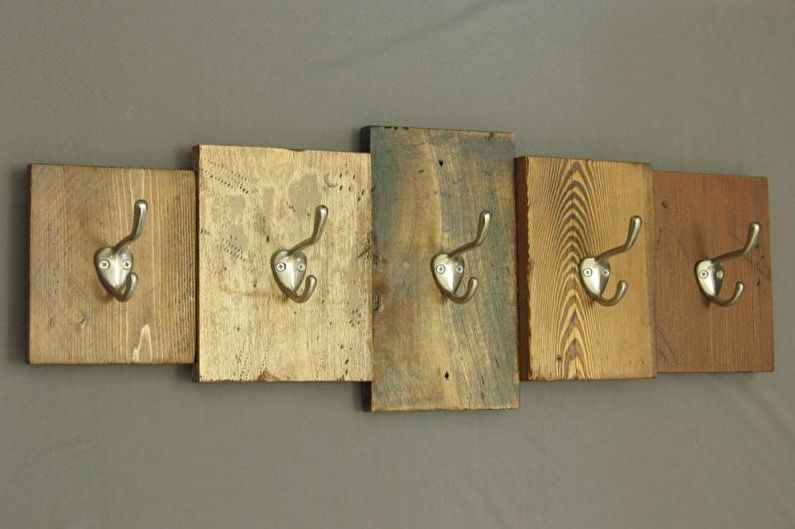
That's it, your new wall saw made of wood saw is ready. In this way, you can prepare several small cuts at once, and then attach them to the base.
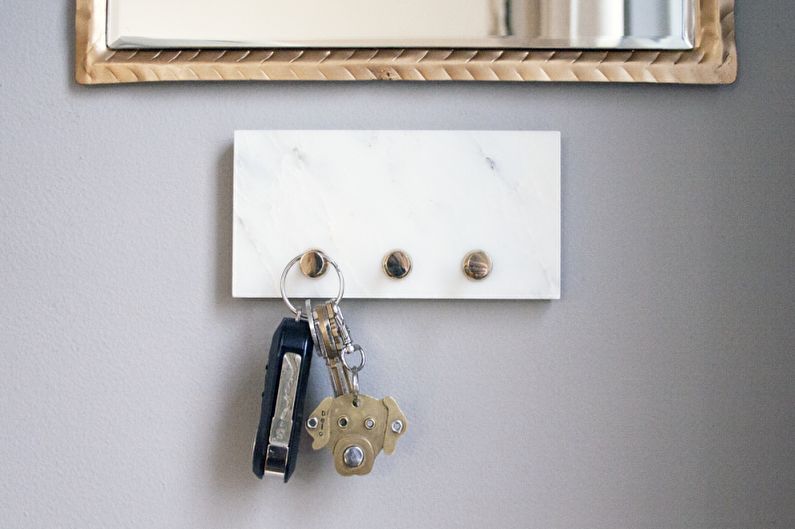
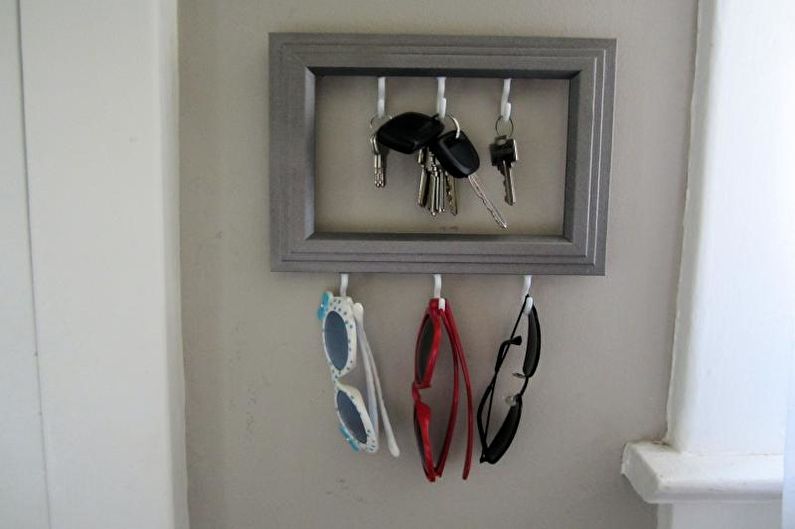
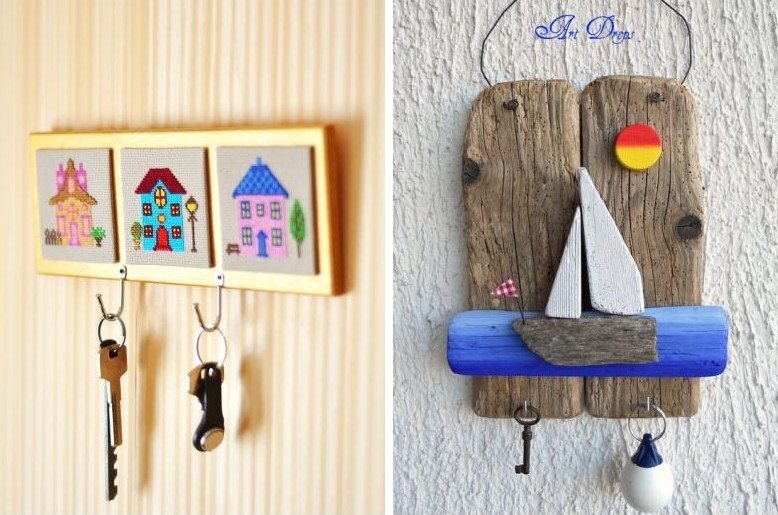
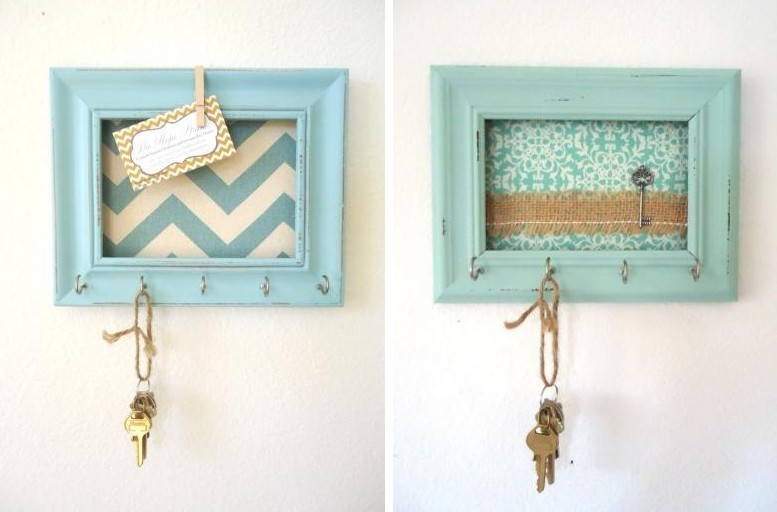
Do-it-yourself key keeper from the frame
In their home, many can find an outdated frame for a picture or photo, but do not rush to throw it away. They make excellent wall key holders that can give beauty and a certain place for your keys.
Depending on your idea, the materials will vary, and for our example we will need the following:
- Frame - suitable frame for a picture or photo, any size and shape.
- Plywood - select or prepare a piece to fit the frame.
- Primer and paint - you need acrylic.
- The brush is wide, made of synthetic materials.
- Sandpaper - fine and medium grain. It can be replaced with an abrasive sponge.
- Decoupage card - select the desired pattern, but make sure that it fits the size.
- Hooks - your keys will be placed on them. They can be replaced with small screws, it all depends on your concept.
- Tool - Phillips screwdriver, drill and jigsaw.
Before starting work, measure the internal dimensions of the frame, then, based on them, prepare a piece of plywood. Coat plywood with acrylic primer and then paint. Painting can be replaced, for example, with a burlap sticker or crayon pattern. If you used a primer, then you need to sand it - first with medium, and then fine-grained sandpaper.
Apply glue to the plywood, then place a dampened decoupage card on top and smooth it well to remove bubbles. Next, you can tint the frame with acrylic paint or stain. When the whole product is ready and dry, for greater strength, cover it with acrylic varnish and let it dry again. Insert the finished plywood into the frame, screw the hooks and fasteners to the wall.
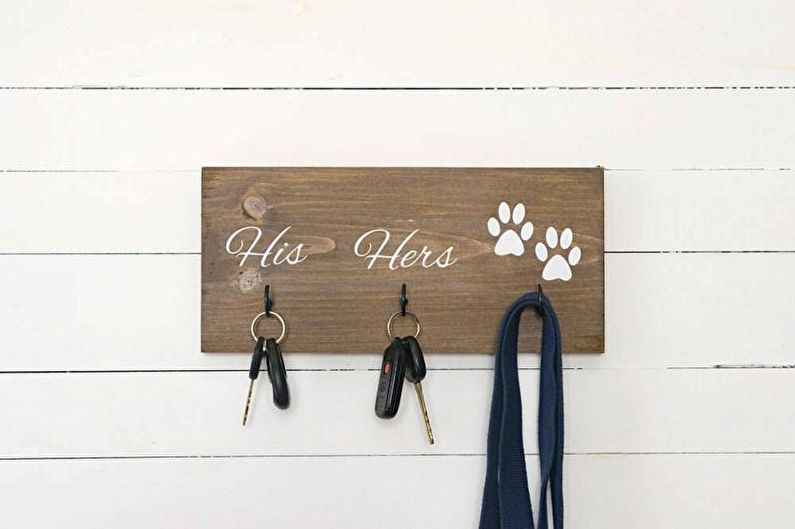
Optionally, you can add tags with inscriptions or numbers - a similar approach will make your handling of keys as convenient and organized as possible.

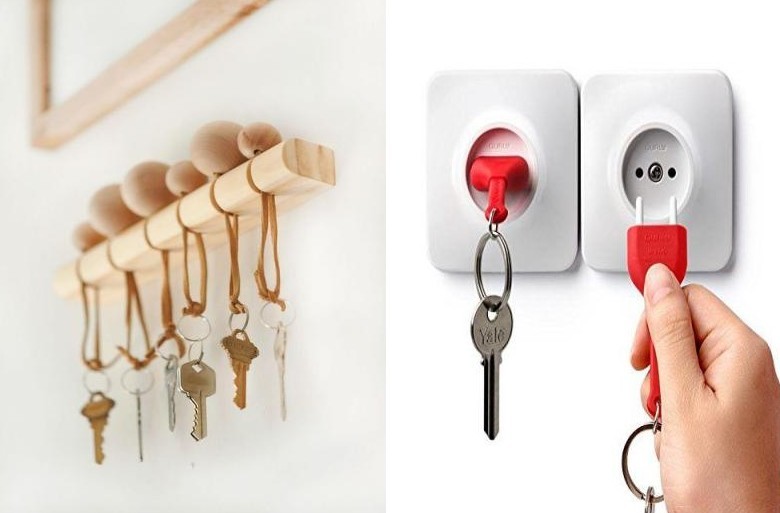
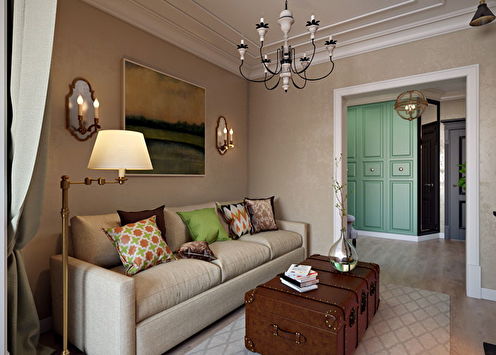
Wall key holder for an entrance hall - photo
Our photo gallery has incorporated a lot of useful and entertaining ideas that will help determine which key holder is right for your entrance. Whether it is an open or closed product made of metal or wood is up to you. We wish you inspiration and success in all your endeavors!