Own steam room at the dacha is the dream of many owners of suburban areas, but the high cost of log cabin or panel structures of a traditional form prevents it from being realized. The optimal solution in this case is a compact and mobile barrel bath, which is quite realistic to build with your own hands. To do this, you will need to either have the skills to independently process the wood, or to acquire a set of blanks and assemble them using metal components. More details on how to make a barrel bath and which planning option to choose will be described below.
Advantages and disadvantages of bath barrels
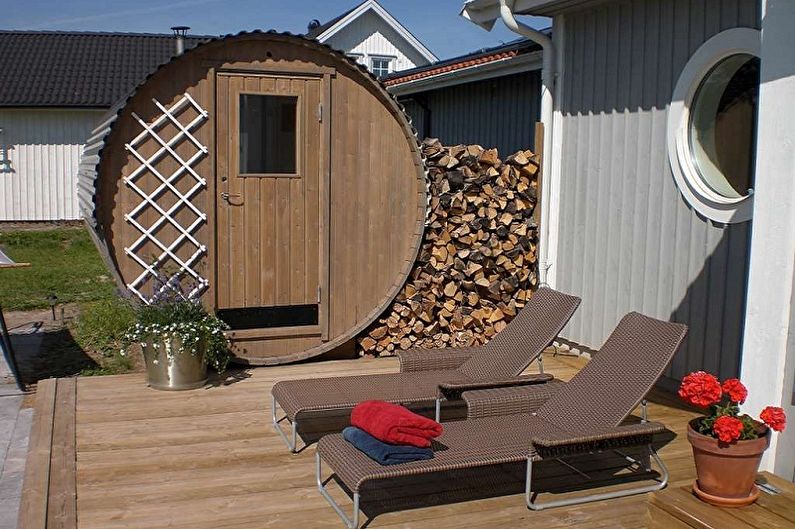
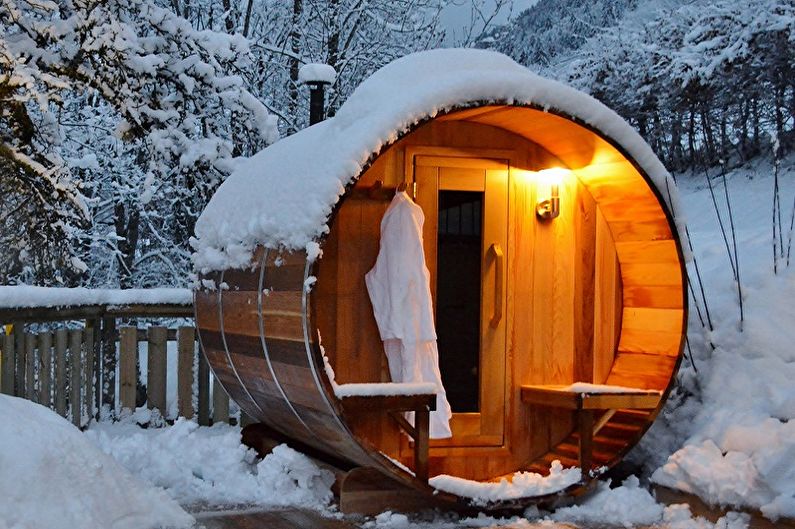
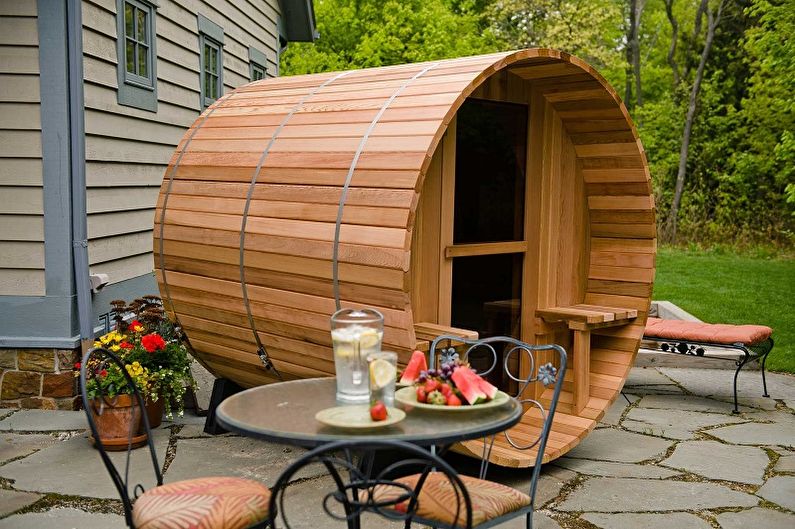
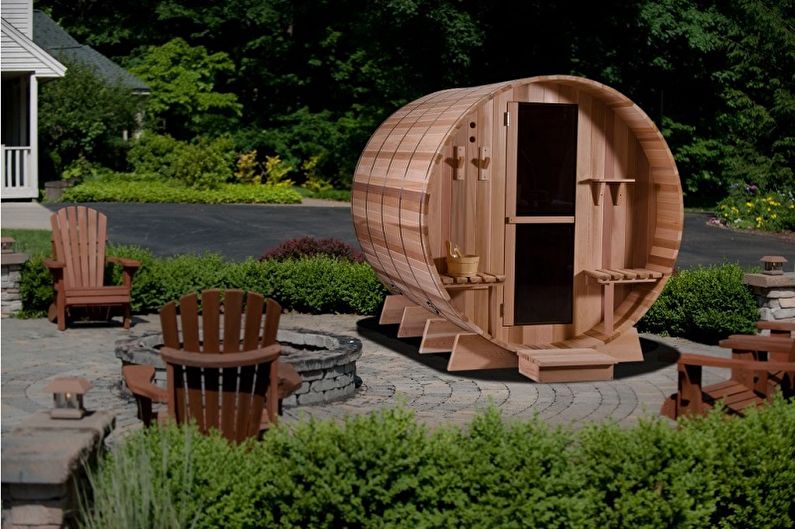
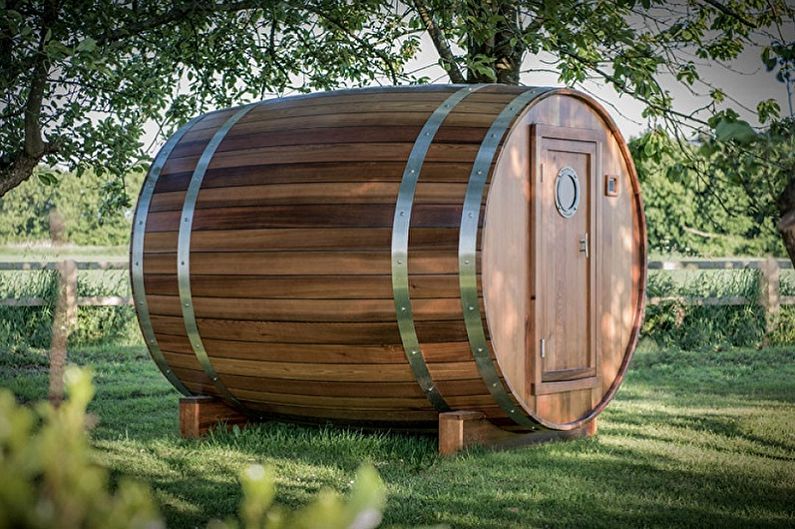
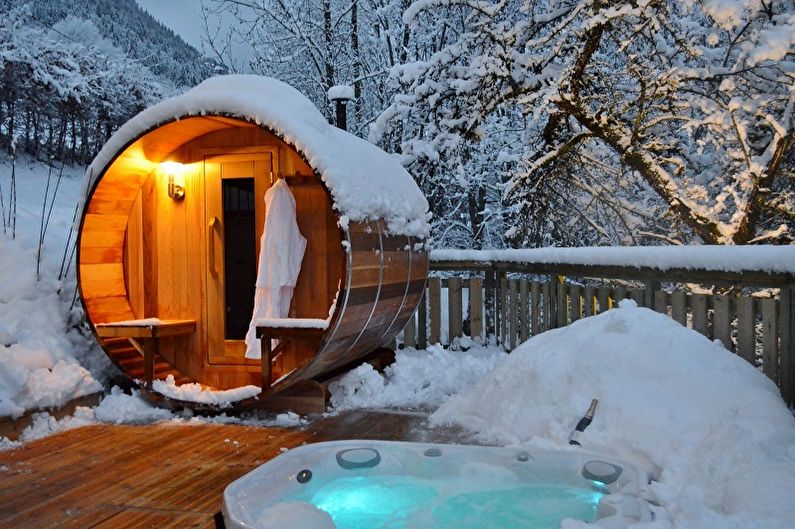
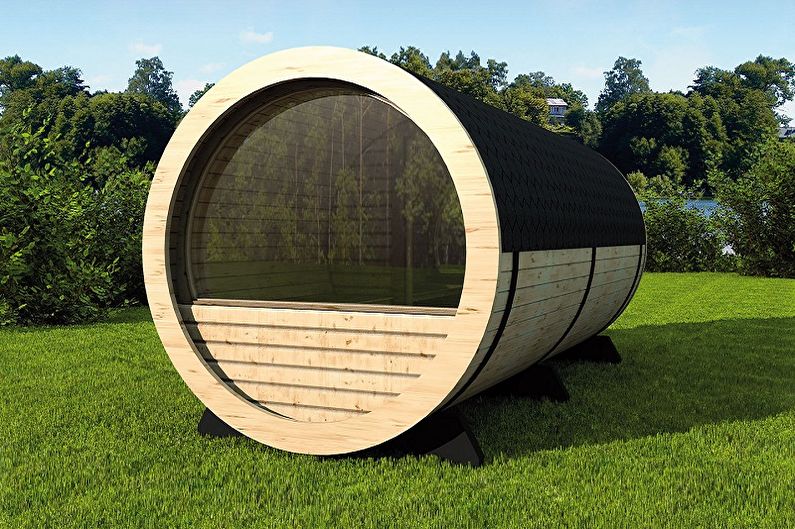
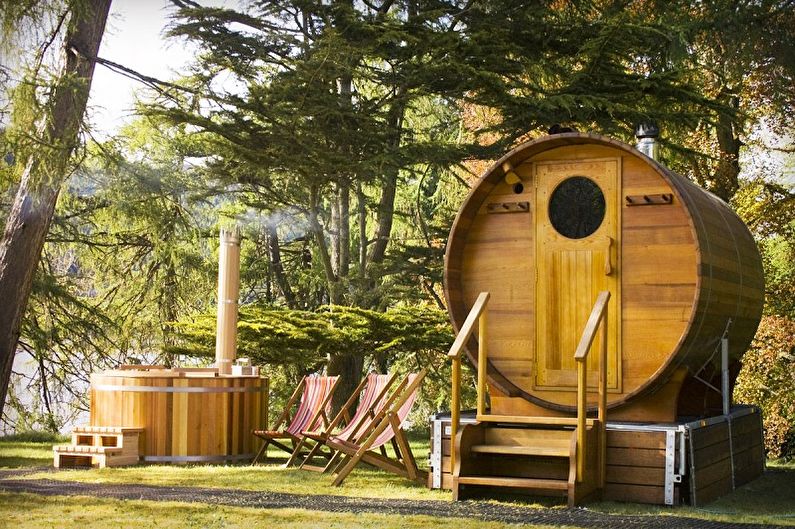
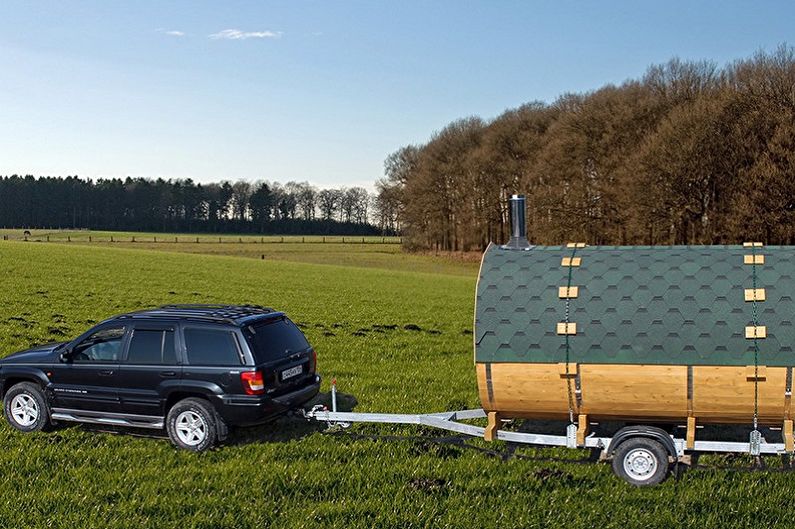
Compared to square and rectangular steam rooms, a bathhouse in the form of a horizontally inverted cylinder has some specific features. The advantages of this design include compactness, economy, mobility, quick heating and long-term heat storage. The barrel bath looks very original and attractive, taking at the same time a minimum of free space. Due to its low weight, the barrel bath does not need a foundation. Models on wheels can be moved around the site or even transported using a trailer or a truck.
The biggest drawback of a spherical structure is the limited internal space. Typically, the barrel length ranges from 2 to 6 m, height - 2.2–2.5 m. The resulting area is enough for finding 2–4 people at a time, but for many companies this option will not work.
Material selection
Given the difficult operating conditions, such as regular heating-cooling, humidity, the influence of the external environment, only the most high-quality and durable building materials should be used to build a bath barrel.
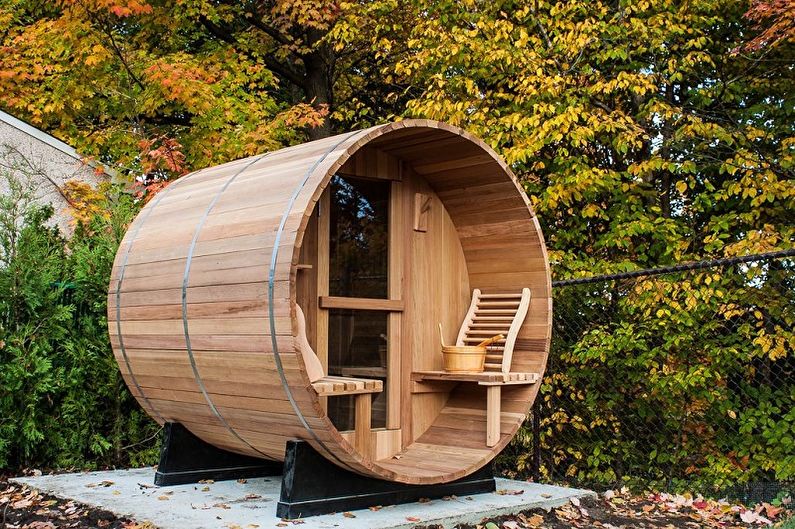
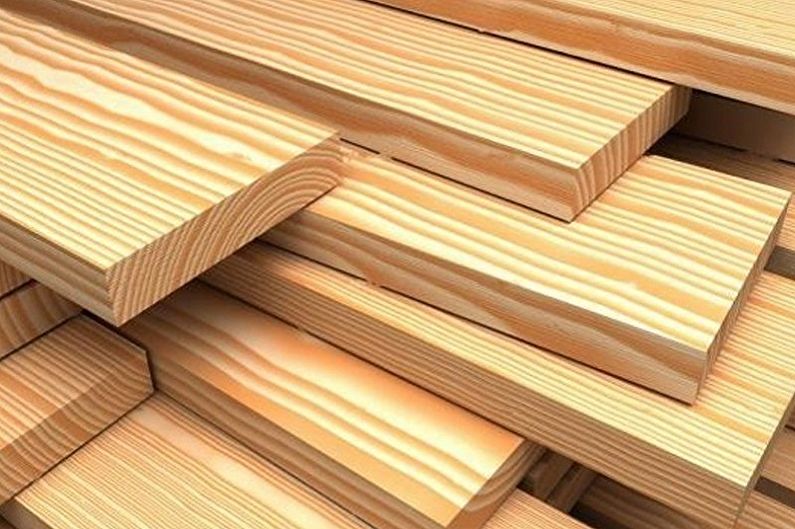
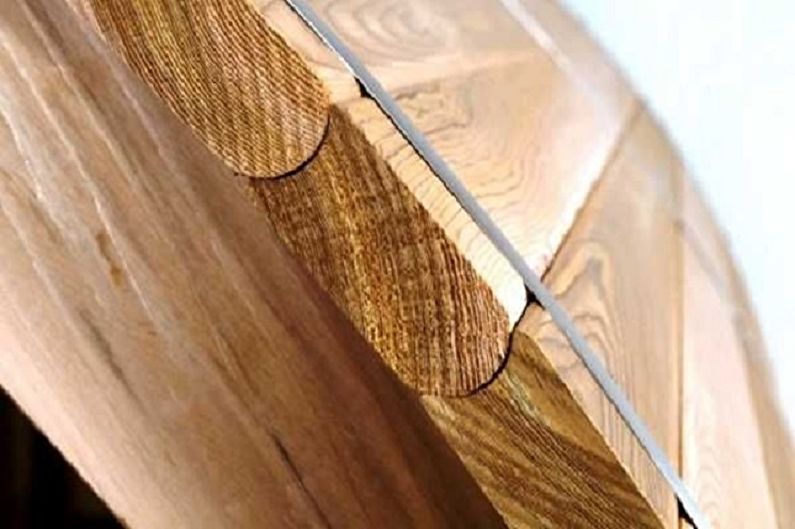
Maximum attention should be paid to wood. The cylindrical case of the steam room consists entirely of boards - edged, located one above the other with a slight overlap, or grooved, which are fastened according to the "spike into the groove" system. The most suitable species for this purpose are oak, aspen, Siberian larch, linden, cedar and spruce.
It is imperative that the tree is well-dried, smooth and clean, without cracks, knots, wormholes and browning. When heated, coniferous boards can exude tar glue and form unaesthetic smudges in places where dark brown spots are found. Even before construction begins, the wood should be treated with an antiseptic, oily impregnation from moisture and an anti-fire agent.
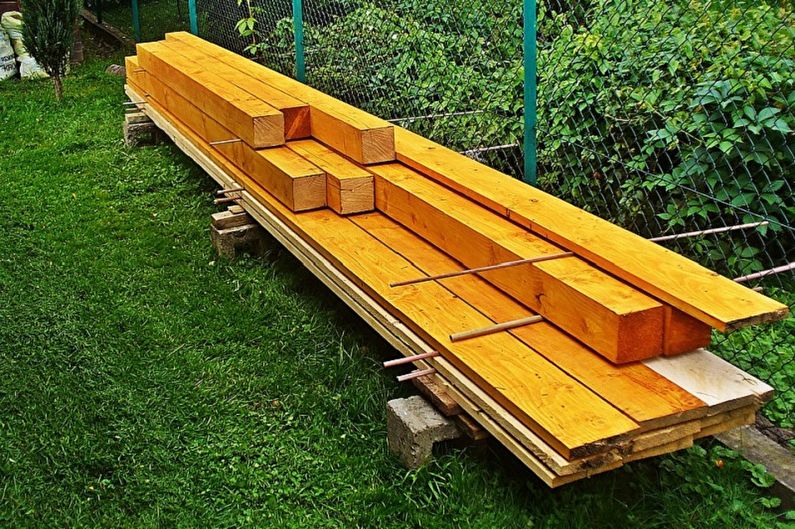
Recommended parameters for profile boards for cladding are 9 cm wide and 4–4.5 cm thick. For edged lumber used for partitions, 20 cm wide and 5 cm thick are optimal.
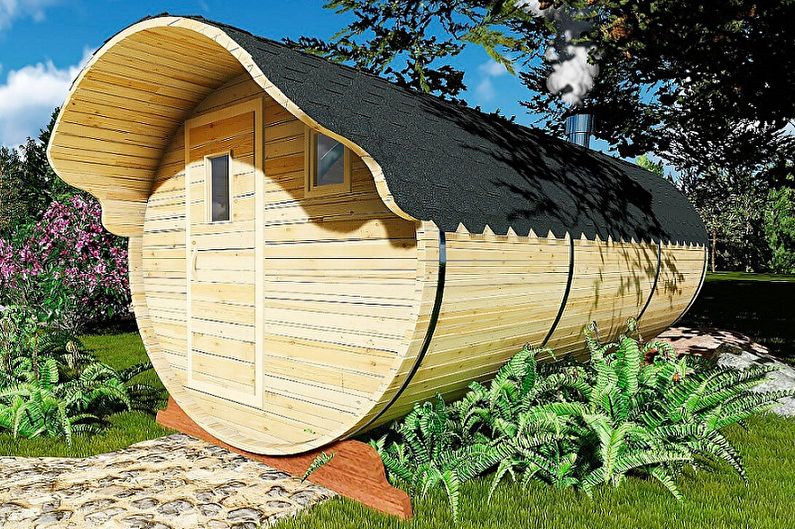
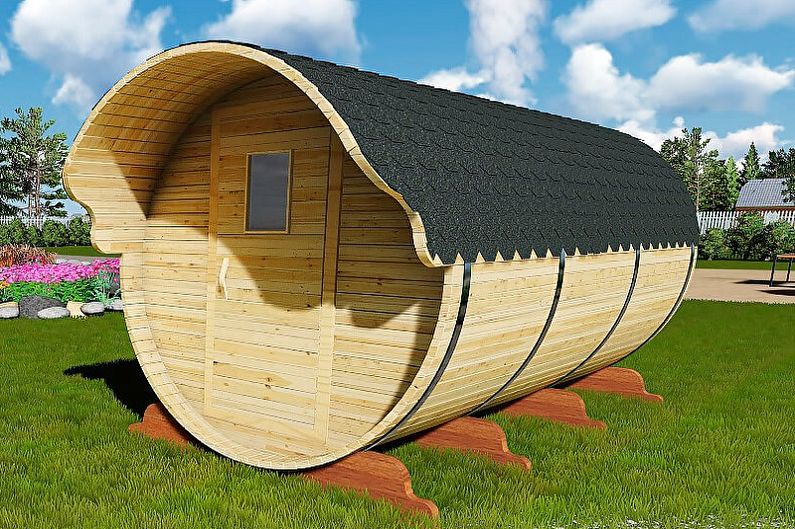
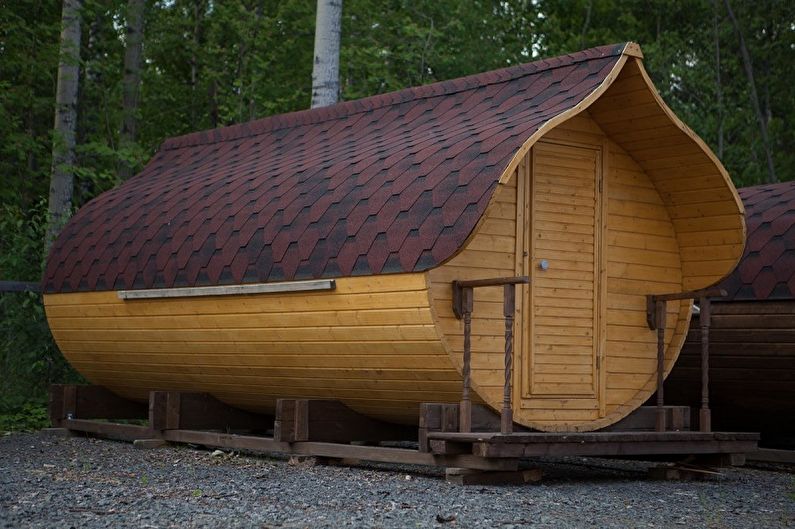
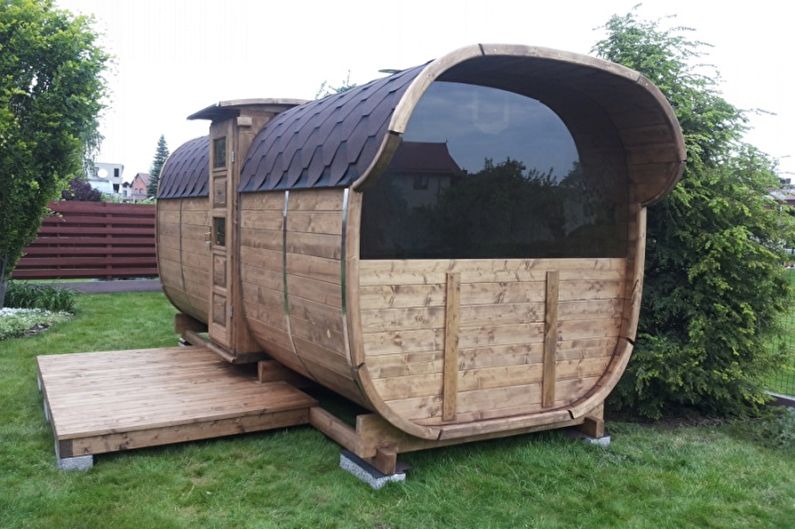
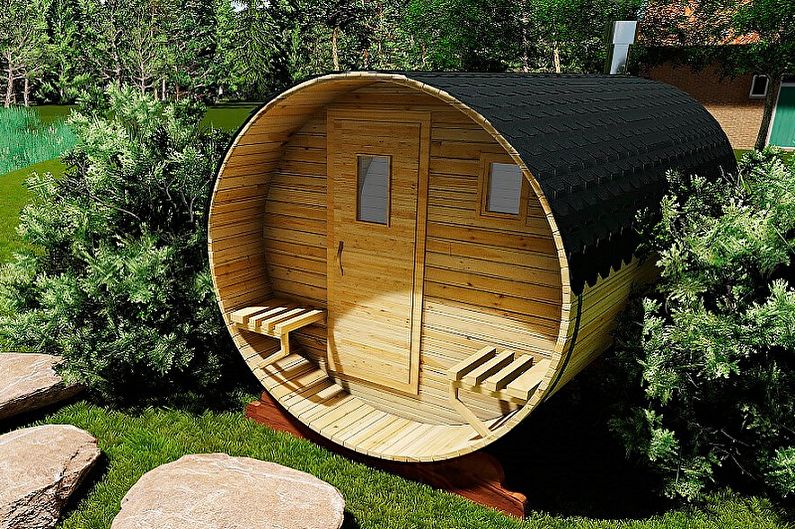
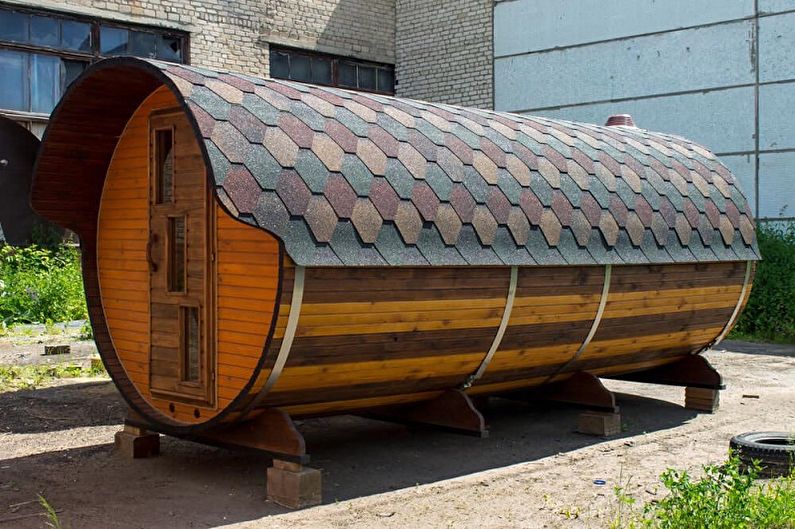
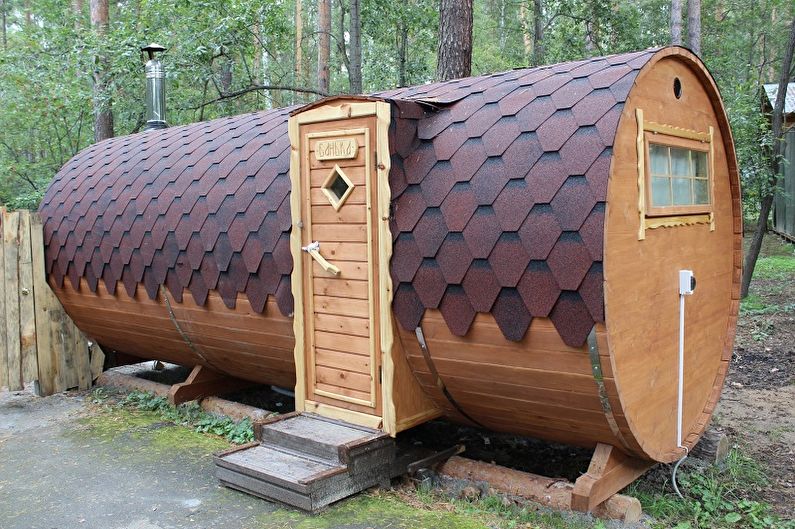
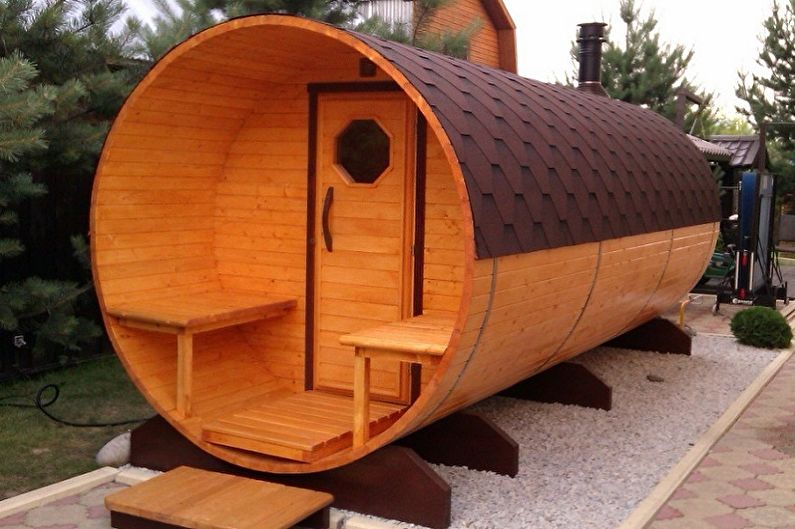
A semicircular roof in a barrel bath is laid out from flexible bituminous tiles. Its color can be any - according to the preferences of the owners.
As for the metal components of the steam room, all of them should be stainless. Experienced craftsmen recommend using exceptionally light self-tapping screws during installation, and hoops made of steel tape with increased corrosion protection.
Bath Layout Options
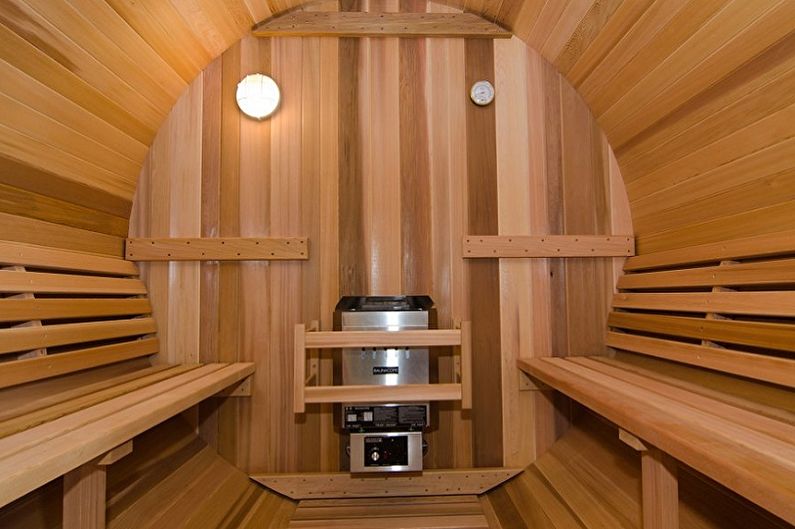
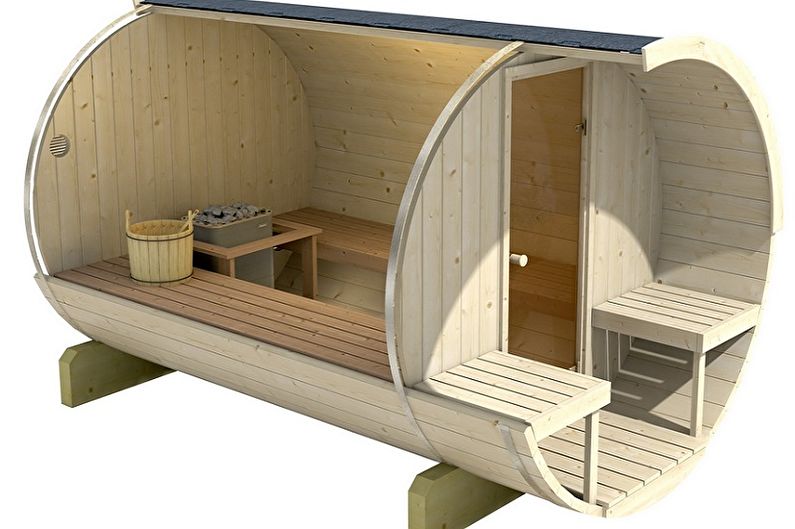
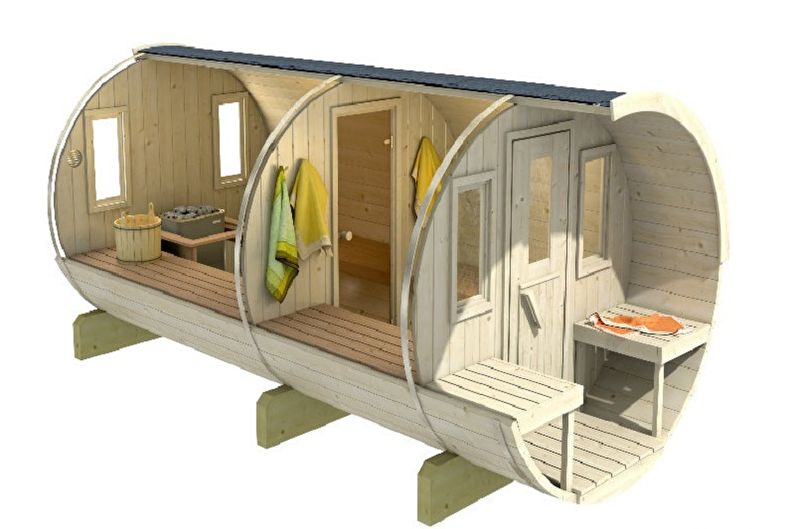
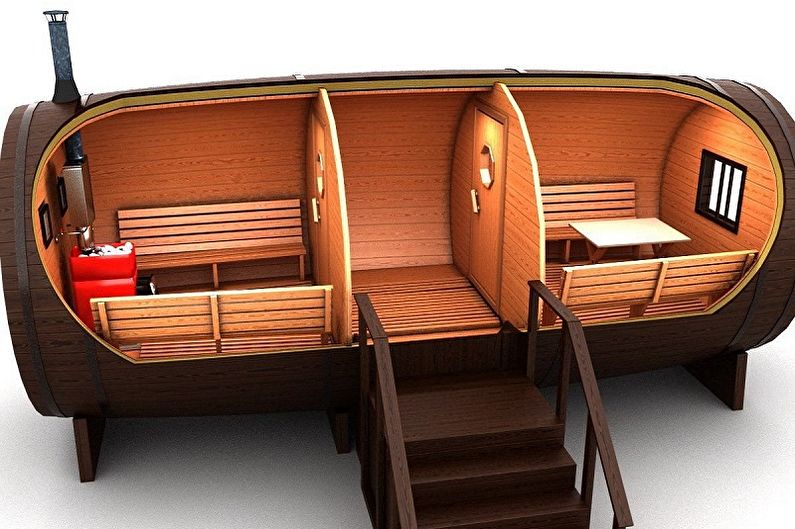
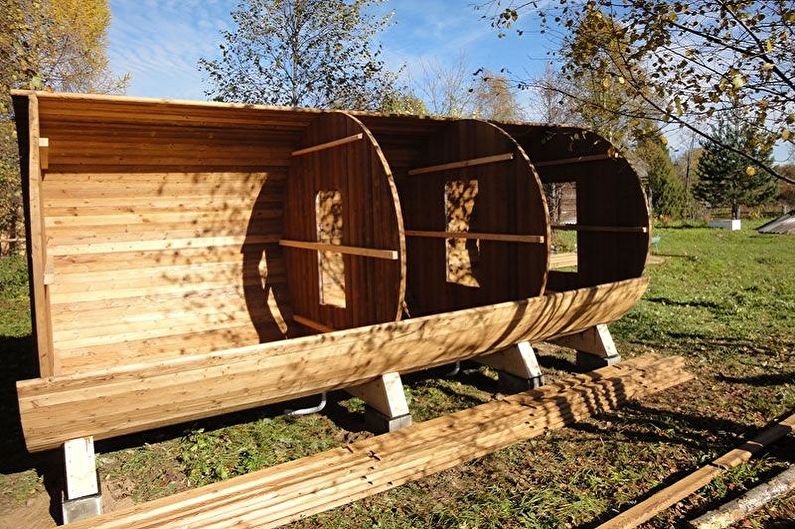
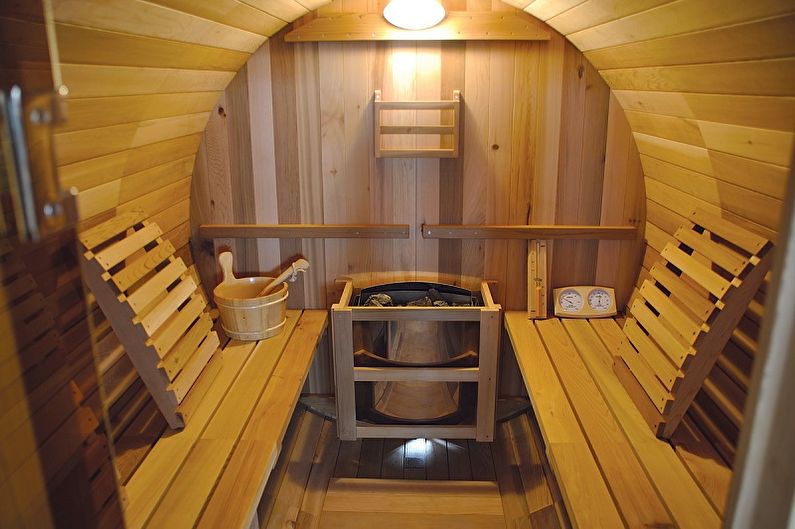
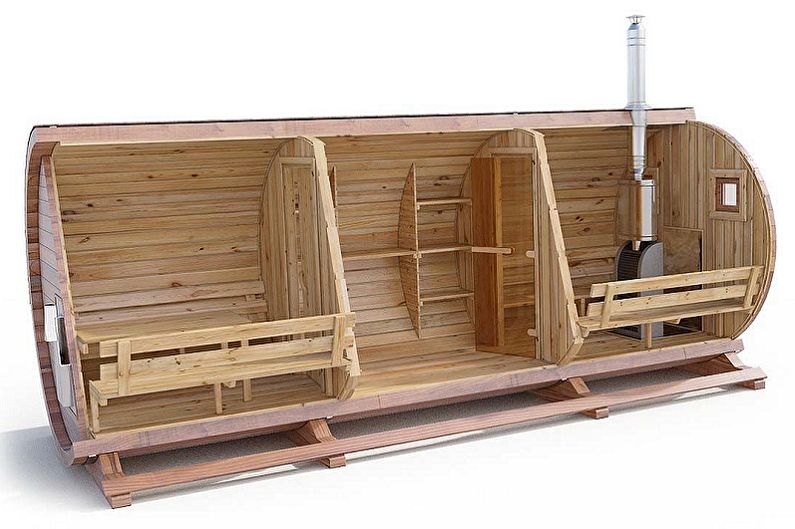
Depending on the dimensions of the bath barrel, it can be equipped with one to three internal compartments. The steam room itself, which houses the stove and stove benches, occupies about 2–2.5 m in length. In a six-meter design, a place for a dressing room (with a dressing room and a table) and a washroom is usually also provided. Sometimes an improvised porch is made in front of the entrance, slightly increasing the size of the roof - so that a canopy is obtained.
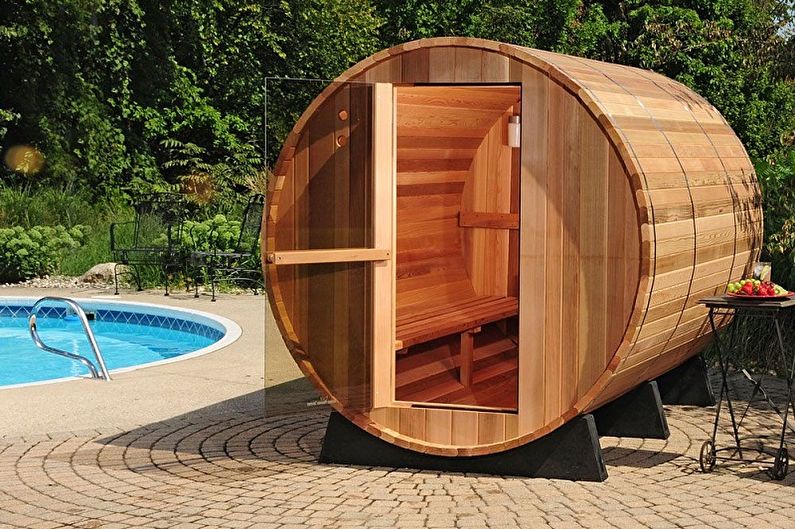
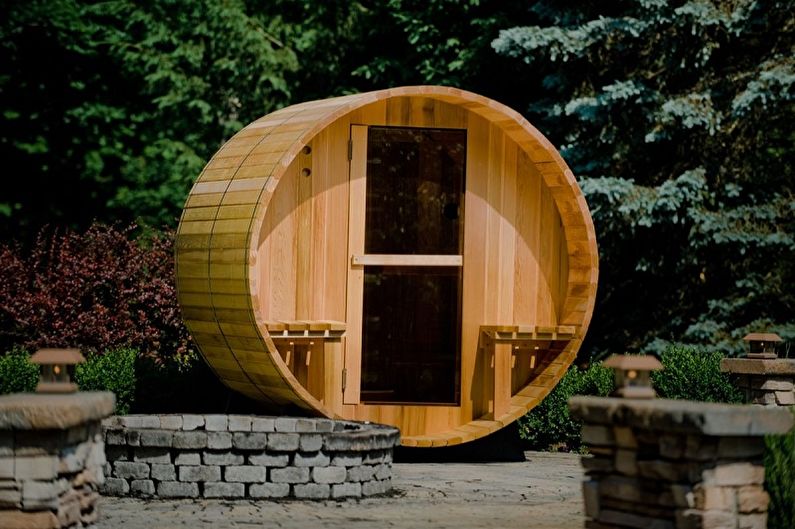
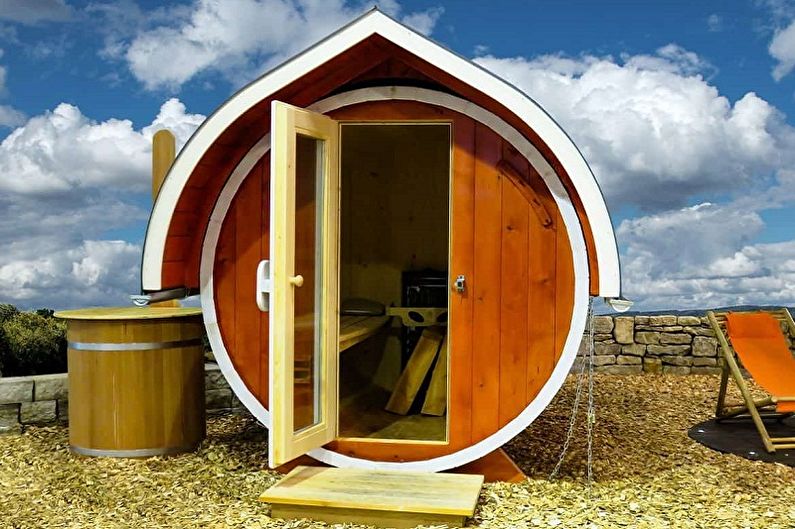
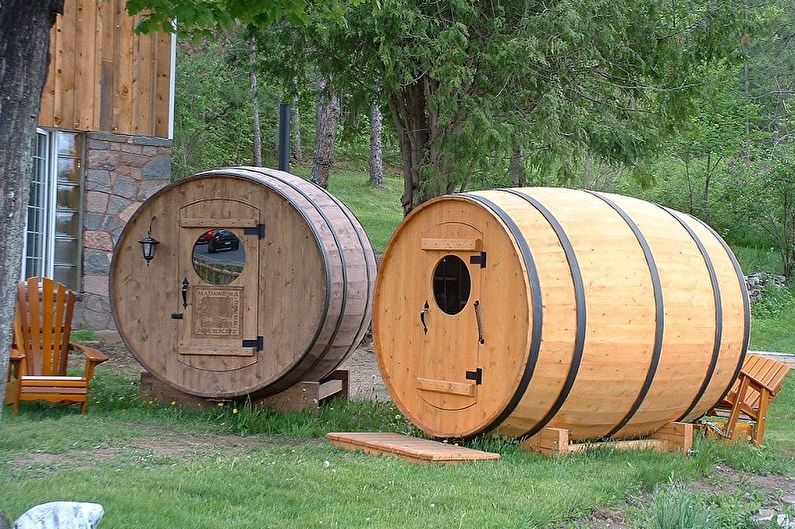
The door to the oval bath can be located both on the front side and on the side.Internal passages are usually covered with a tempered glass sheet. Thanks to the transparent inserts, the small room seems lighter and more spacious. The windows in the steam room significantly improve air exchange, which is very important for creating a comfortable microclimate. For this reason, two small gaps are left on the end side near the furnace - on both sides of the chimney. An additional window can be in the dressing room, if there is a relaxation area with benches and a table.
Stages of assembling a bath barrel
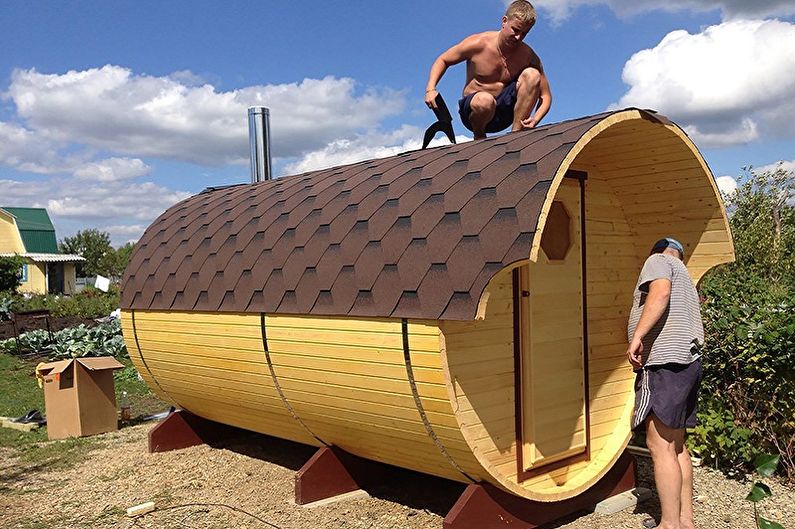
Having decided on the drawing and the location of the future steam room, as well as having prepared the necessary materials, you can proceed directly to the assembly. The whole process should take place step by step, from the preparation of the foundation to the roofing work. With the construction of a bath-barrel with your own hands in the presence of blanks, tools and certain skills, you can cope in a few weeks.
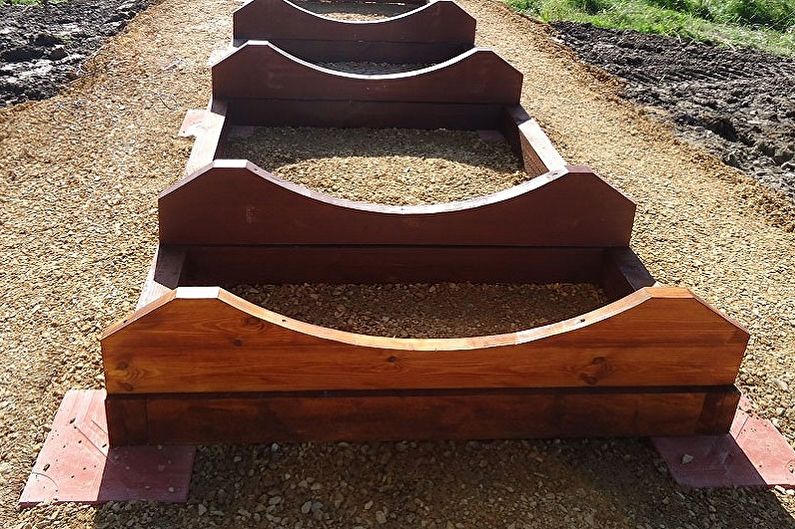
Base
The platform for the oval bath must be flat and, if possible, as dry as possible. In swampy areas and where there is a close occurrence of groundwater, the wooden structure should be protected from moisture by installing it on galvanized screw piles. Under favorable conditions, a base of concrete, gravel, paving slabs or stone will be more appropriate. Wide wooden supports in the amount of 2–4 pieces are fixed on top of the chosen base (depending on the length of the structure), on the outside of which recesses are made around the circumference of the barrel. For stability, the slats should be 30 cm less than the diameter of the cylinder. For example, with a wagon width of 2.5 m, the length of each stand will be 2.2 m, the width will be 30–40 cm, and the thickness will be 4–5 cm.
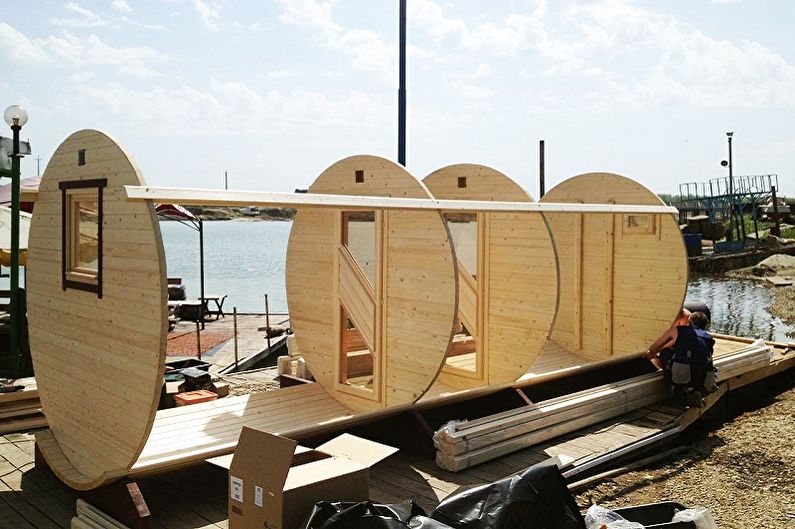
Housing
The body of the bath barrel begins to mount from the bottom up. First, the floor is attached to the bases, then - end elements (including internal partitions), side jumpers and the lining itself. Profile boards are fitted one to the other at the seams, while the figured protrusion (spike, crest) is tightly embedded in the recess (groove). Edged ones are mounted with an overlap - so that each subsequent one closes the previous one by 3 cm. After the work is completed, the cylindrical frame is additionally strengthened with metal ties-hoops.
Roof
Installation of the roof begins with the fastening of narrow rails on both sides of the barrel - they slightly change the angle of the flexible roof tiles and divert the drains further from the wooden walls. Bitumen elements are nailed to the top of the barrel, one on top of the other with an overlap. In the center of the roof, with the help of a building hair dryer, a ridge of the same flexible material is glued.
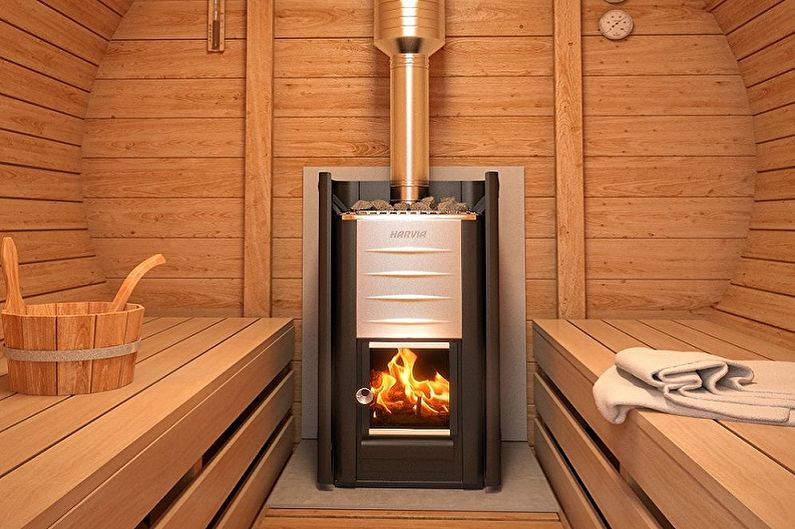
Stove, chimney, ventilation
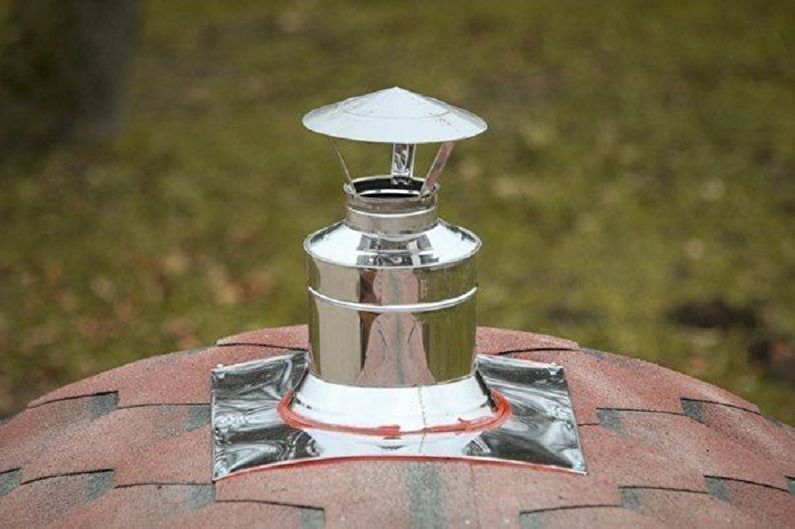
The installation of a stove and chimney requires special attention to fire safety. To protect the wood from high temperatures and fire, the furnace is placed on a substrate made of mineralite. The same plates must be used to sheathe the rear wall, along which the chimney runs, and the side parts of the beds, adjacent to the heating device. For the safe removal of combustion products, a durable and high-quality pipe, complete with refractory sandwich panels and a chimney with a visor from the wind, can not be dispensed with.
Water supply and drain
It is worth taking care of the water supply and the arrangement of the sewage system even before the start of construction. It is best to design a standard pipeline, rather than pouring the used water under the base, because increased humidity is very harmful to the tree and reduces the life of the steam room.

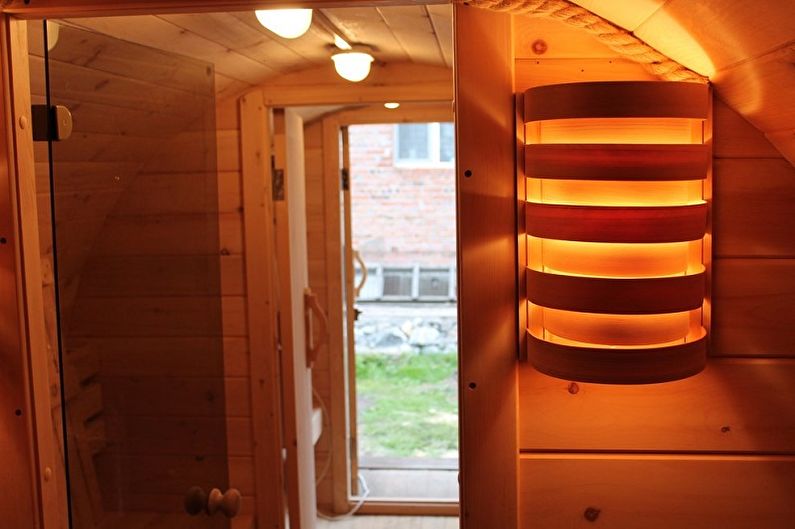
Electricity Installation
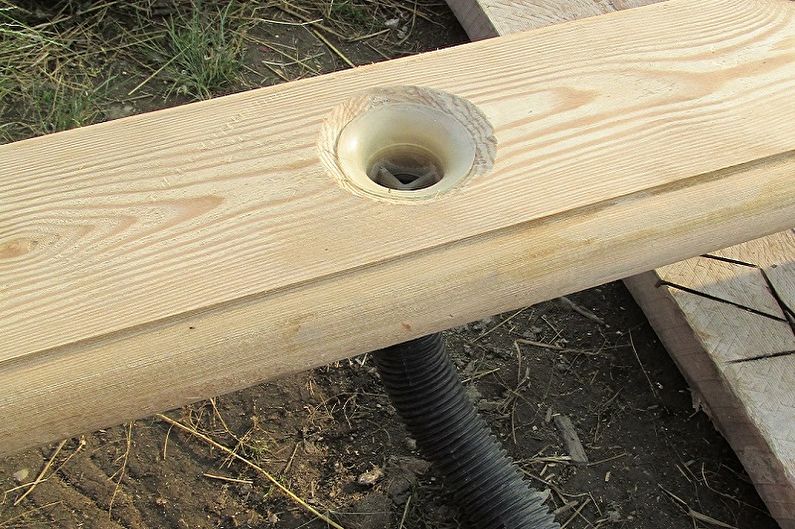
The light supply to the bath requires special care and compliance with all fire safety standards. Also, one should not forget that steam has the same conductive properties as water, so any mistake in the installation of electricity can be fatal. All switches and sockets must be in the dressing room, the cables must be insulated in a corrugated plastic pipe, and the holes in the tree are protected by steel sleeves.
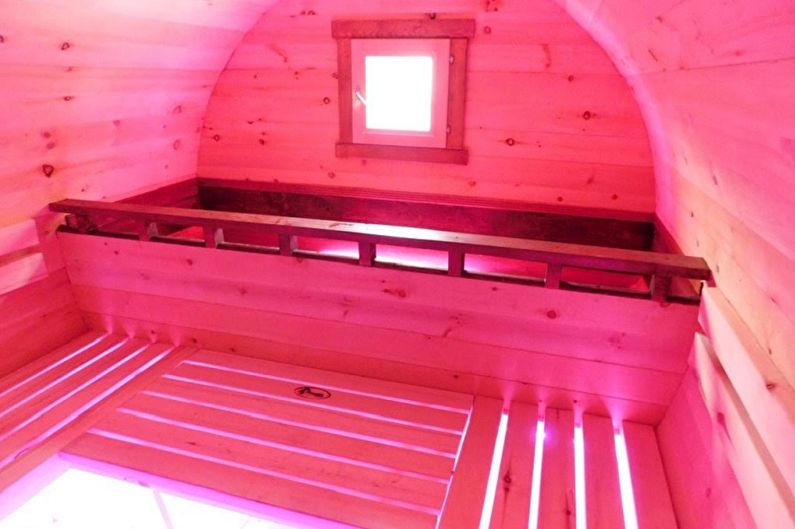
One of the safest options for self-installation is a 12-volt LED strip running on battery power. If a 220-volt mains is nevertheless carried out, you should entrust this matter to a professional electrician who understands the specifics of its operation in conditions of high humidity, critical temperatures and the environment of such an easily combustible material as wood.
Interior furnishings
For a comfortable stay inside the bath barrel after the completion of construction work, you need to take care of the interior. Loungers, head restraints, a folding table, upper shelves for accessories, hooks for brooms and towels - this is the main list of items that can not be avoided during bath procedures. They can be chosen according to your taste, but it is recommended to pay special attention to the quality of workmanship, that is, the thoroughness of wood processing, its species, evenness of surfaces, etc.
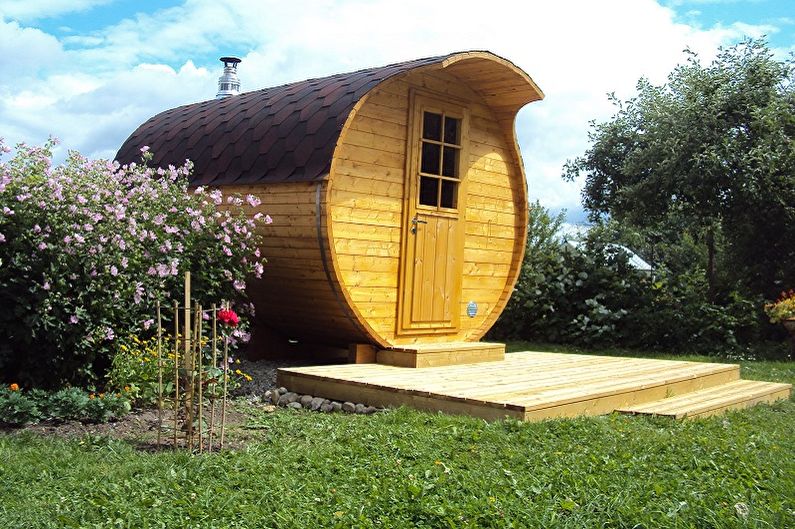
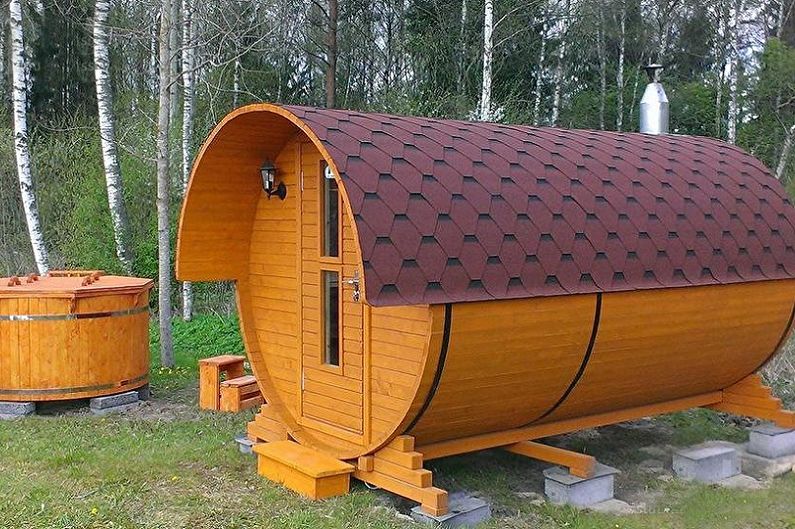
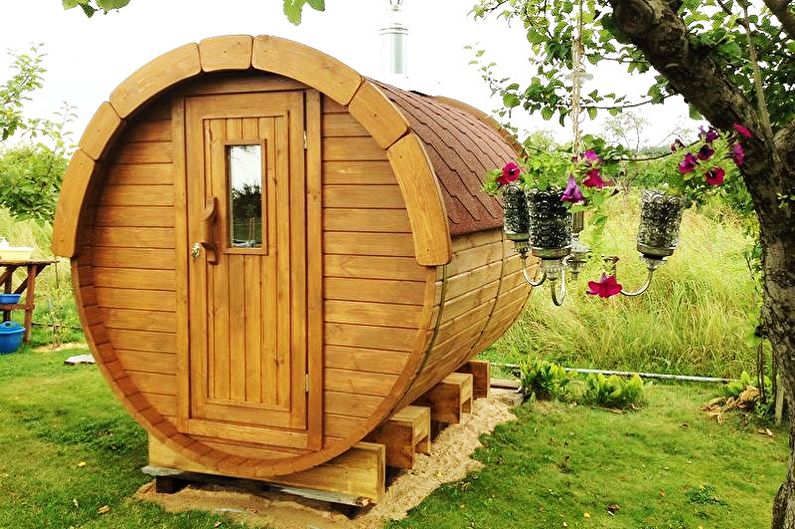
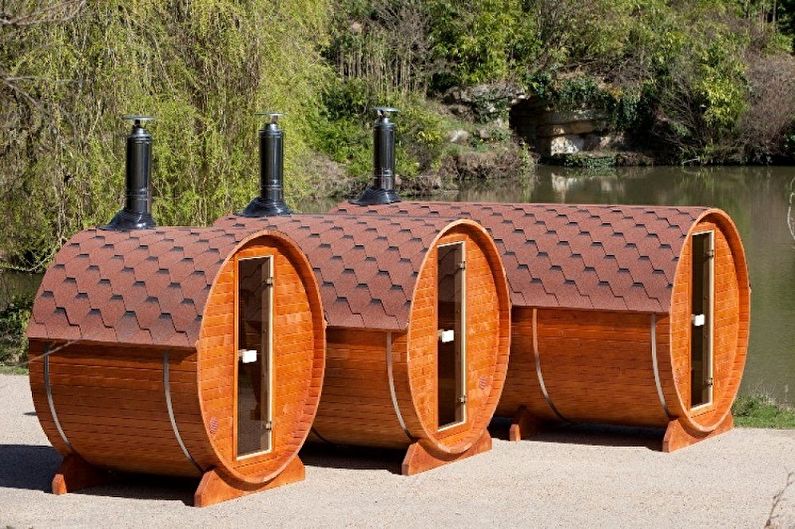
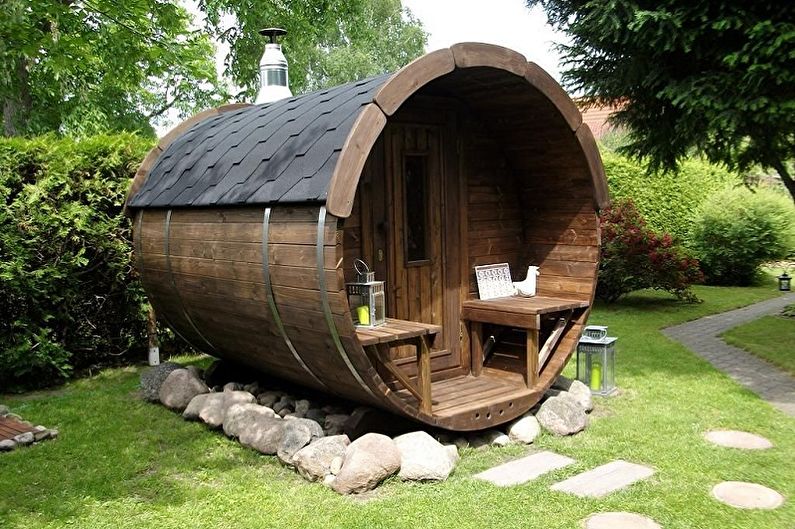
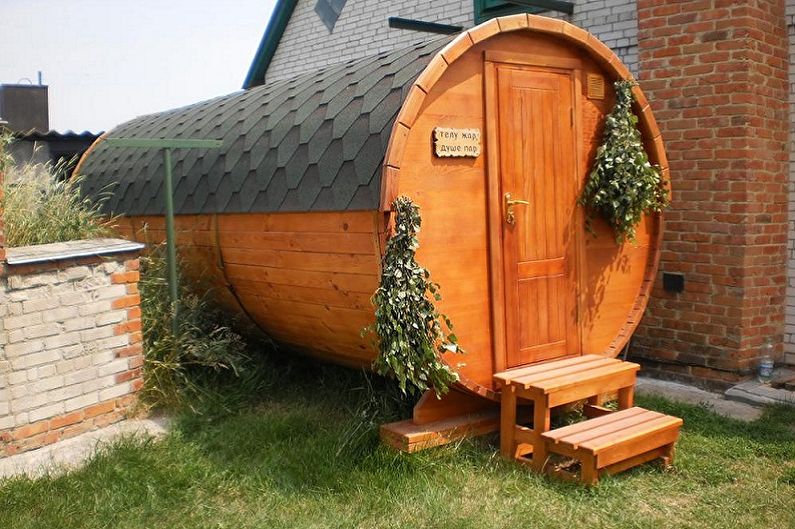
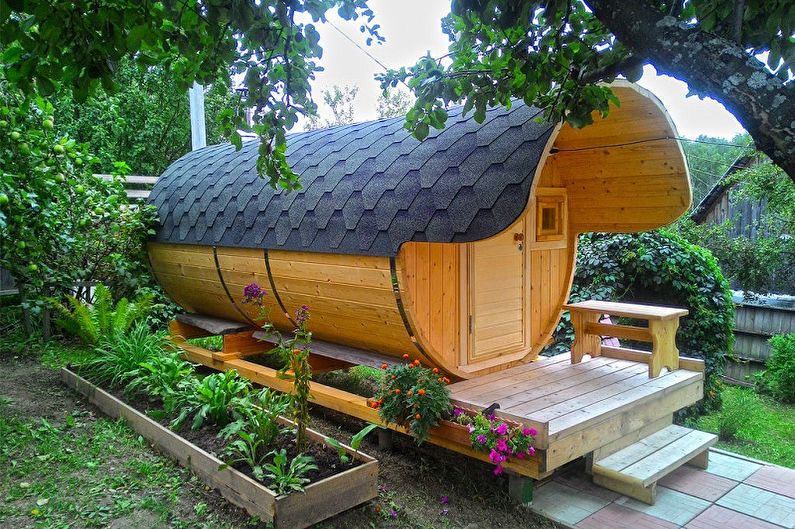
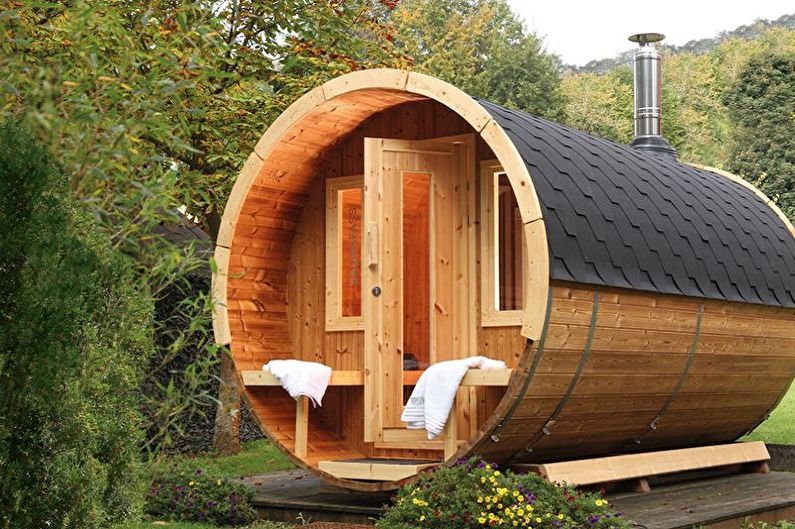
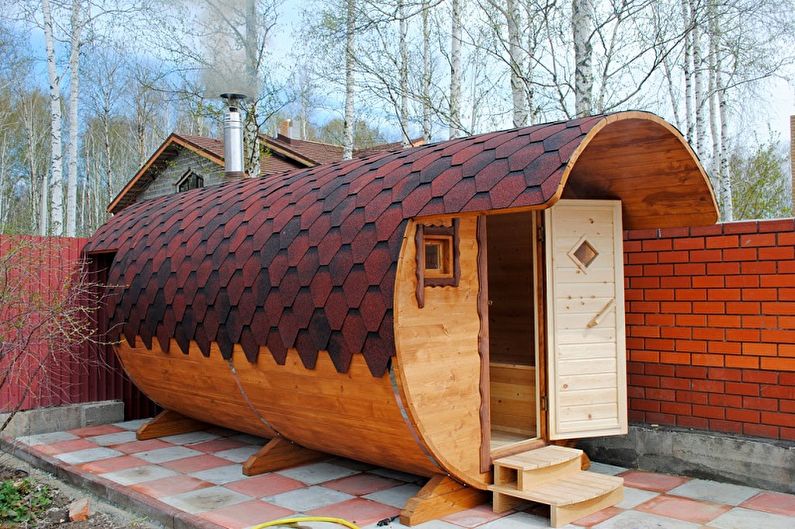
Barrel bath - photo
Although it is quite difficult to build a barrel bath with your own hands, some amateur craftsmen cope with this task very successfully. Examples of such designs are presented in the photos collected in our gallery. Each of the already implemented options can always be supplemented or changed according to your own project. Perhaps the experience of other people will inspire you to install a cylindrical steam room on your site and enjoy pleasant procedures at any convenient time.