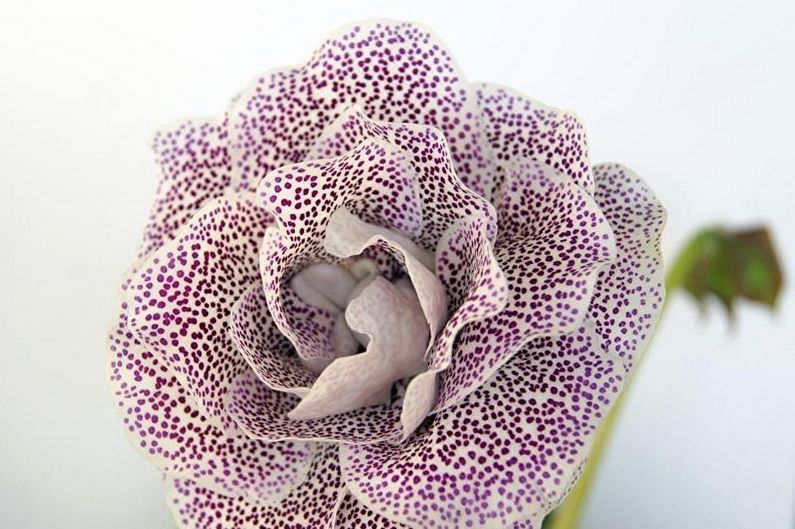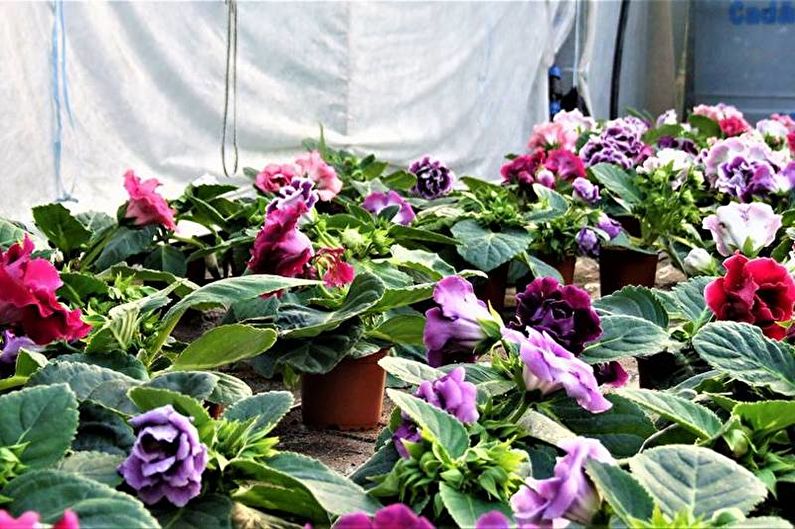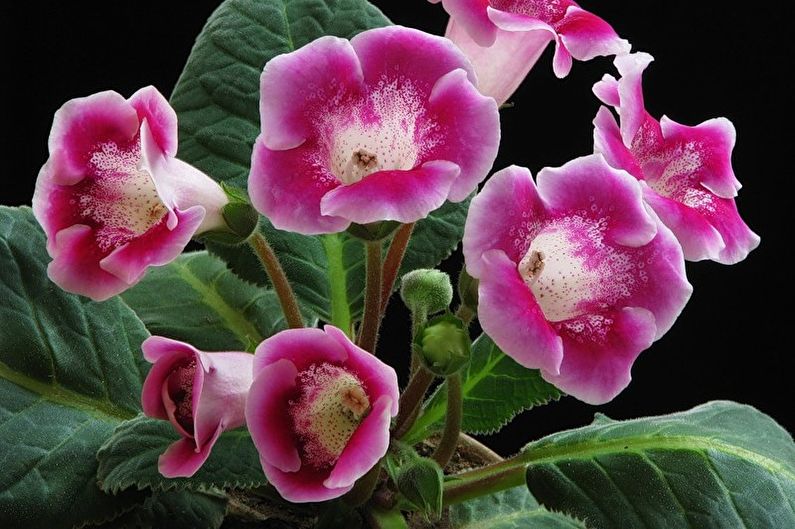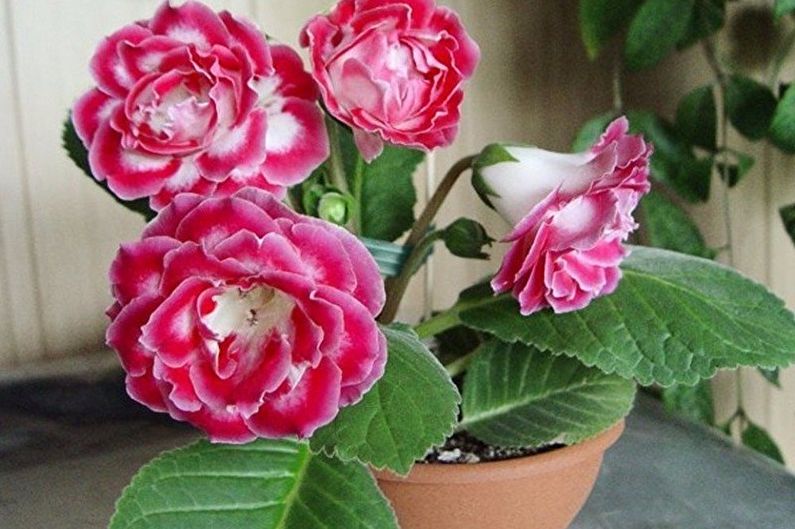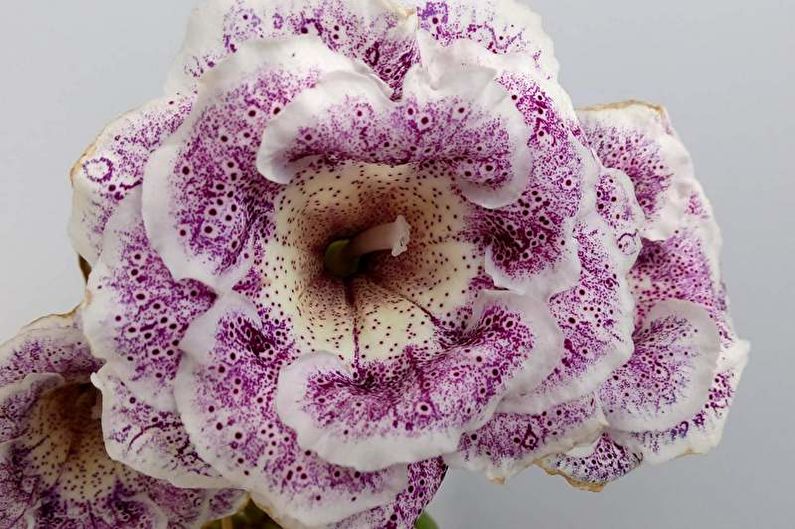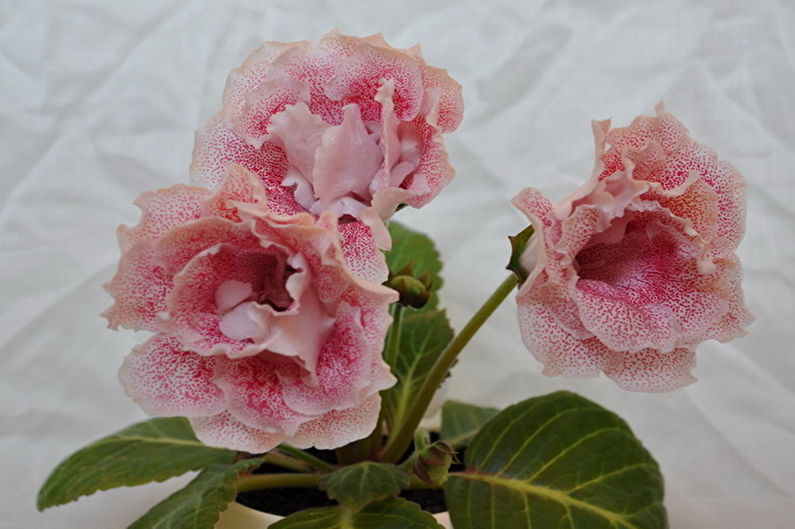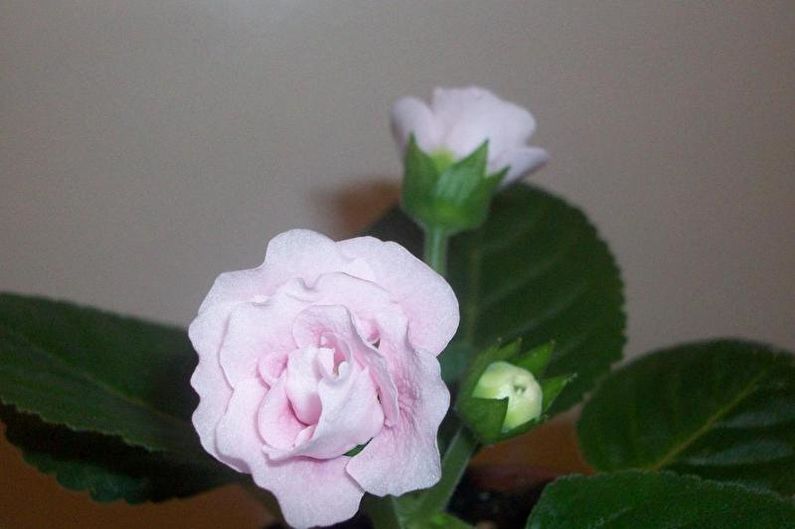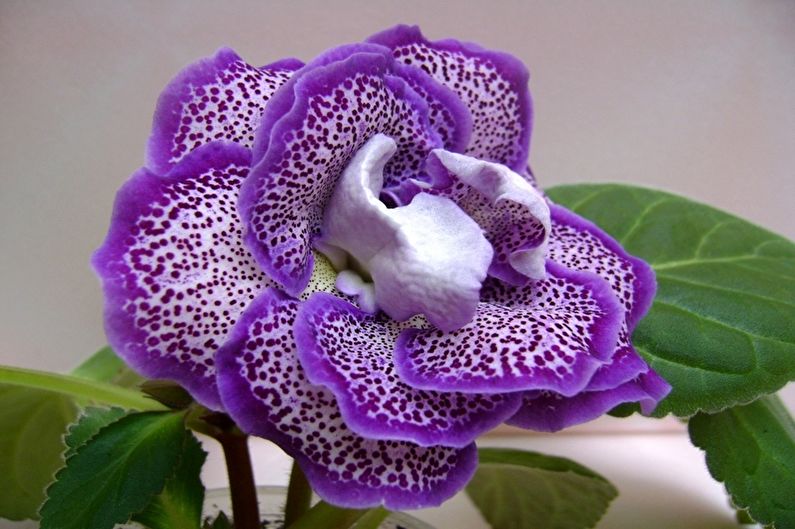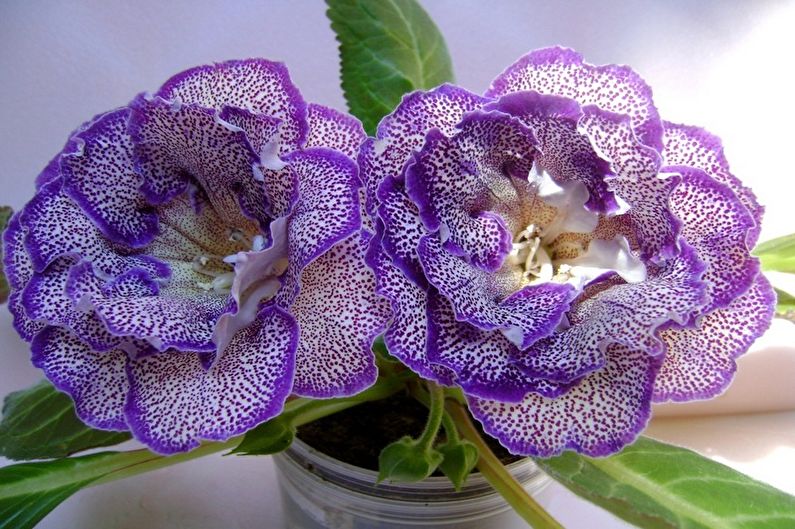
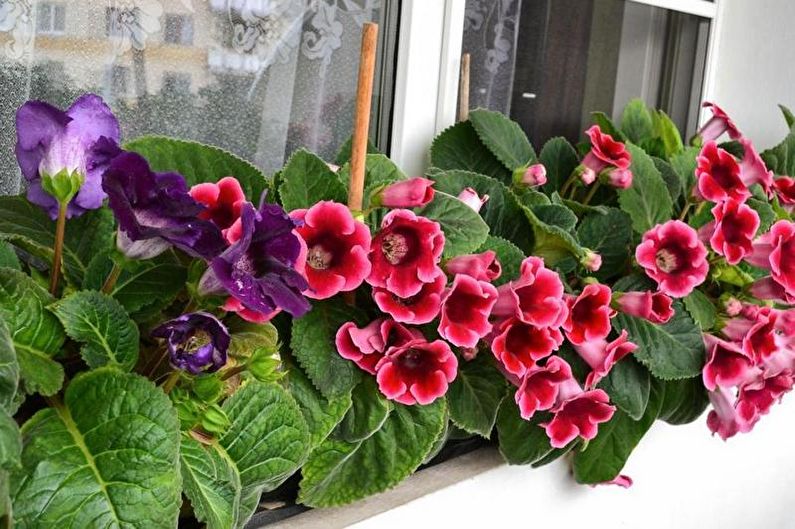
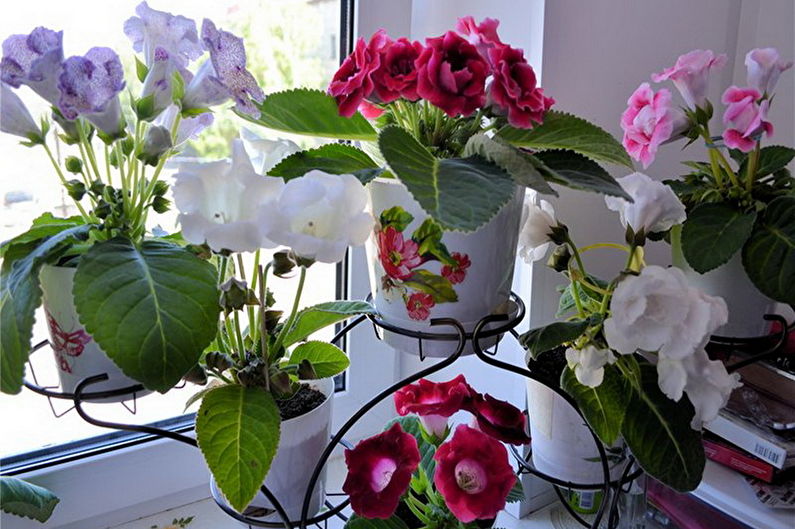
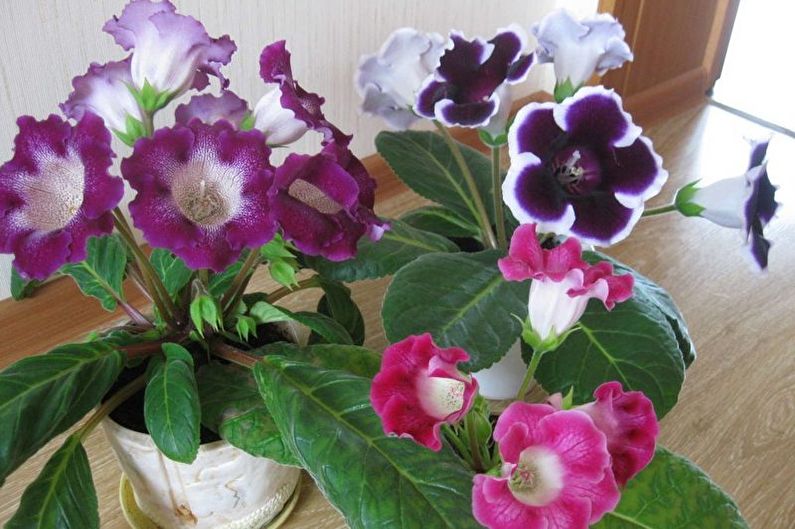
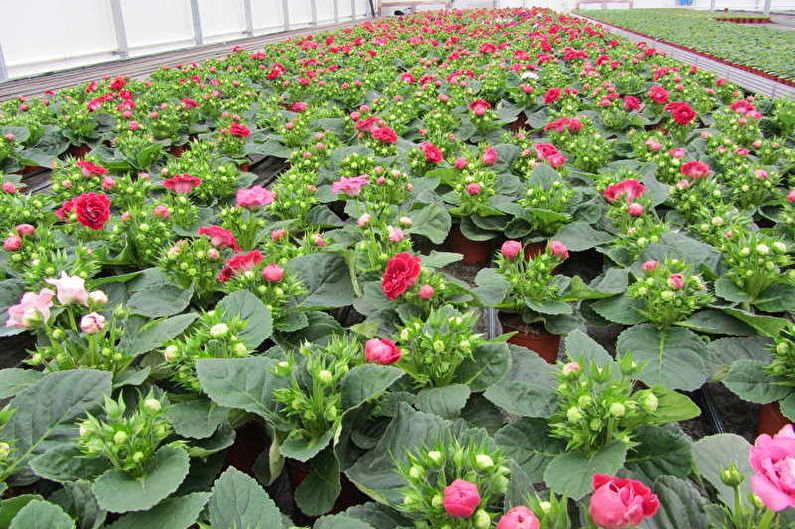
Home gloxinia is appreciated by flower growers, primarily for its unusually beautiful foliage and colorful flowering. Originally a exotic plant from Brazil, it was introduced to Europe in the 19th century. Wilhelm Sinning, the chief botanist at the University of Bonn Garden, worked on the selection for a long time, and he brought forth many beautiful new varieties. In honor of him, the plant was given the botanical name Sinningia, and its growers are called gloxinia. Now you can meet various types of culture with bell-shaped flowers, which are double or simple, with contrasting and frilly edges, of various colors.
The main types
Despite the fact that in nature there are about 25 species of this wonderful plant with various varieties, only two main ones are cultivated in the culture, which bear the very beautiful names “Beautiful” and “Royal”.
Gloxinia is beautiful
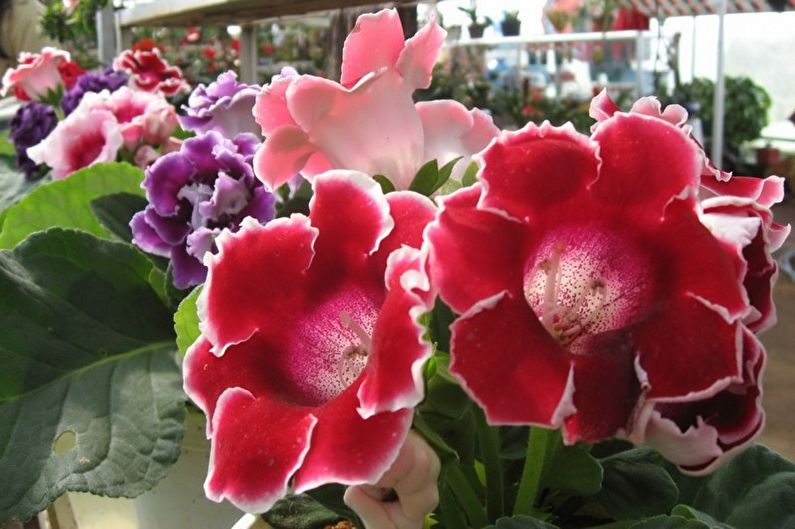
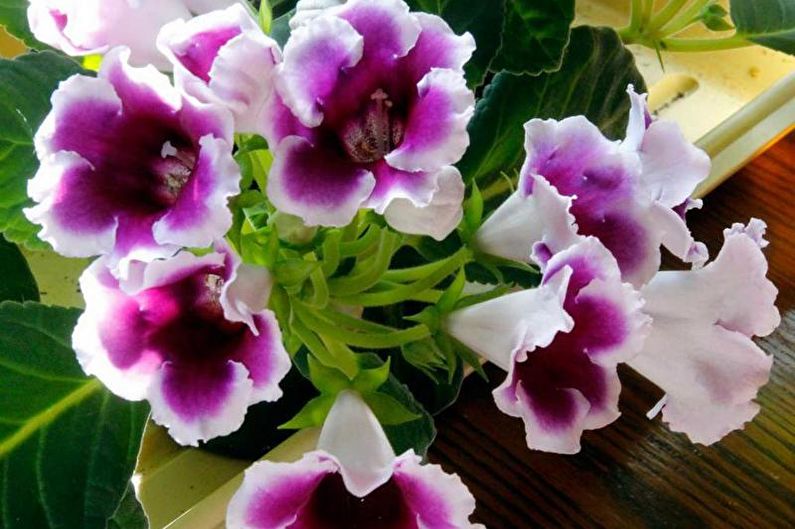
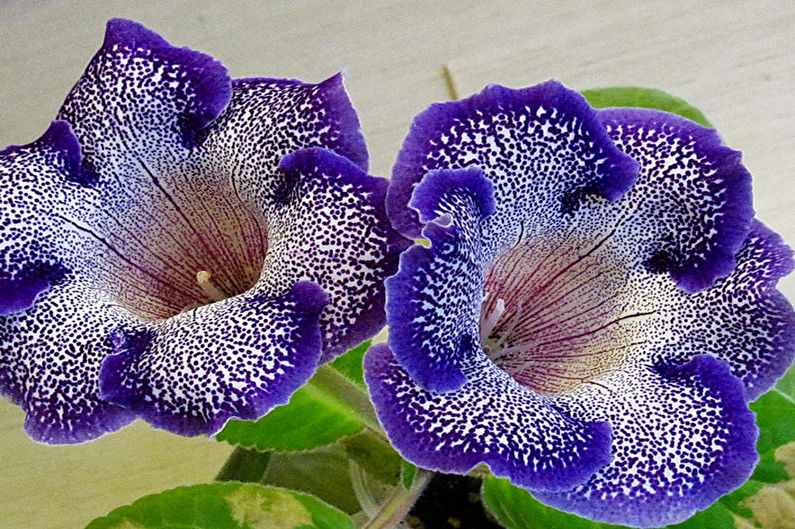
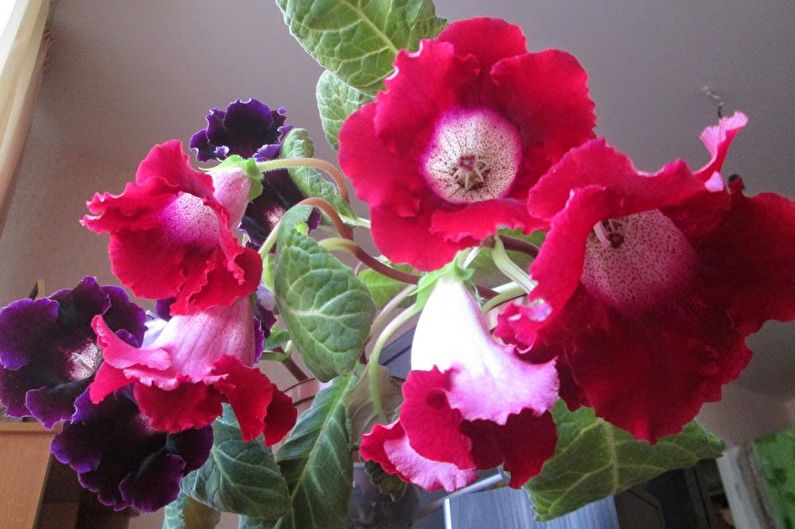
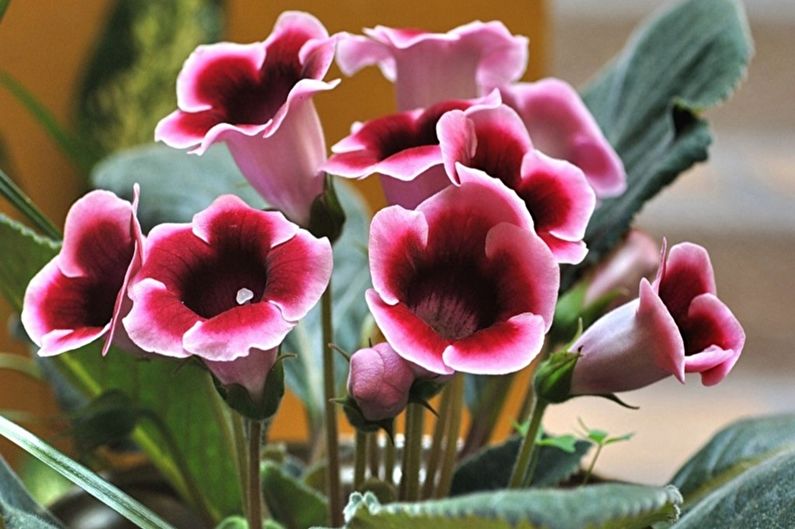
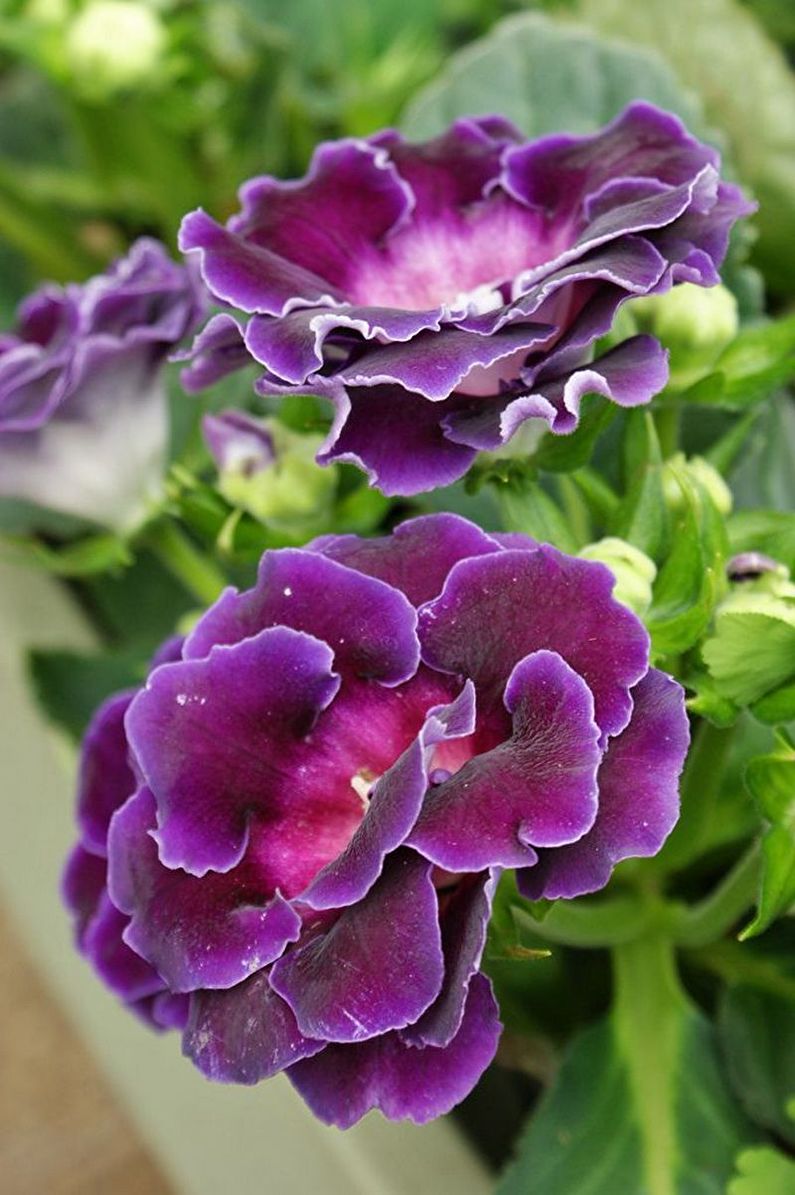
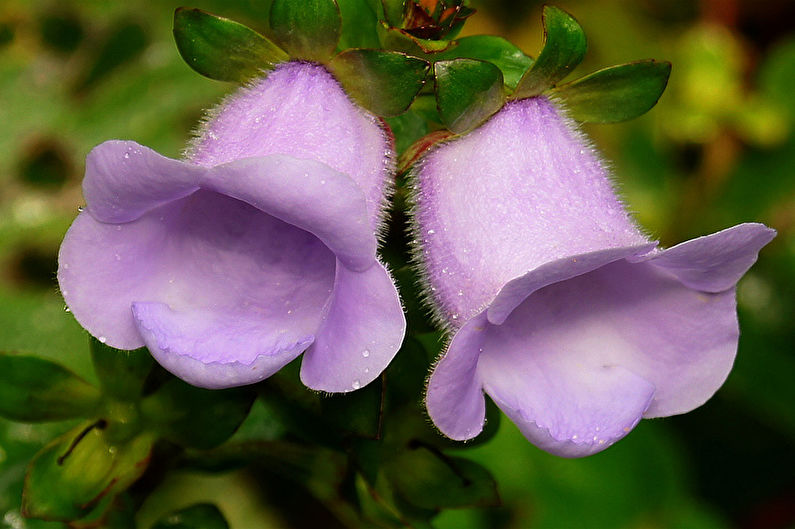
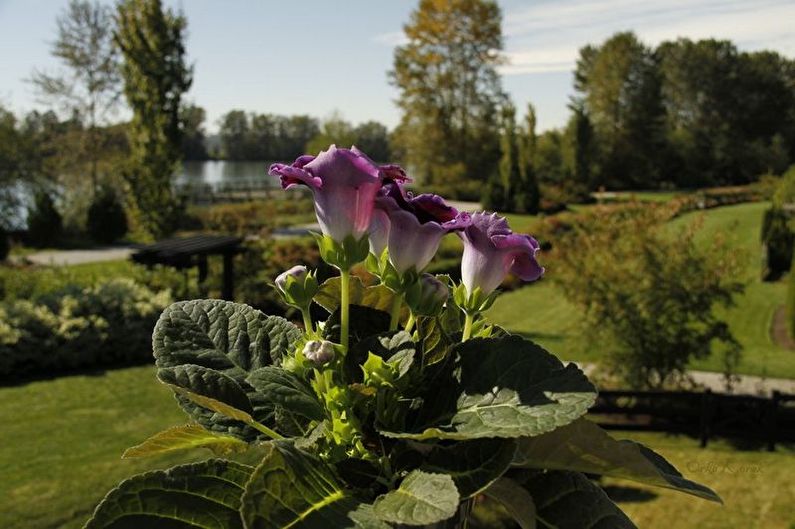
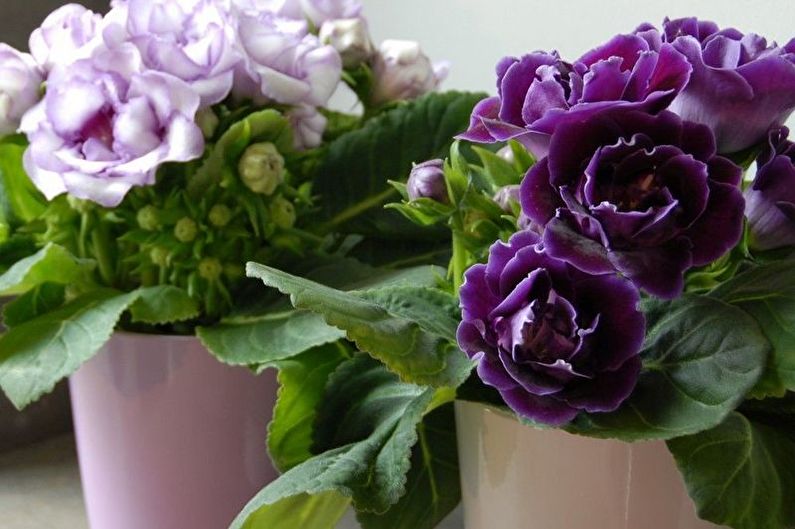
This species includes varieties with simple and double flowers, which have the shape of large bells. Their color palette is the most diverse - from white, blue and purple to pink-purple.
Gloxinia royal
This species is represented by a miniature bush, which does not exceed a height of 10 cm. Its leaves have an interesting pattern in the form of silver streaks. Elongated bell-shaped flowers have a diameter of up to 7 cm and a length of about 5 cm.
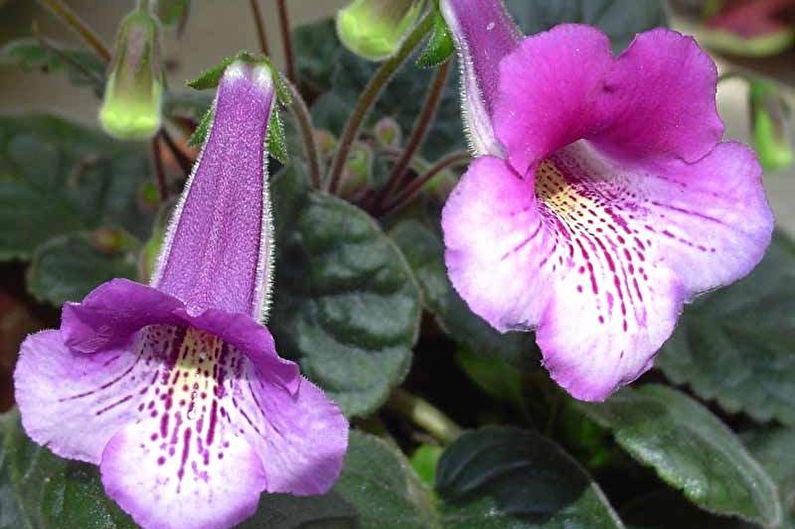
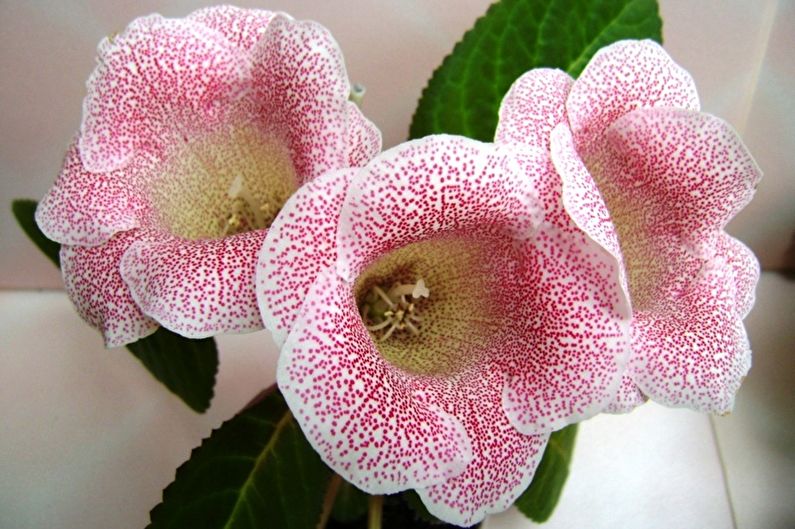
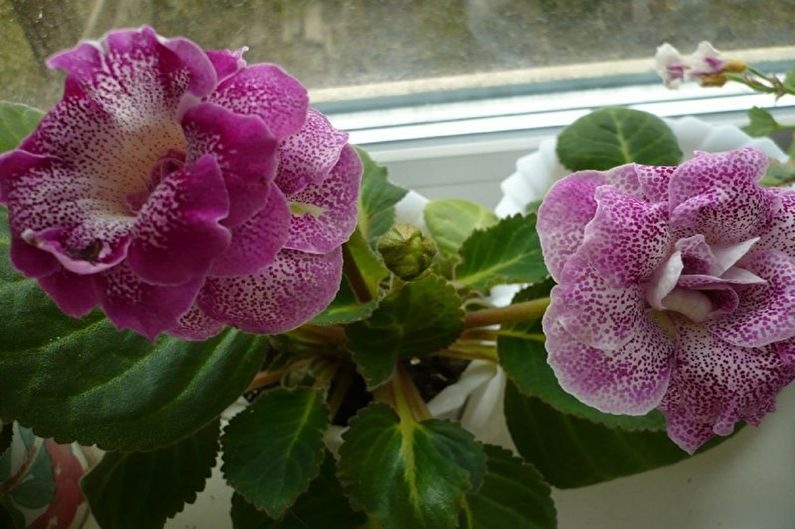
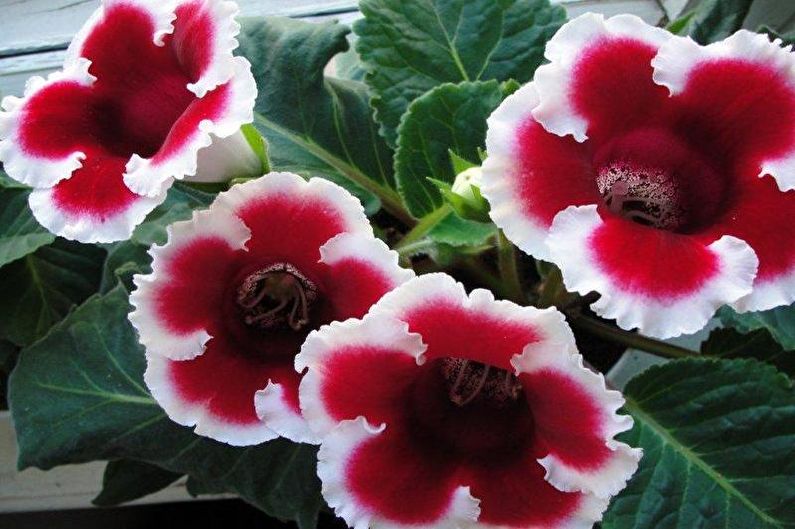
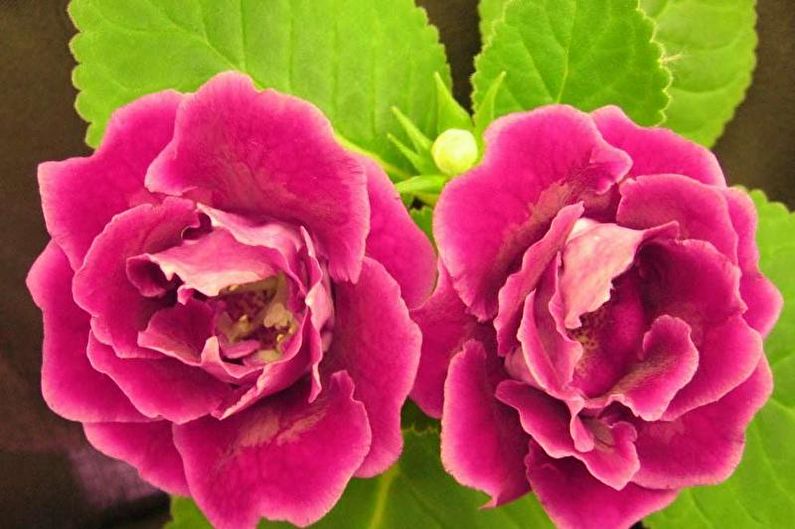
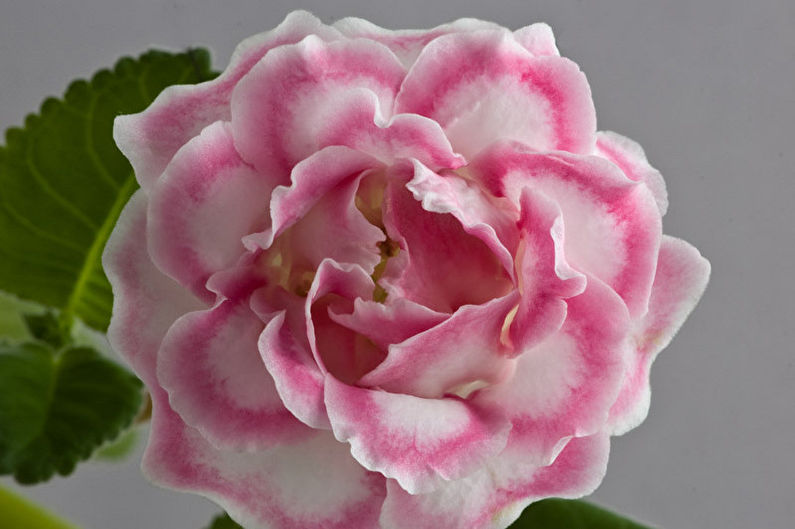
In addition to these two main species, a lot of different varieties were bred, among which such as: “Winter cherry” with terry burgundy petals and a similar “Eseniya”, “Pynic Flamingo” with large pink and purple flowers bordered with a white stripe, very beautiful “Kristin Irish”, which has thick double-headed white petals of buds with a red edging, as well as a snow-white “High Light”, which is often used to form bouquets.
Proper Gloxinia Care
Good care is very important for gloxinia, as for any flowering crop. In many ways, the principle of the “golden mean” is used to create a favorable microclimate. Let's consider what basic requirements a flower grower must observe in order to enjoy the beauty of flowering for as long as possible.
Lighting
Culture loves a lot of diffused and bright light, and it must be hidden from direct sunlight so that wilting does not occur. The best option at home - east and west windows. If the plant is constantly in partial shade, it will begin to stretch. Is there enough light for him, can be determined by the state of the leaves. If they are located horizontally and have a dark color - there is enough light, and when they rise up - it means that there is not enough lighting. When there is too much light, the flowering period is reduced, and the edges of the leaves twist - you need to create a partial shade.
Temperature
The culture is quite thermophilic, but does not like heat. The optimum temperature for normal development is a range from + 18 ... + 20. When a plant experiences overheating, its leaves rise up and, conversely, fall under hypothermia. In the winter season, when the heating season begins, indoor gloxinia must be removed further from the batteries.
Humidity
The culture has no special requirements for atmospheric humidity conditions - a normal indoor microclimate is quite suitable. In hot weather, the plant can be slightly sprayed.
Watering
Watering gloxinia is necessary moderate - with excess water, the roots will begin to rot. Water should be warm, settled, a couple of degrees above room temperature. In no case should not be watered with cold running water, as this will lead to withering of the stems.In the growing season, gloxinia is moistened in a pan or top watering so that water does not fall on leaves and flowers, while the soil between waterings should dry out. At the end of summer, the frequency of feeding increases so that the culture gradually enters the dormant stage.
Fertilizers and fertilizing
Lack of nutrients can lead to fading of buds, reduce their size and reduce the duration of flowering, and the growth of the plant itself also stops.
To fertilize the culture, complex fertilizers are used, which are applied once every ten days. Fertilizing with the alternation of mineral and organic fertilizers favorably affects the development and flowering. It is easy to prepare a mullein solution. For this, its concentrate is diluted in standing water in a proportion of 1:12. It is necessary to start feeding gloxinia after the dormancy stage is completed, the first tuberous shoots appear.
At the end of summer, soil fertilizer ceases. In the summer, when gloxinia is constantly exposed to abundant lighting, it may develop a boron deficiency. It is determined by the appearance of chipping at the edges of the leaf plates. You can cure the plant by feeding a borax solution.
Pests and diseases
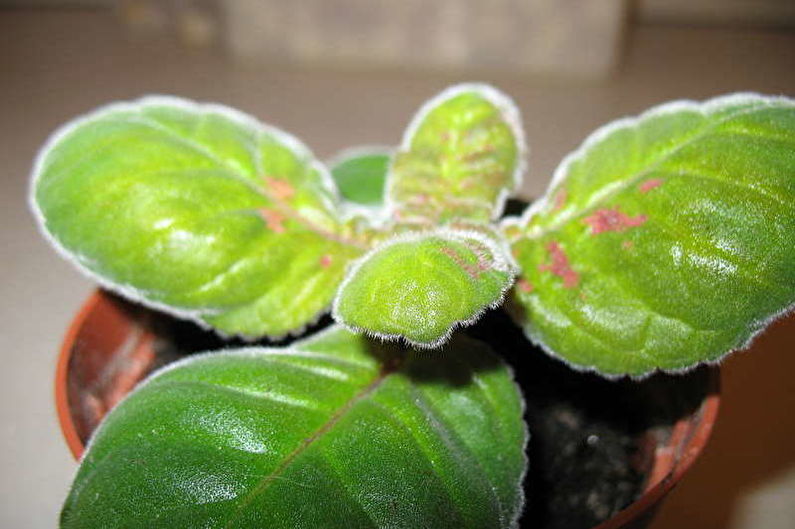
The most dangerous disease for the culture is gray rot, which is the result of improper care, namely waterlogging and stagnation of water in the soil. In this case, gloxinia leaves are covered with brown spots. To avoid this, proper care must be taken, but since the ailment does occur, it must be cured. To do this, remove damaged areas and treat the plant with fungicide. In addition, the culture must be protected from diseases such as late blight, "black leg" and "powdery mildew", for the treatment of which foundationazole is used. You can also carry out prevention by treating the culture with phytosporin.
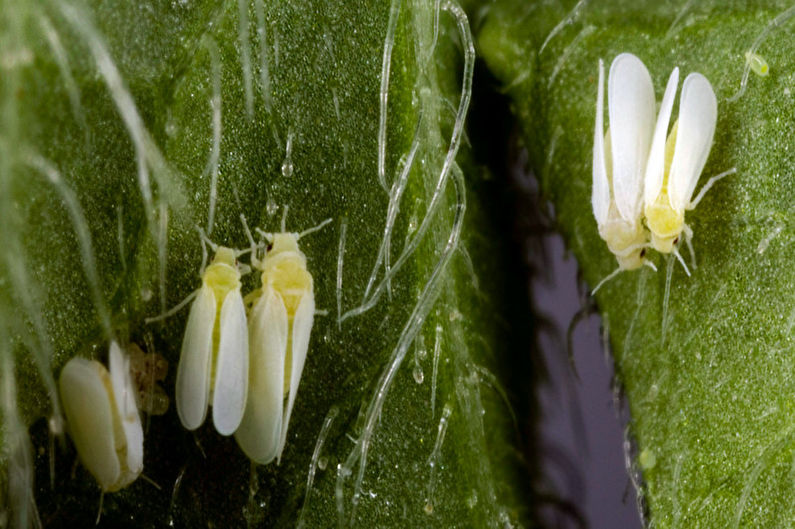
But this is not the whole list of troubles that a flower can comprehend. Significant damage is caused by pests, among which the most dangerous are:
Thrips - their infection of the culture is characterized by the appearance of light strokes and dots on the leaves, which then dry, become brown on the lower side, and the edges curl up;
The cyclic mites are quite small, they cannot be distinguished with the naked eye, and their large cluster looks like a layer of dust. You can determine its appearance on the plant by deformation and thickening of the leaves, their twisting. The flower buds quickly wither, and the tops of the shoots dry;
Spider mites - live on the underside of the leaf and feed on its cellular juice. It is determined by the presence of white inclusions at an early stage of infection and cobwebs - at a late stage.
In addition to the fact that thrips affect gloxinia leaves, their larvae go into the ground, so its upper layer must be replaced. The diseased plant must be treated three times with insecticides (karbofos, fitoverm) with an interval of one week. Mites are also excreted, but the soil does not change.

How to transplant gloxinia
Gloxinia is transplanted annually in February. She is seated in a pot with a new soil composition, which can be purchased ready-made in a store. Mixtures for violets and begonias are great. If you cook it yourself, you need to mix sheet, as well as humus and sand in a ratio of 2: 1: 1.
Gloxinia tubers are carefully removed from the container along with the ground and moved to a new pot, which should be slightly larger than the previous one. Previously, drainage and a layer of new soil should be laid in it. Having established the plant, it is sprinkled on top with a substrate and compacted so that the tuber is half buried. This is followed by careful care.
Propagation at home
There are three ways to propagate gloxinia - seeds, cuttings, and tuber division.The seed method allows you to get a large number of seedlings, but its main drawback is the risk of changing the appearance of the plant. Nevertheless, flower growers widely use it.
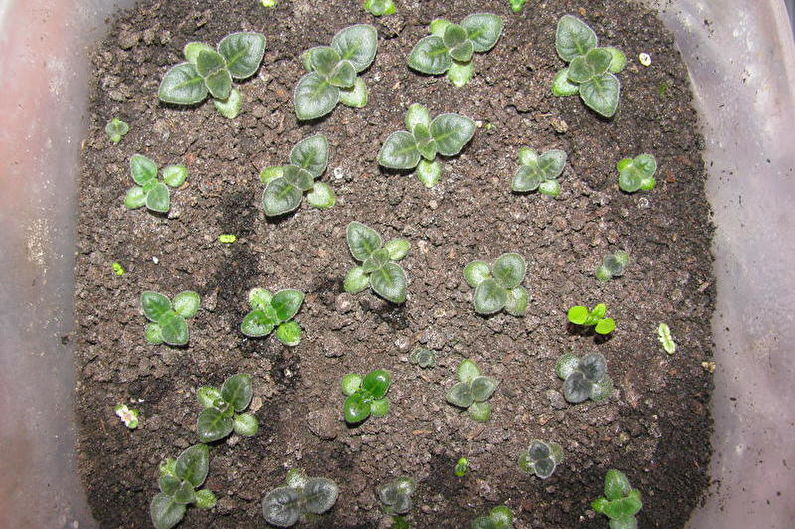
Seed propagation
Sow the seeds from the end of autumn until the beginning of spring. To do this, use shallow container boxes in which the soil mixture is poured. It consists of land, sand and peat, present in equal amounts. Having planted the seeds in moist soil, the boxes are kept in a warm place. It is necessary to spray the soil from time to time with slightly warmed, settled water. After a couple of weeks, the first sprouts form. You can dive seedlings after the appearance of two full leaves. If they are placed not in separate flowerpots, but in a common container, you need to maintain a distance of 7-8 cm. The first flowering can be observed after 7 months.
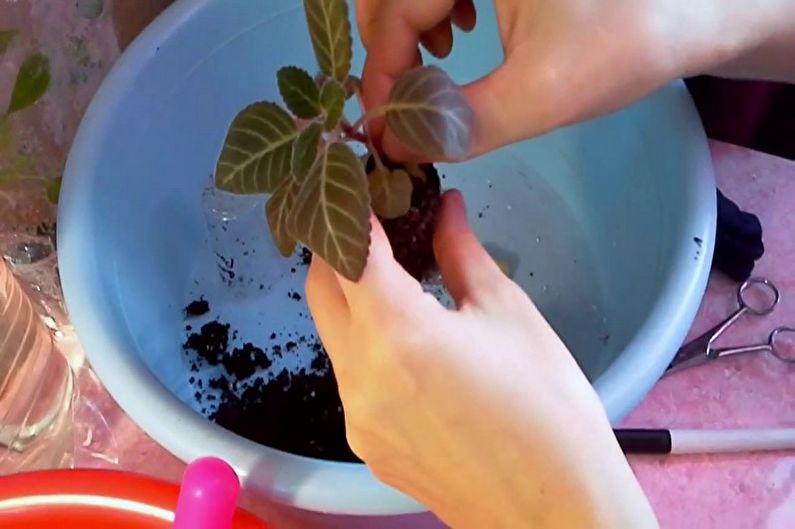
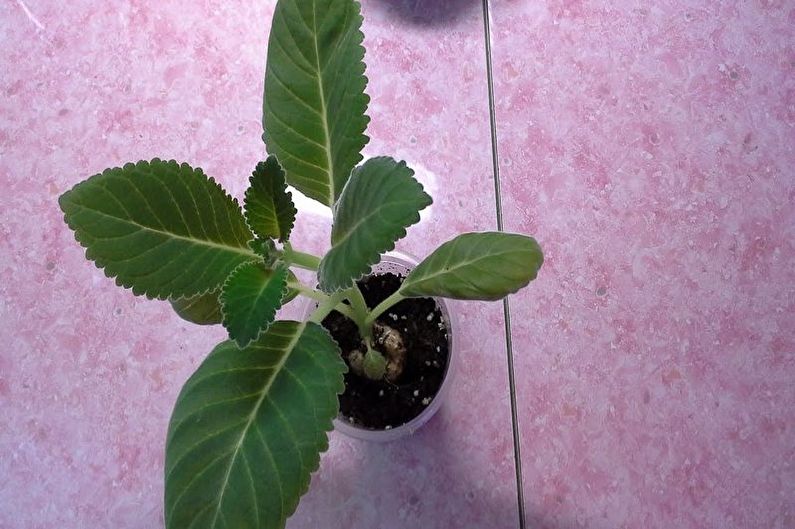
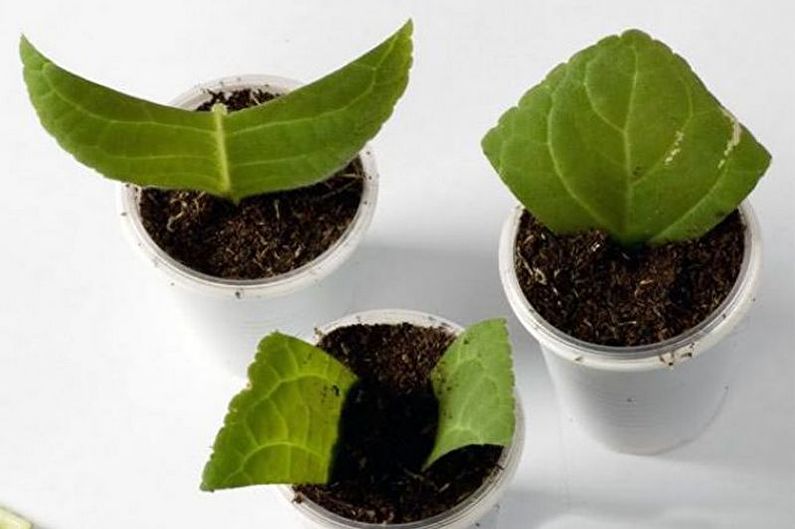
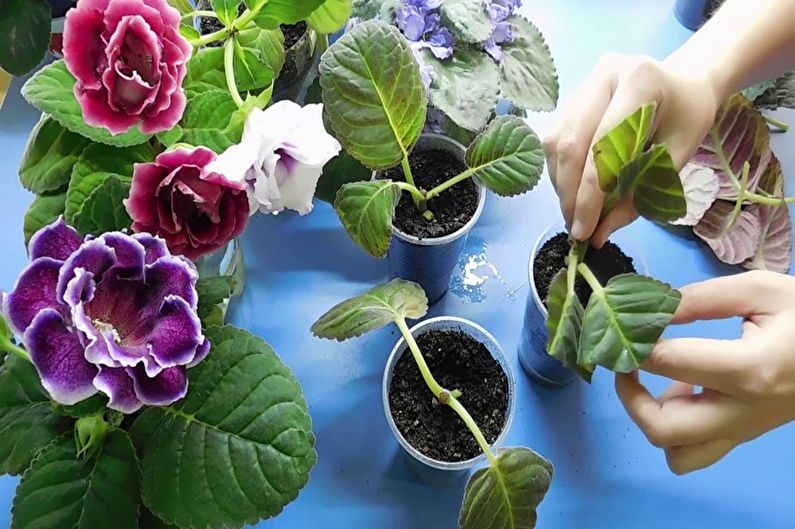
Propagation by cuttings
In order to propagate gloxinia in this way, you need to cut a young leaf with a petiole from a plant in bloom. It is rooted in the soil, consisting of sand and peat in a ratio of 2: 1, and a glass jar is placed on top. Every day, the bank needs to be removed for 15–20 minutes to ventilate, and then set to its original position. After several weeks, after rooting, the cuttings can be transplanted into separate containers. Flowering can be expected in the year of planting.
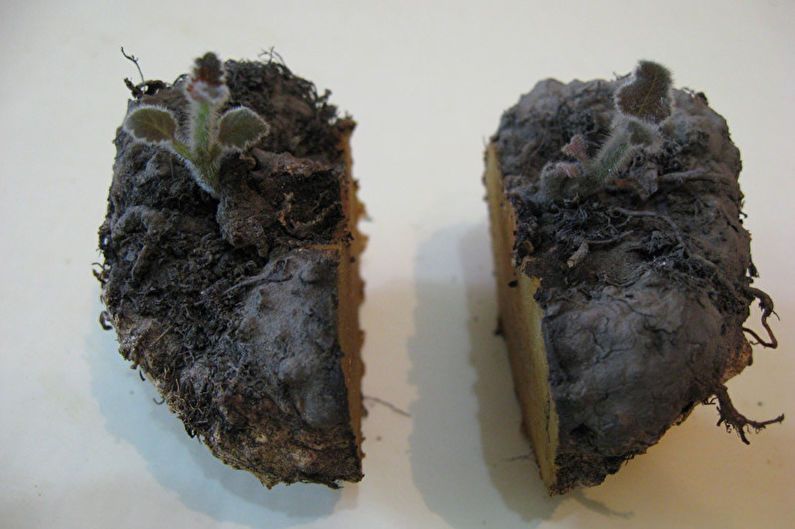
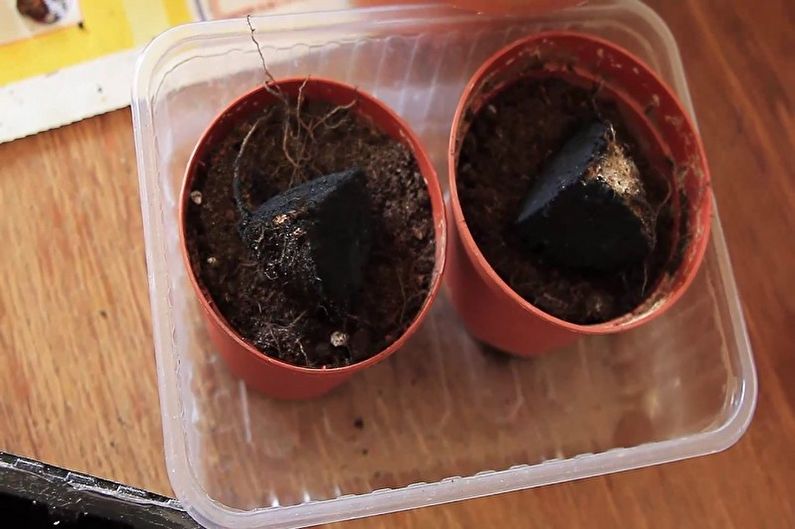
Root division
The adult gloxinia tuber is neatly cut. In this case, you can get as much planting material as there is on the tuber of the shoots. Sections must be sprinkled with crushed coal, so as not to provoke diseases. Each part obtained is placed in its own pot with well-moistened and nourished soil. The first few days watering is not required.
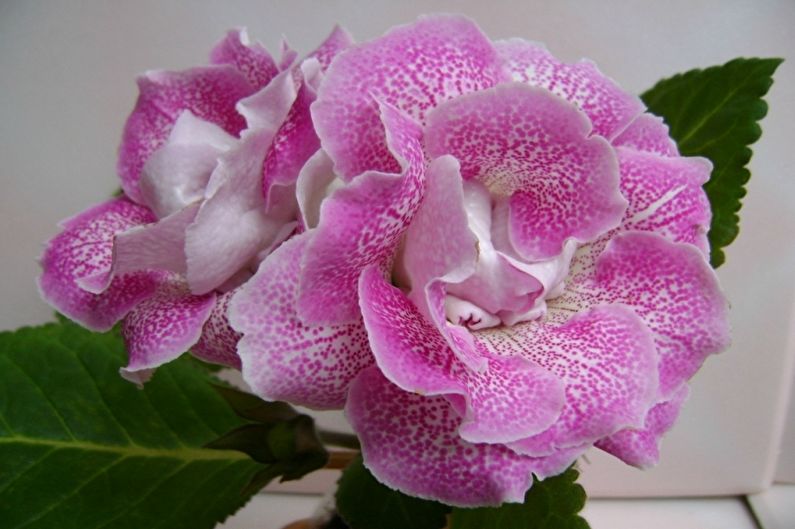
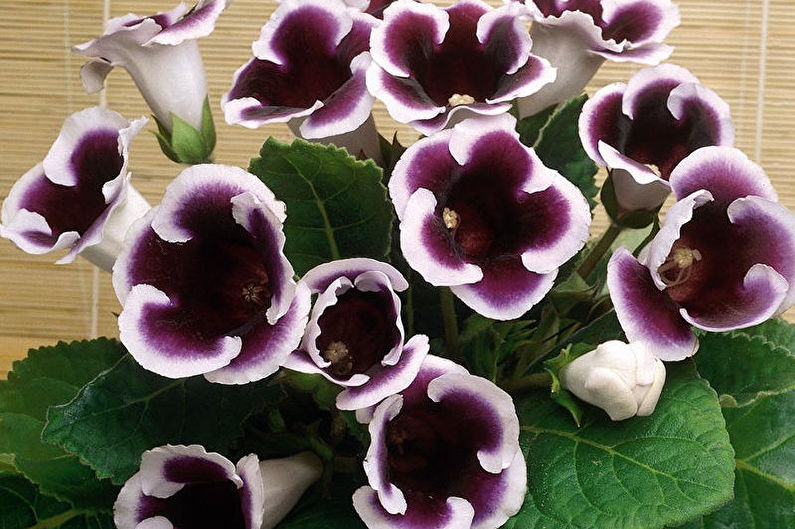
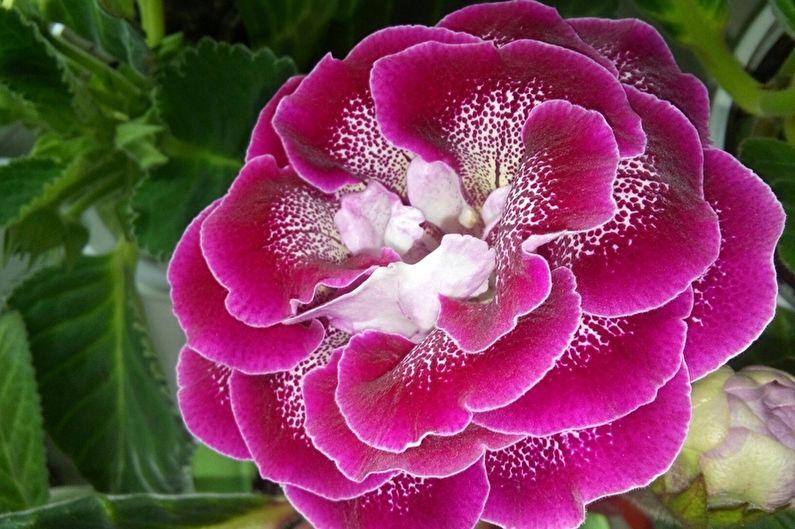
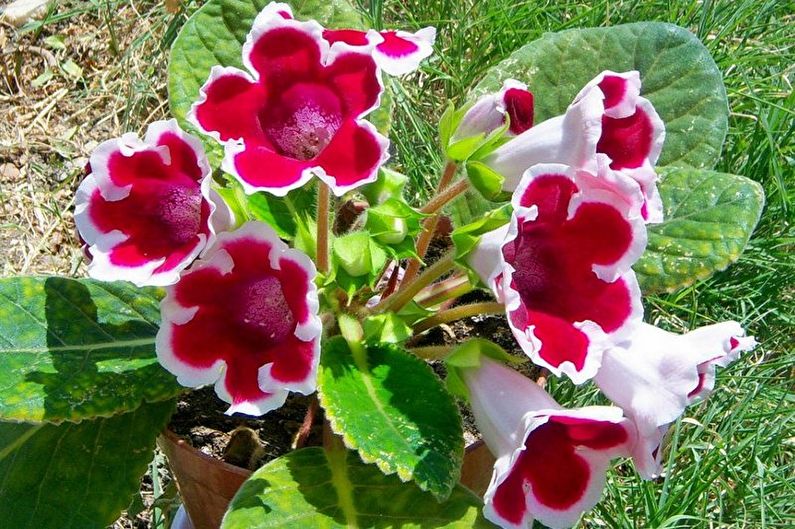
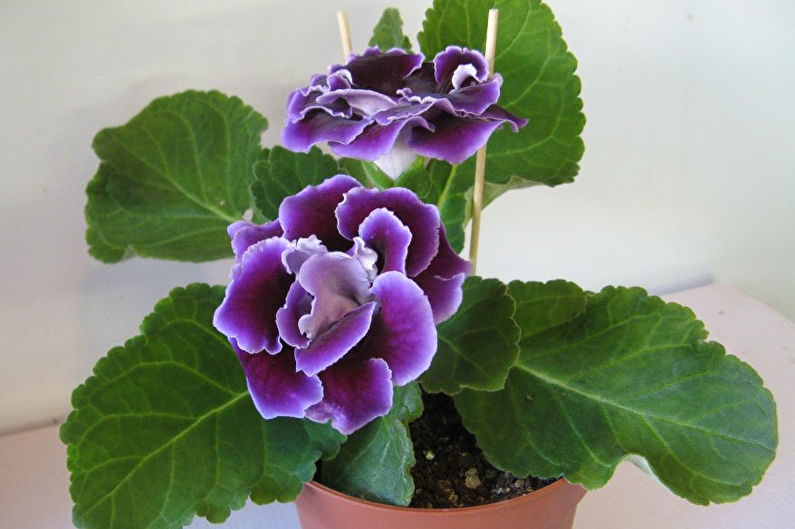
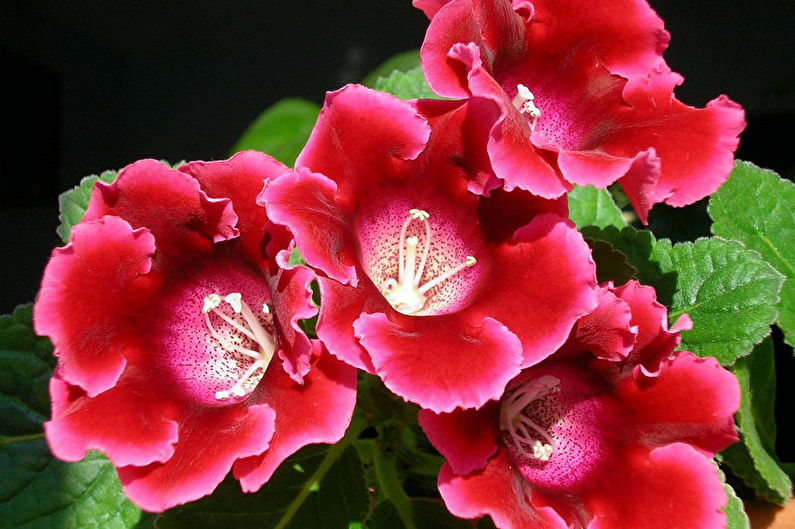
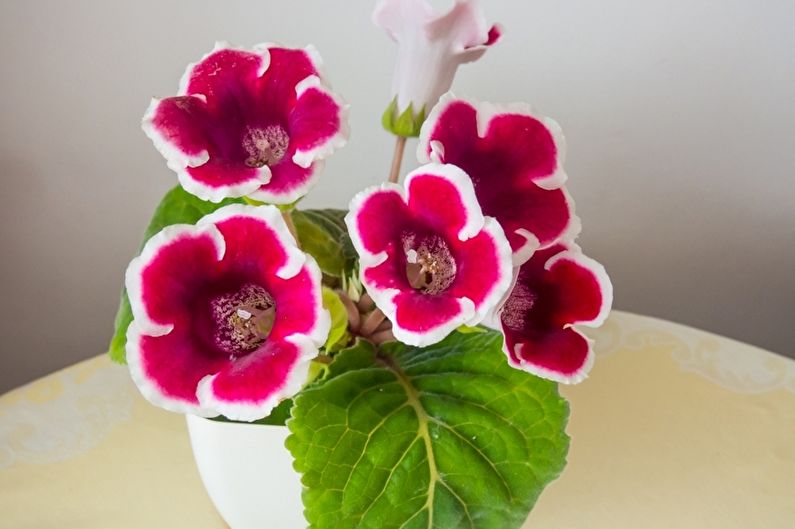
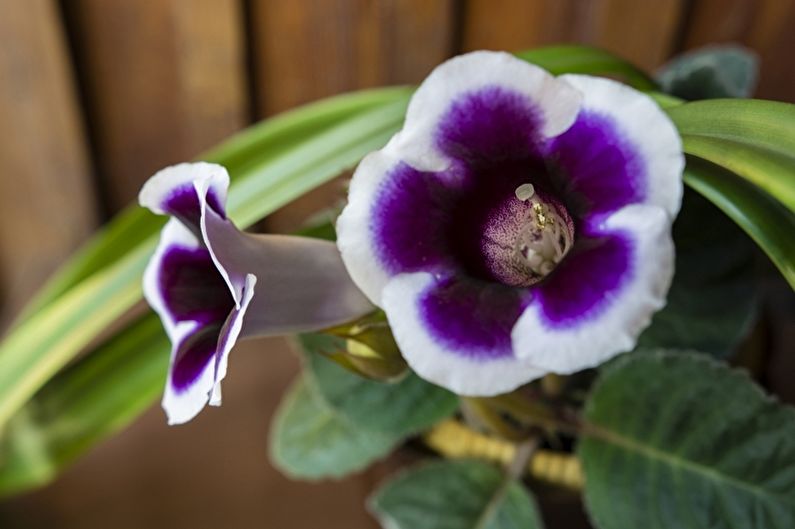
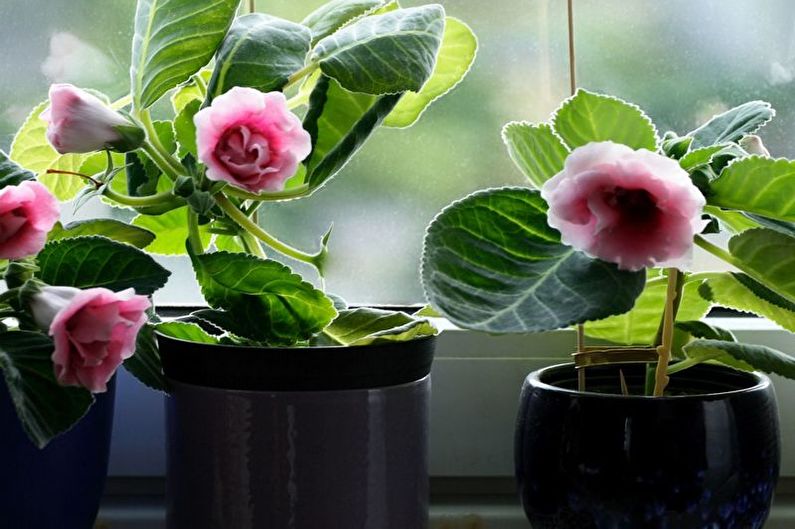
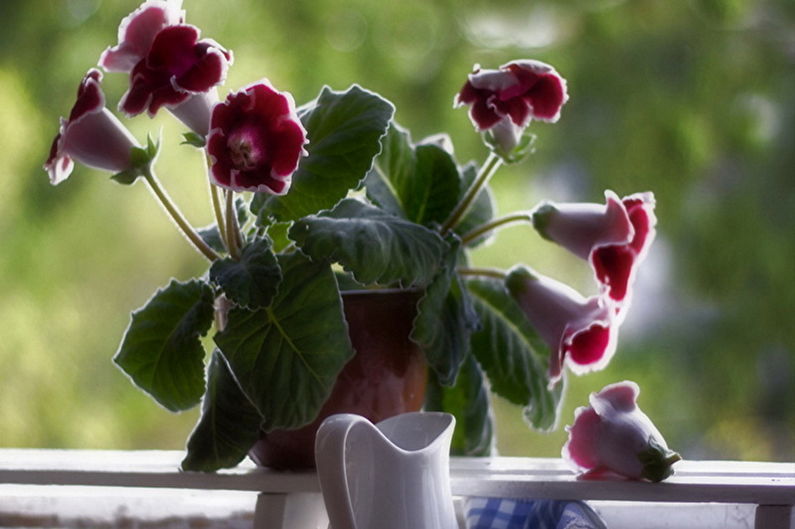
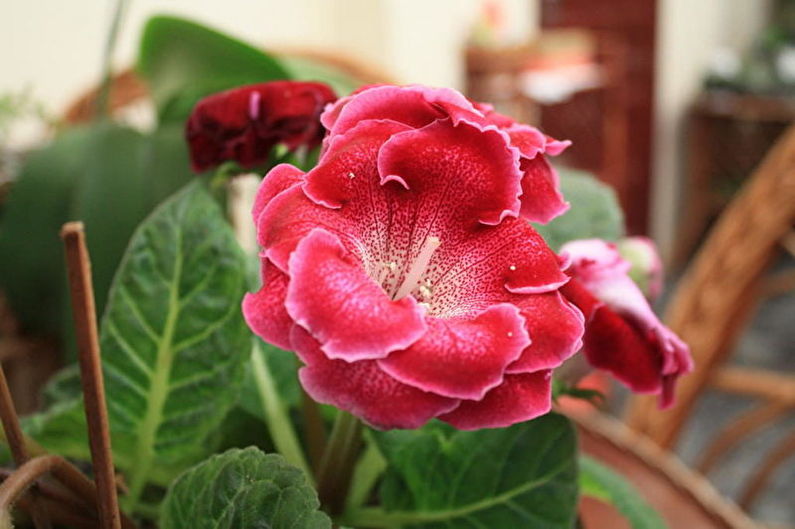
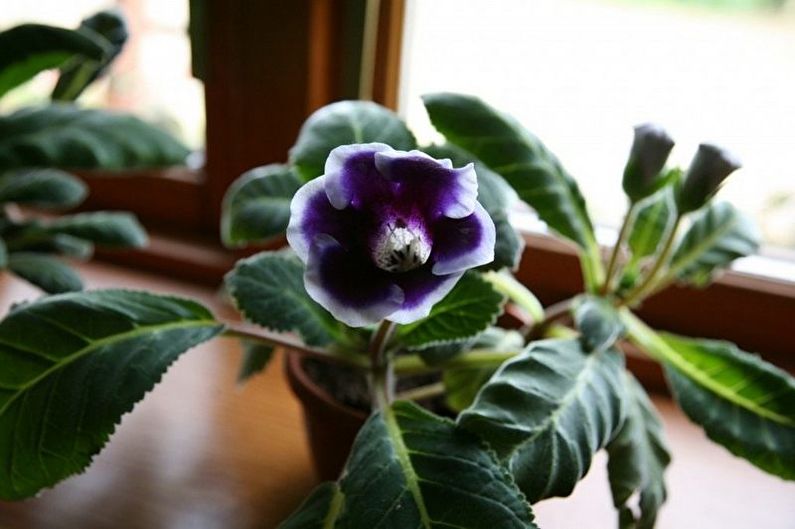
Gloxinia - photo
Bright, always attracting the attention of gloxinia cannot be described in words - the best are the numerous photos collected in our catalog that will tell you about them. We suggest you familiarize yourself with this wonderful representative of the flora, which is able to outshine many neighbors on the windowsill with its bouquet of marvelous bells.