Wallpapering cannot be called a particularly difficult process when compared, for example, with ceramic tiles or decorative plastering. However, to make the room look perfect, you also need to make a lot of effort. Some people prefer to hire specialists for such work, but we will show that it is quite possible to glue wallpaper on your own. The main thing is to be patient and carefully think through the sequence of work to the smallest detail. To facilitate the task, we have prepared for you step-by-step instructions that will tell you what to do, how exactly and in what sequence. We will also consider the special nuances that are present in the gluing of wallpapers of various kinds.
How to glue wallpaper: step by step instructions
The presented step-by-step instructions will tell you about the basic rules and stages of wallpapering. Following it, you will provide your room with a beautiful neat finish that will last more than one year. So let's get started!
Step 1. Preparing the room
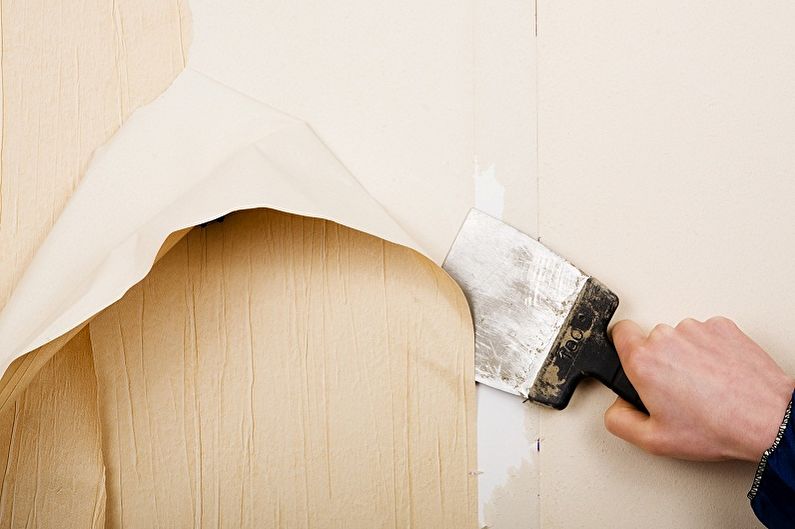
One of the main stages of wallpapering is the quality preparation of the walls, since the final result will depend on this. First of all, it is necessary to get rid of the old finish, where the greatest difficulty is the dismantling of the old wallpaper. By themselves, they come off quite problematically, to facilitate the work, it is better to moisten them first, using a wet rag or spray gun. After waiting 10-15 minutes, so that the canvases are completely wet, you can begin to remove them. If old wallpapers have a protective film (washable), you will have to remove them with a spatula.
When preparing the walls, it is necessary to get rid of skirting boards, possible nails in the walls, lining for switches, and the sockets must be disconnected from power. When you completely remove all the old finish, it is necessary to remove peeling plaster with a spatula, cover possible holes, cracks. After this, the masters of construction are advised to treat all surfaces of the walls with a primer. Such processing will prevent further shedding of the plaster, make the surface smoother and smoother. The soil mixture can be prepared independently by mixing two glasses of PVA glue in 10 liters of water.
After the room is primed, it is necessary to carry out a thorough cleaning, eliminate all specks and wash the floor. The room needs to be given a "rest" and a good dry, so it is left for some time with the windows open.
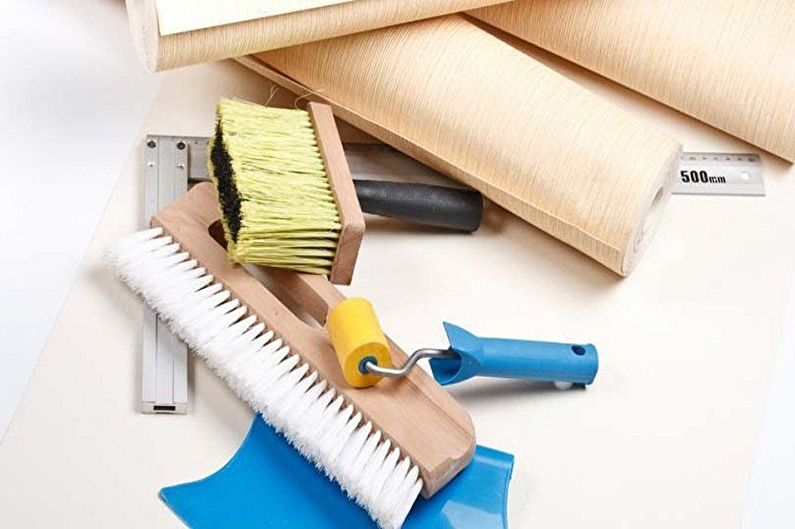
Step 2. Preparation of tools and materials
While the walls of the room are set up to take on a new look, there is enough time to prepare the necessary accessories and cut the wallpaper. For work, you need rollers, a paint brush, a brush, a thread with a small weight (plumb), a building level, a pencil, scissors, an office knife, a ruler and a container for diluting glue. The list may well vary depending on what is more convenient to work with.
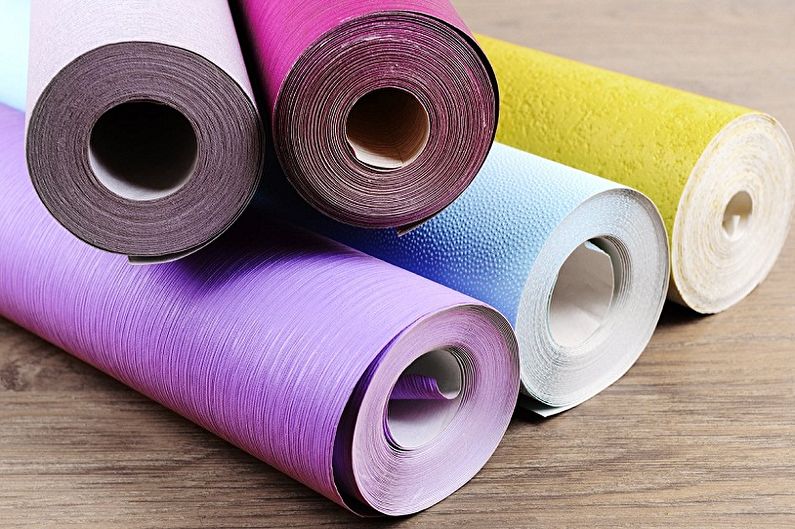
Today's wallpaper market provides a huge assortment, among which you can find both ordinary paper, familiar to many from the Soviet era, and non-woven, fabric, glass, and also quite popular photo wallpaper. It is important to correctly calculate how many rolls are needed, which, by the way, can have different widths. To do this, you can use a simple formula: the total perimeter of all the walls of the room should be divided by the width of the roll, and the result should be divided into 4 (if the wallpaper is plain) or 3 (if the wallpaper requires a fitting picture).
For cutting wallpaper it is better to use a long table, if one is available, or to carry out work on the floor.Plain canvases can be immediately cut out to the whole room (we will talk about the features of sticking canvases with drawings later). First, we calculate how many paintings will be needed: divide the length of the wall by the width of the wallpaper. The length of the canvas should be equal to the height of the wall plus 5 cm to trim.
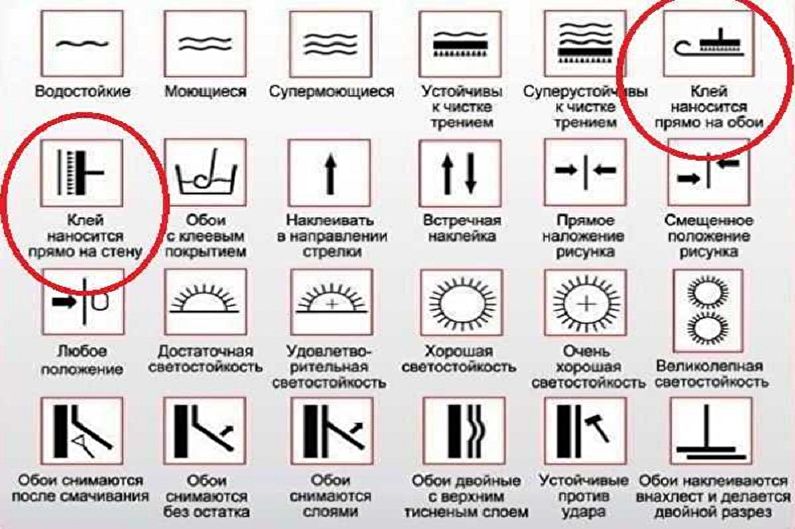
Next, we prepare the glue according to the instructions indicated on the package. To do this, pour the right amount of water into a large container and, stirring with a long stick, pour the dry sticky mixture. Pay attention to the fact that it is the glue that is poured into the water, and not vice versa, and also note that you need to use cool water, since hot water will cause clumping of the composition. Check out the manufacturers' recommendations that are available on each roll for the method of gluing certain types of wallpaper.
Step 3. Glue the wallpaper
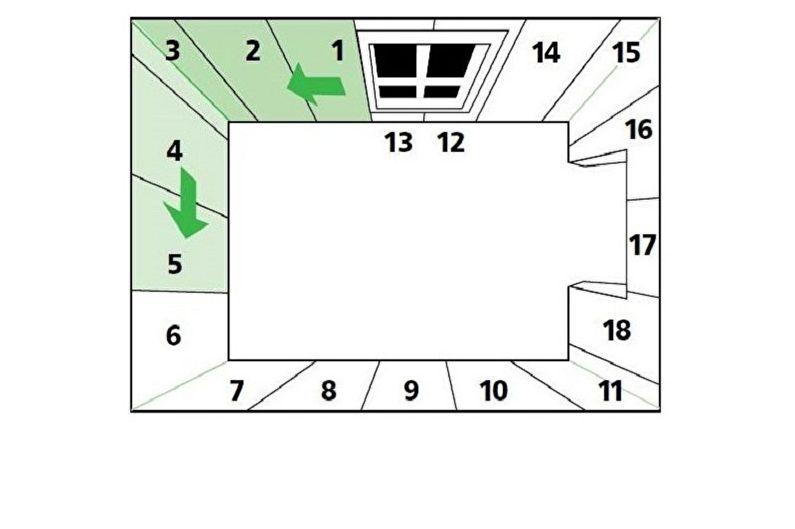
Before gluing the wallpaper, it is necessary to close the windows and doors, as even a small draft can cause the canvases to fall off. To label the first strip, it is necessary to make vertical markings using a plumb line and level so that further canvases lay perfectly evenly. Wallpaper must begin to be glued from the side of the window and move gradually around the perimeter of the room.
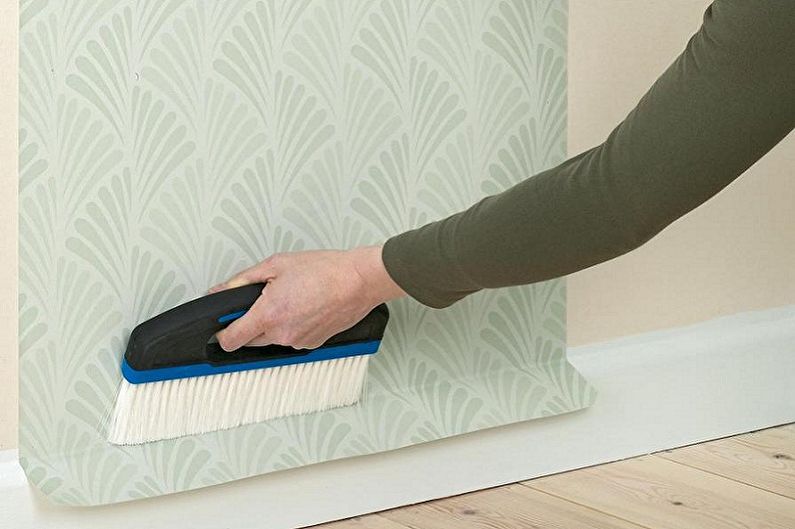
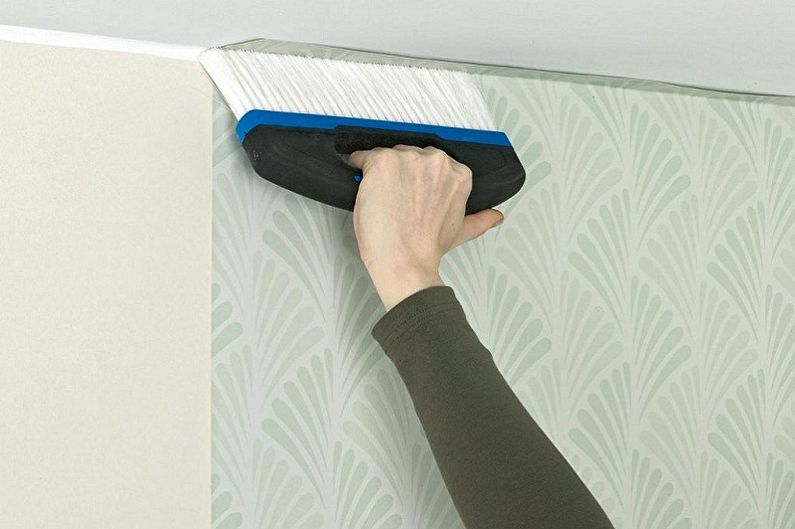
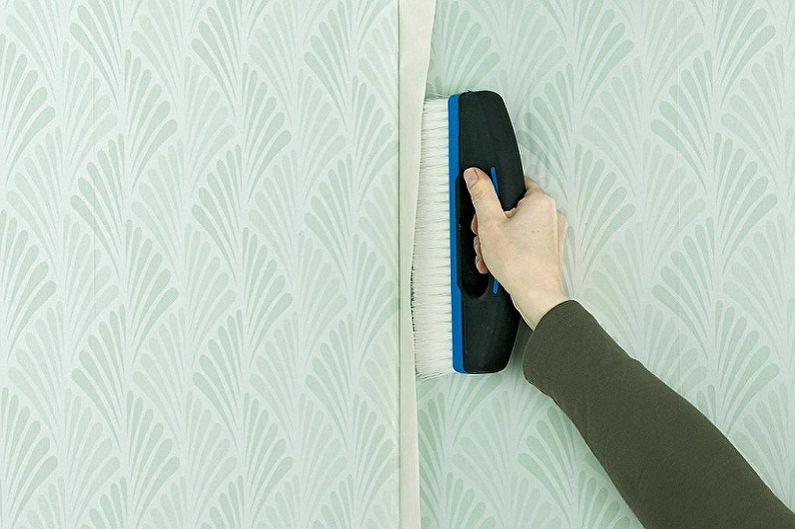
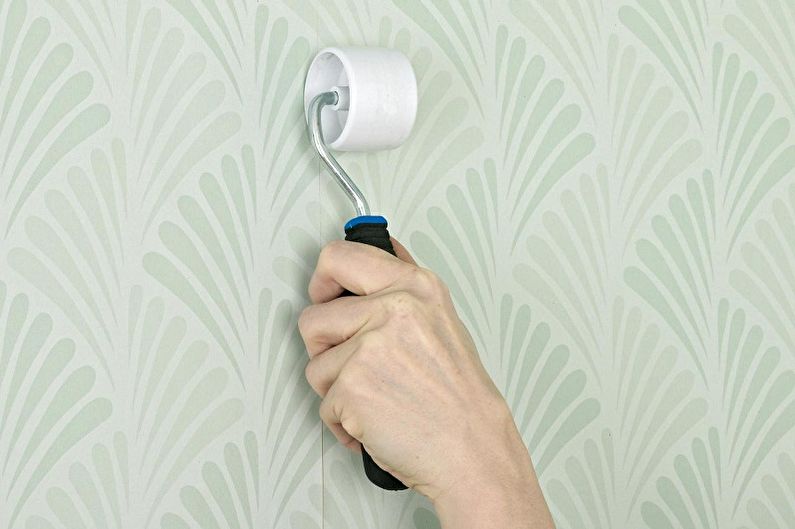
With the prepared glue, we lubricate the wall section with a roller or a paint brush, which can cope much better at the joints with the ceiling and adjacent walls. Next, apply glue to the canvas, evenly distributing it on the surface with a roller. We apply a strip to the upper part of the wall and, combining the edge with the vertical marking, glue the canvas, smoothing it with a roller or brush in order to “expel” the air bubbles. Since the ceiling is not always perfectly flat, the strip needs to be glued a little with a grip on the top and bottom. After gluing, extra centimeters can be cut with scissors or a clerical knife. Thus, we glue each subsequent canvas wallpaper, and the joints pass additionally with a rubber roller.
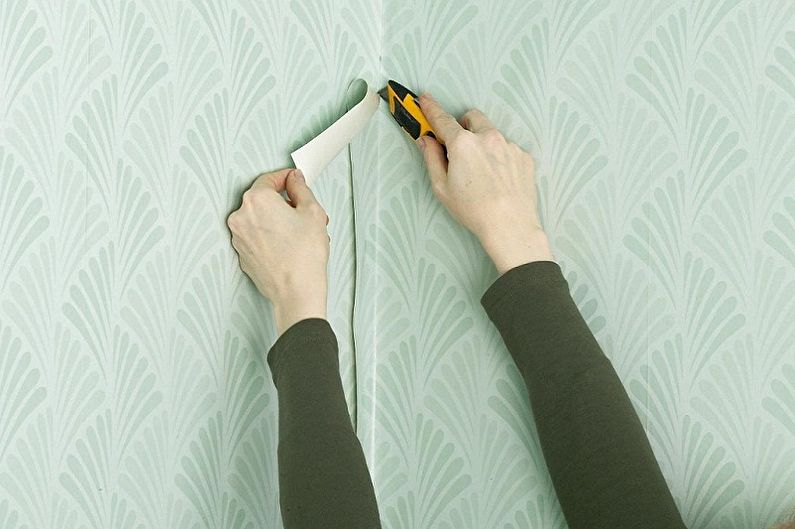
The greatest difficulty is often the corner territories. To gently make an angle, you need to stick one strip on a couple of centimeters with an overlap on an adjacent wall, then the next strip is glued, and the extra centimeters are cut off.

Features gluing wallpaper of different types
Today, wallpapers are made from various materials, there are many options for textures and colors. The process of sticking one or another type of canvas can have its own characteristics, which we will consider further. The most popular home wallpapers are the following:
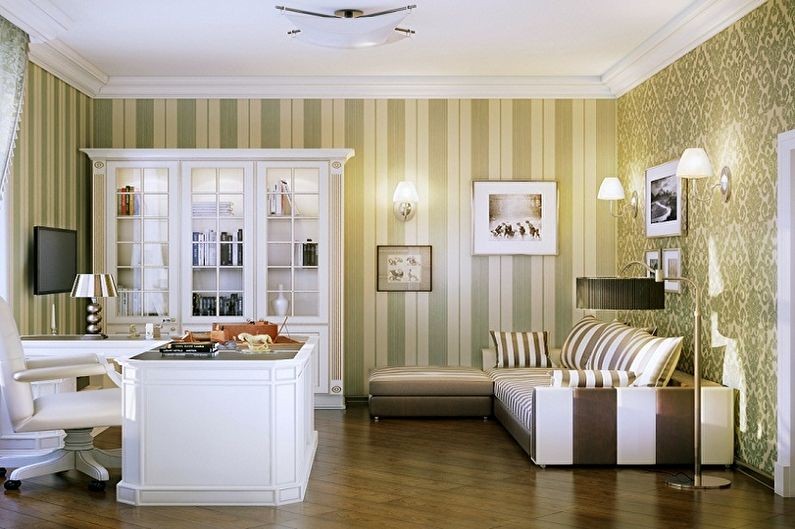
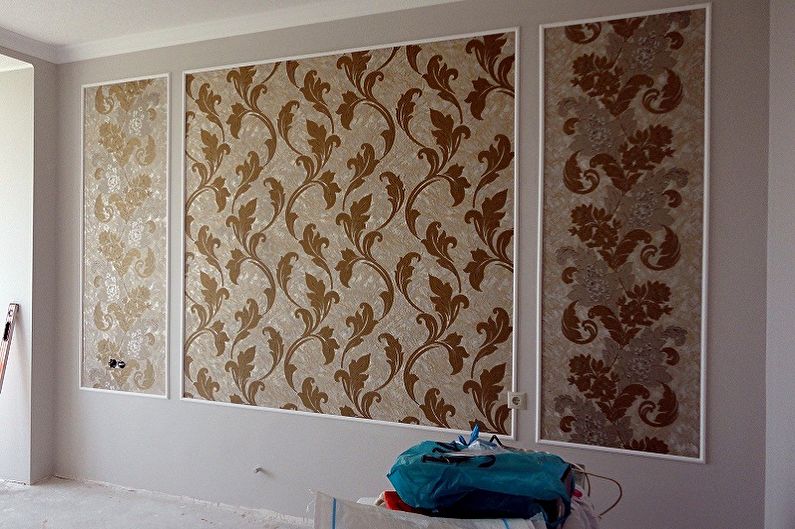
1. Wallpaper with a pattern. Such canvases have various patterns that can significantly enliven the interior, emphasize the design style, but require a special approach to gluing - after all, it is necessary to cut and place the canvases on the wall so that the pattern matches exactly. In most cases, one of two methods is used. In the first case, the first strip is glued to the wall, then a roll is applied, the pattern is adjusted, and only then the next strip is cut off. This method is generally not bad, but a lot of waste will remain. A simpler and more economical way is to unwind two rolls simultaneously, then, shifting one of them, select a pattern and cut the canvas.
2. Paper wallpapers. The most “ancient” type of wallpaper, but also the cheapest, which is why it is still in great demand. Since the canvases are quite thin, after applying the glue, they must immediately be applied to the wall so as not to get wet.
3. Vinyl wallpaper. This view is resistant to moisture and a relief surface, due to which the wallpaper perfectly mask the imperfections of the walls. When gluing, glue the wall with glue and leave to dry for 15 minutes. The strip of wallpaper also needs to be greased and left for 10 minutes, after which it can be glued.
4. Non-woven wallpaper. A modern version of moisture-resistant wallpaper, which includes mineral fibers. The wrong side of the fabric is covered with a binder, so glue is applied only to the wall.Also, as in the case of vinyl paintings, you need to let the adhesive layer dry a little and then apply the canvas.
5. Cullets. Cloths are characterized by high strength, reinforcing capabilities, as well as environmental friendliness. On sale are paintings of different colors and designed for painting. Their main advantage is that they can be washed with any detergents, subject to disinfection, so these wallpapers are suitable for any room, including children's and medical facilities. It is important to pay attention to the glue - universal formulations are not suitable here, since the canvases are heavy. You must select the glue, which will be indicated "for fiberglass wallpaper." The canvas glass has two sides - the front and the wrong side. Typically, the front is inside the roll. Glue is applied only to the surface of the wall.
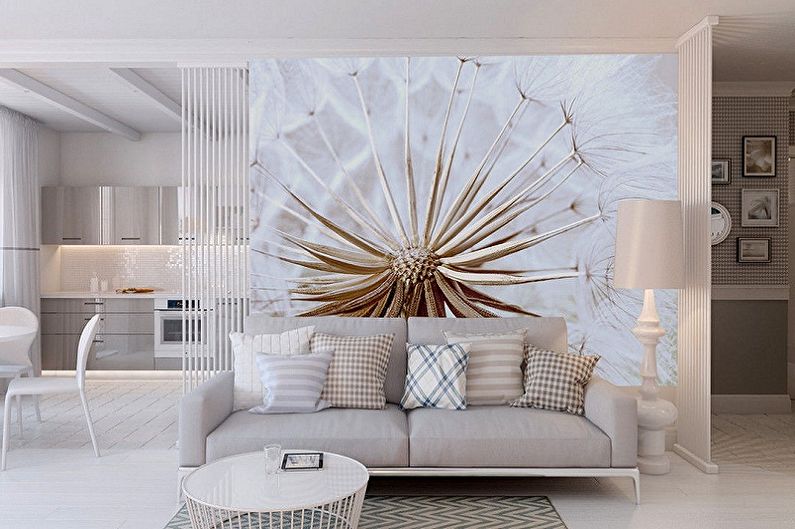
6. Photowall-paper. A very popular type of decoration today, which is able to create a unique interior, place accents, visually expand the space. Before gluing, it is advisable to make markings on the wall, and lay out the fragments of the picture on the floor, making up the corresponding picture. For convenience, you can number the paintings in order of priority and, accordingly, the squares on the wall. It is better to start gluing from the center of the composition, moving gradually to the sides, so that the picture turns out to be even.
7. Fabric wallpaper. Absolutely special fabrics, which include textile fibers (cotton, linen, etc.). The wallpapers look gorgeous, but also stand accordingly. A cloth greased with glue is left for 5 minutes for impregnation, then pressed against the wall and smoothed from top to bottom with a soft brush or roller with a wound cloth. During web transfer, it is important that there are no bends. Glue should be exclusively intended for textile wall-paper.
8. Liquid wallpaper is another most modern type of decoration material, but this is only their conditional name. In fact, the way they are decorated is more similar to applying decorative plaster with a spatula.